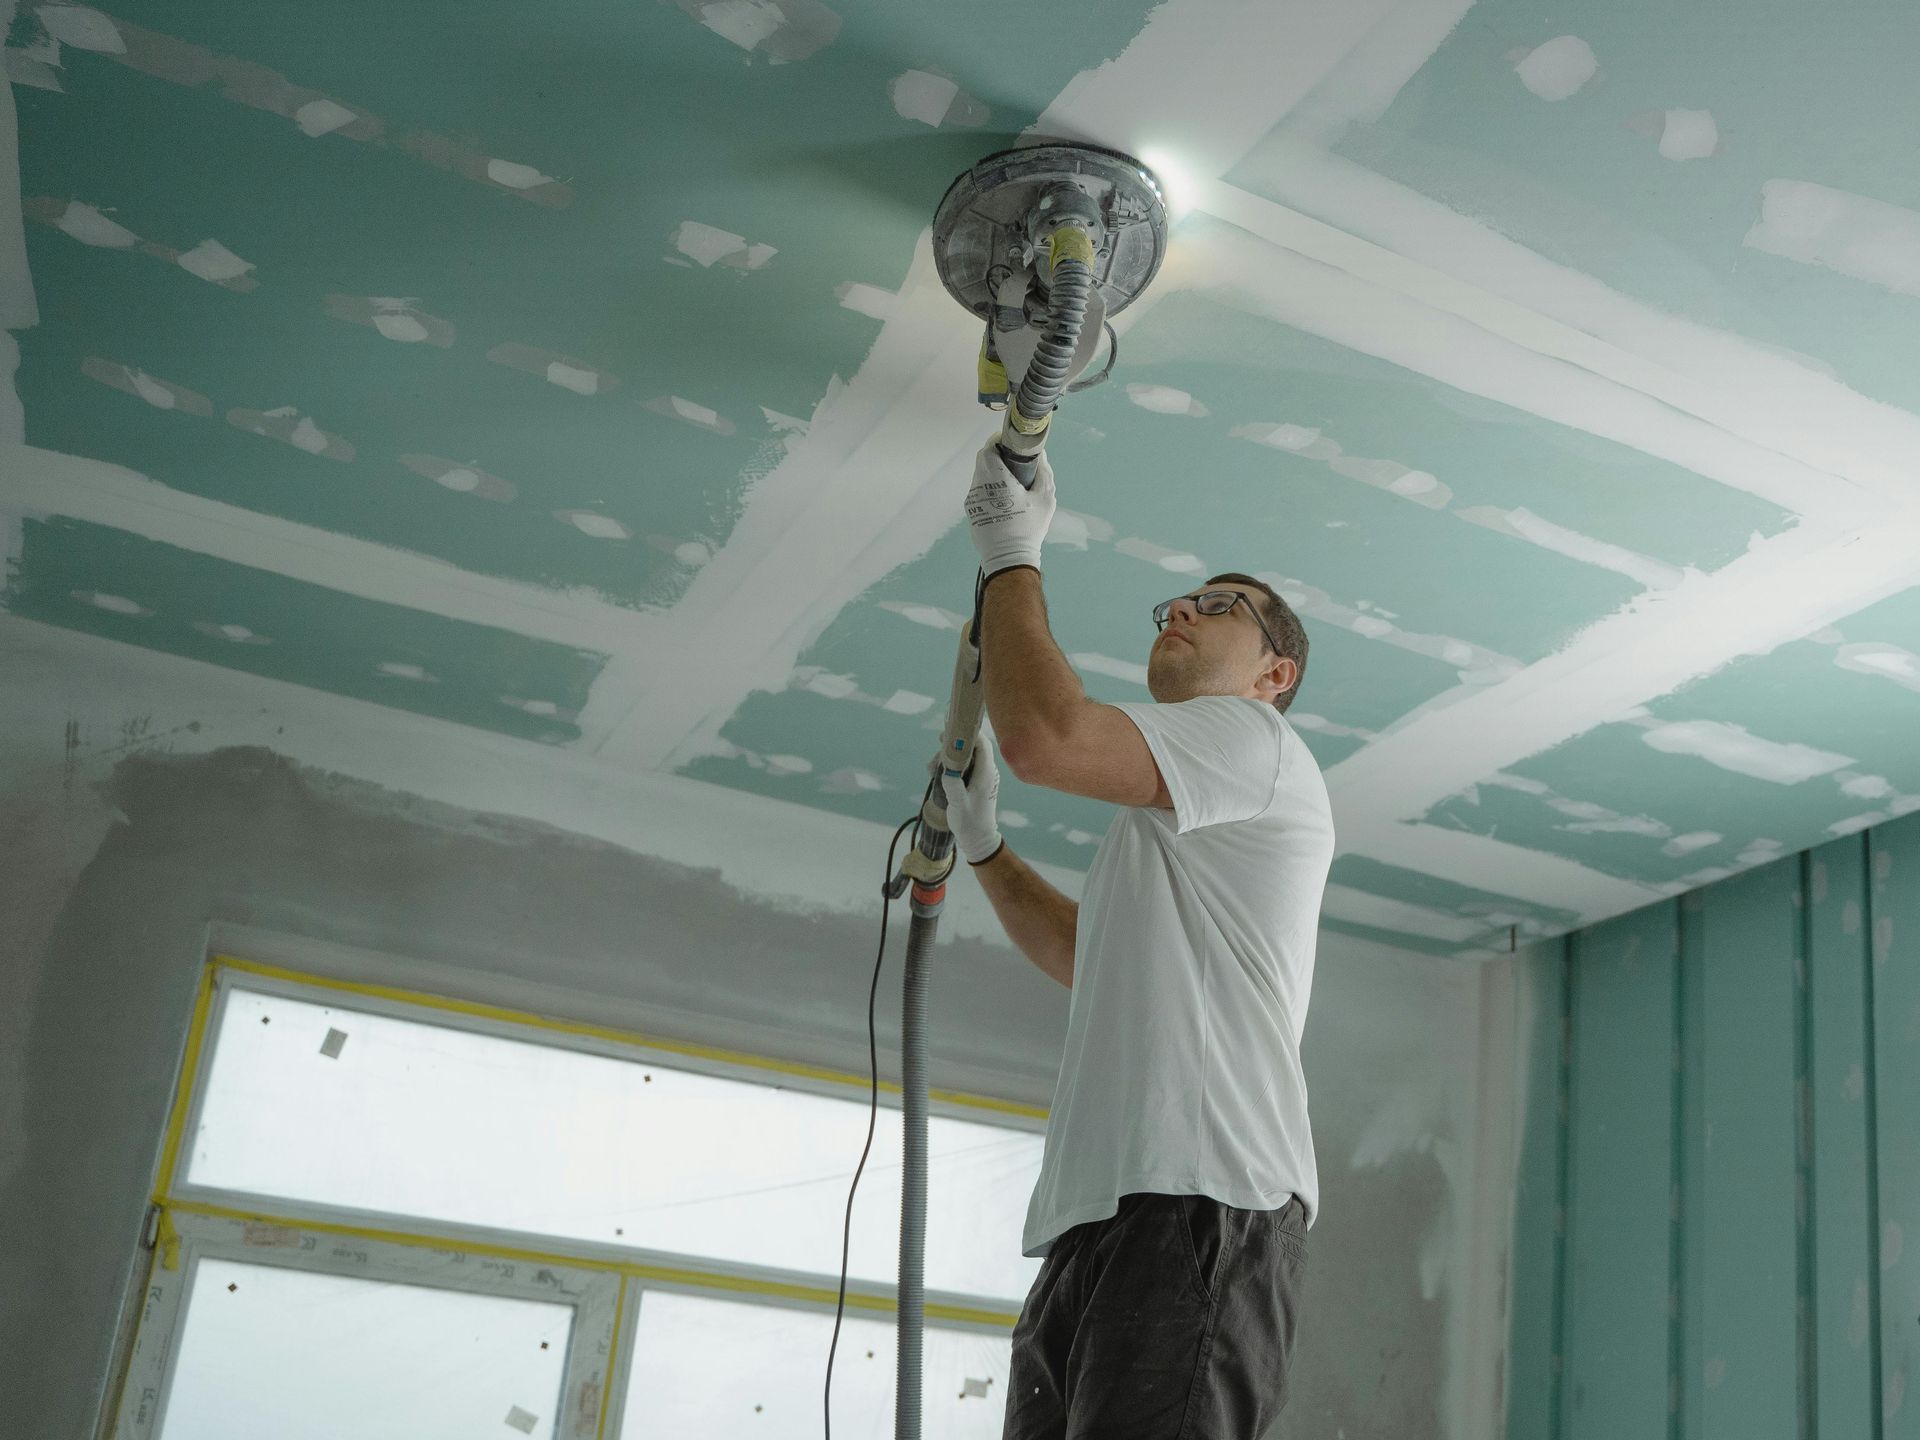
Ceiling Drywall Repair: DIY or Hire a Professional?
Repairing a drywall ceiling can seem intimidating at first. Whether you’re facing a small crack or a larger, more complex issue, choosing between DIY and hiring a professional can be tough. Let’s break down when to roll up your sleeves and tackle it yourself—and when it’s smarter to call in the pros.
How to Determine if You Should Repair Your Ceiling Yourself
When it comes to ceiling drywall repair, deciding between a DIY approach or hiring a professional boils down to three key factors: the extent of the damage, your access to the right tools, and your confidence in handling the repair.
Understanding the Severity of the Damage
Start by assessing the damage carefully. Minor issues like small cracks or dents are often manageable on your own, especially if you’re handy with basic repairs. However, larger holes, sagging sections, or areas affected by water are more complex. These types of issues can impact your ceiling’s structure, and attempting to fix them yourself might create more problems down the road. For serious damage, the DIY route could be risky.
Do You Have the Right Tools for a DIY Repair?
Drywall ceiling repair isn’t as simple as spackling over a wall crack. You’ll need specific tools, including joint compound, drywall tape, sandpaper, a putty knife, and possibly a ladder or even scaffolding for high ceilings. Without these, DIY repair can become challenging—and buying them might end up costing more than hiring a pro. Think about whether you’re equipped to handle the task or if it might be easier and more cost-effective to bring in a professional.
The Importance of Ensuring Proper Drywall Repair
Getting a smooth, seamless finish isn’t just about looks; it’s about maintaining the ceiling’s structural integrity. Poorly done repairs can lead to more cracks, uneven surfaces, and even safety issues if structural components are involved. If you’re not completely confident in achieving a high-quality result, calling a professional ensures the repair will look good and hold up over time.
When is it Time to Hire a Professional?
Sometimes, even the most experienced DIY enthusiasts need to call in the pros. Knowing when a job is beyond your scope can save you time, money, and stress. Here’s what to look for when deciding if it’s time to hire a professional for ceiling drywall repair.
Signs You Need a Professional for Drywall Repair
If you notice any of the following signs, it’s a good indicator that the repair might require a professional’s touch:
- Water damage: Dark stains, softened drywall, or musty odors can signal water damage. This kind of repair often requires more than just patching, as water damage can lead to mold and compromise the ceiling’s structure.
- Large or complex holes: If the damage spans several inches or involves irregular shapes, it’s likely beyond a basic DIY repair.
- Sagging or uneven surfaces: This could indicate a structural issue, especially if you see a dip or droop. Fixing this often involves reinforcing ceiling joists and might require specialized knowledge.
Evaluating the Pros and Cons of Hiring
Hiring a professional for drywall ceiling repair comes with clear benefits, but it also has a few downsides. Here’s a quick look at both sides:
- Pros: You get a high-quality, seamless repair that’s built to last. Professionals come equipped with the right tools, materials, and expertise to ensure that the repair matches the rest of the ceiling. You’ll also save time and avoid the hassle of potentially making mistakes on your own.
- Cons: Hiring a professional can be more costly upfront, especially for smaller repairs. However, the quality and durability of a professional repair often offset this cost in the long run.
What to Expect from a Professional Repair Job
When you hire a professional, you’re paying for more than just the repair itself. Here’s what you can expect:
- Assessment and planning: A professional will start by examining the damage to determine the best approach, especially if there’s any structural concern.
- Proper tools and materials: They’ll bring specialized tools like drywall lifts and high-grade compounds, which can make a big difference in quality.
- Smooth, seamless finish: Skilled contractors know how to blend repairs seamlessly with the rest of your ceiling, so you won’t see patches or uneven textures.
- Time savings: While DIY can drag on, a professional repair job is typically faster and more efficient.
Key Steps in Drywall Ceiling Repair
Whether you’re planning to tackle the repair yourself or just want to understand the process, it’s helpful to know the key steps involved. Each step plays a role in making sure the repair is durable and blends seamlessly with the rest of the ceiling.
Preparing the Ceiling for Repair
Preparation is crucial for a successful drywall repair. Begin by clearing the area, laying down drop cloths, and covering any furniture to protect against dust. Next, clean the damaged area thoroughly, removing any loose or crumbling pieces. If the damage is near an edge or corner, trim the damaged section with a utility knife to create a smooth, even shape. This makes patching much easier and results in a cleaner finish.
Applying Joint Compound and Patch
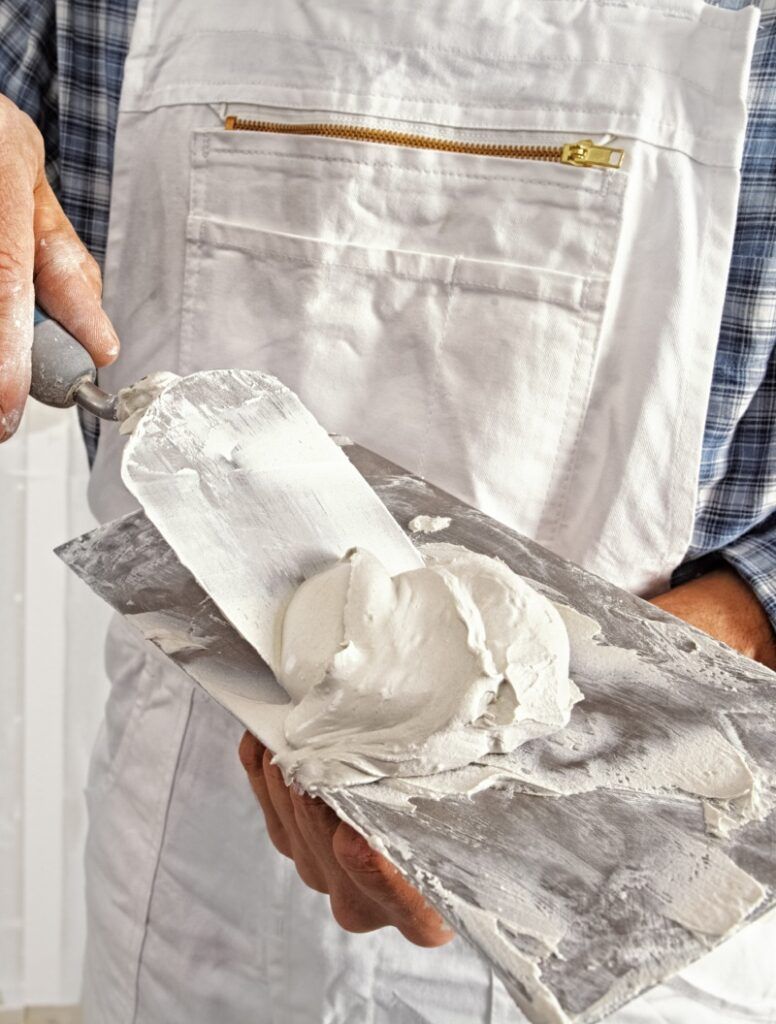
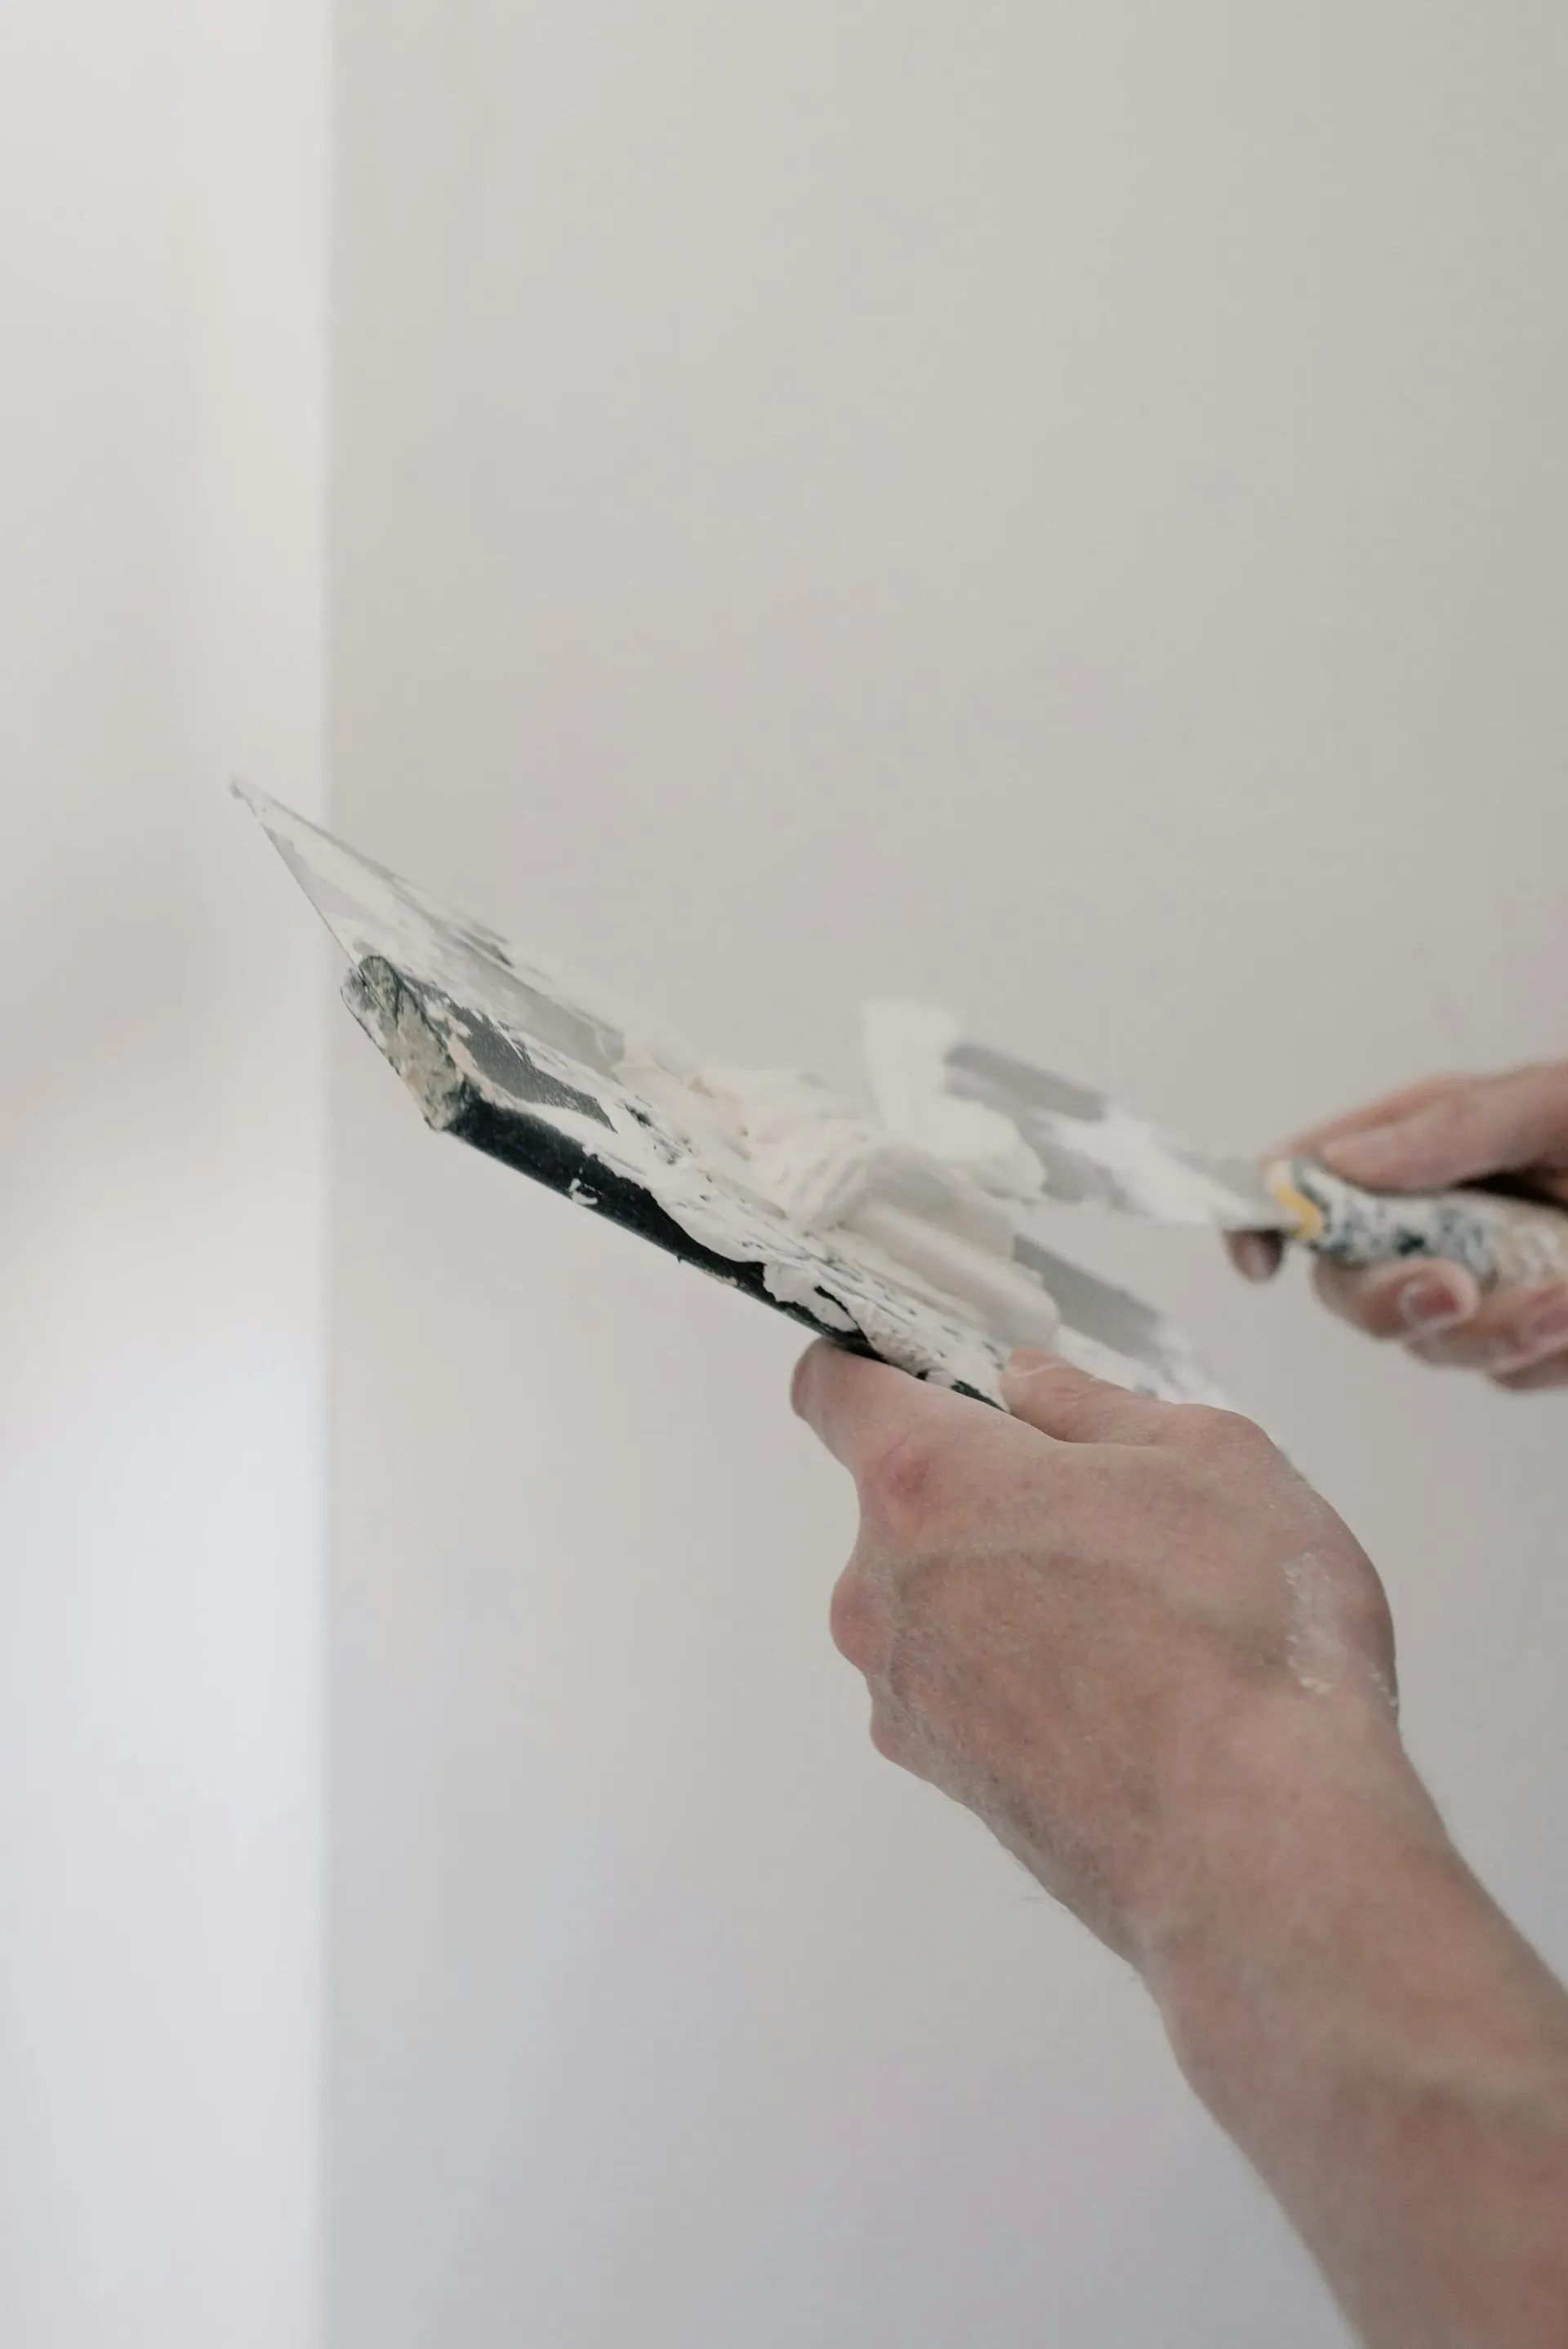
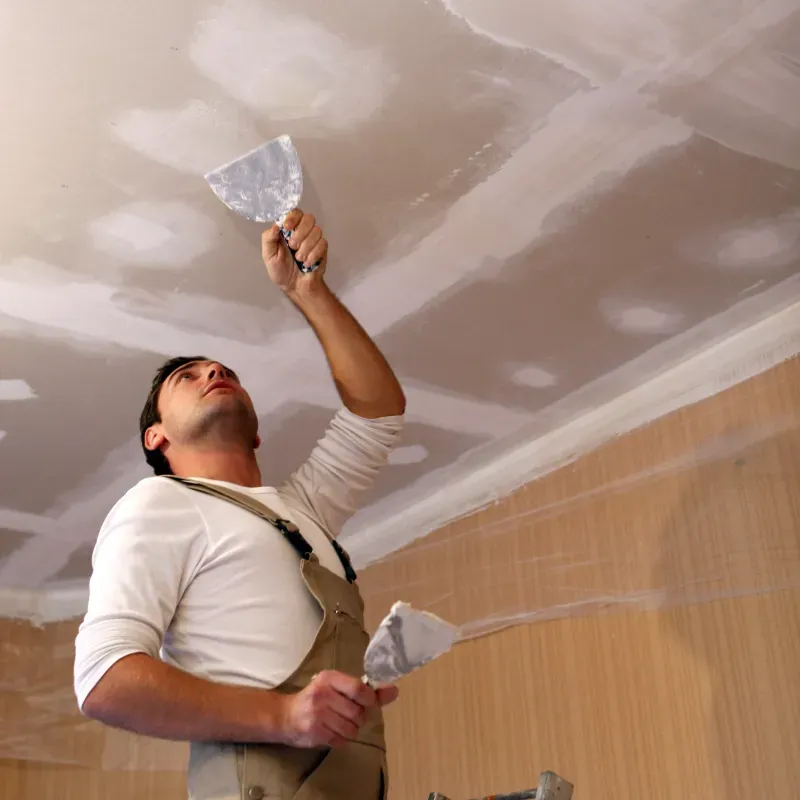
Once the area is prepped, apply a layer of joint compound around the edges of the damaged area. For smaller holes, you can use a patch kit, which includes a mesh patch that adheres to the drywall surface. Place the patch over the hole and press it firmly into place. For larger holes, you may need to cut and install a new piece of drywall, securing it to the ceiling with screws. After the patch is in place, apply a thin layer of joint compound over it, smoothing the edges to create an even surface.
Finishing Touches: Sanding and Painting
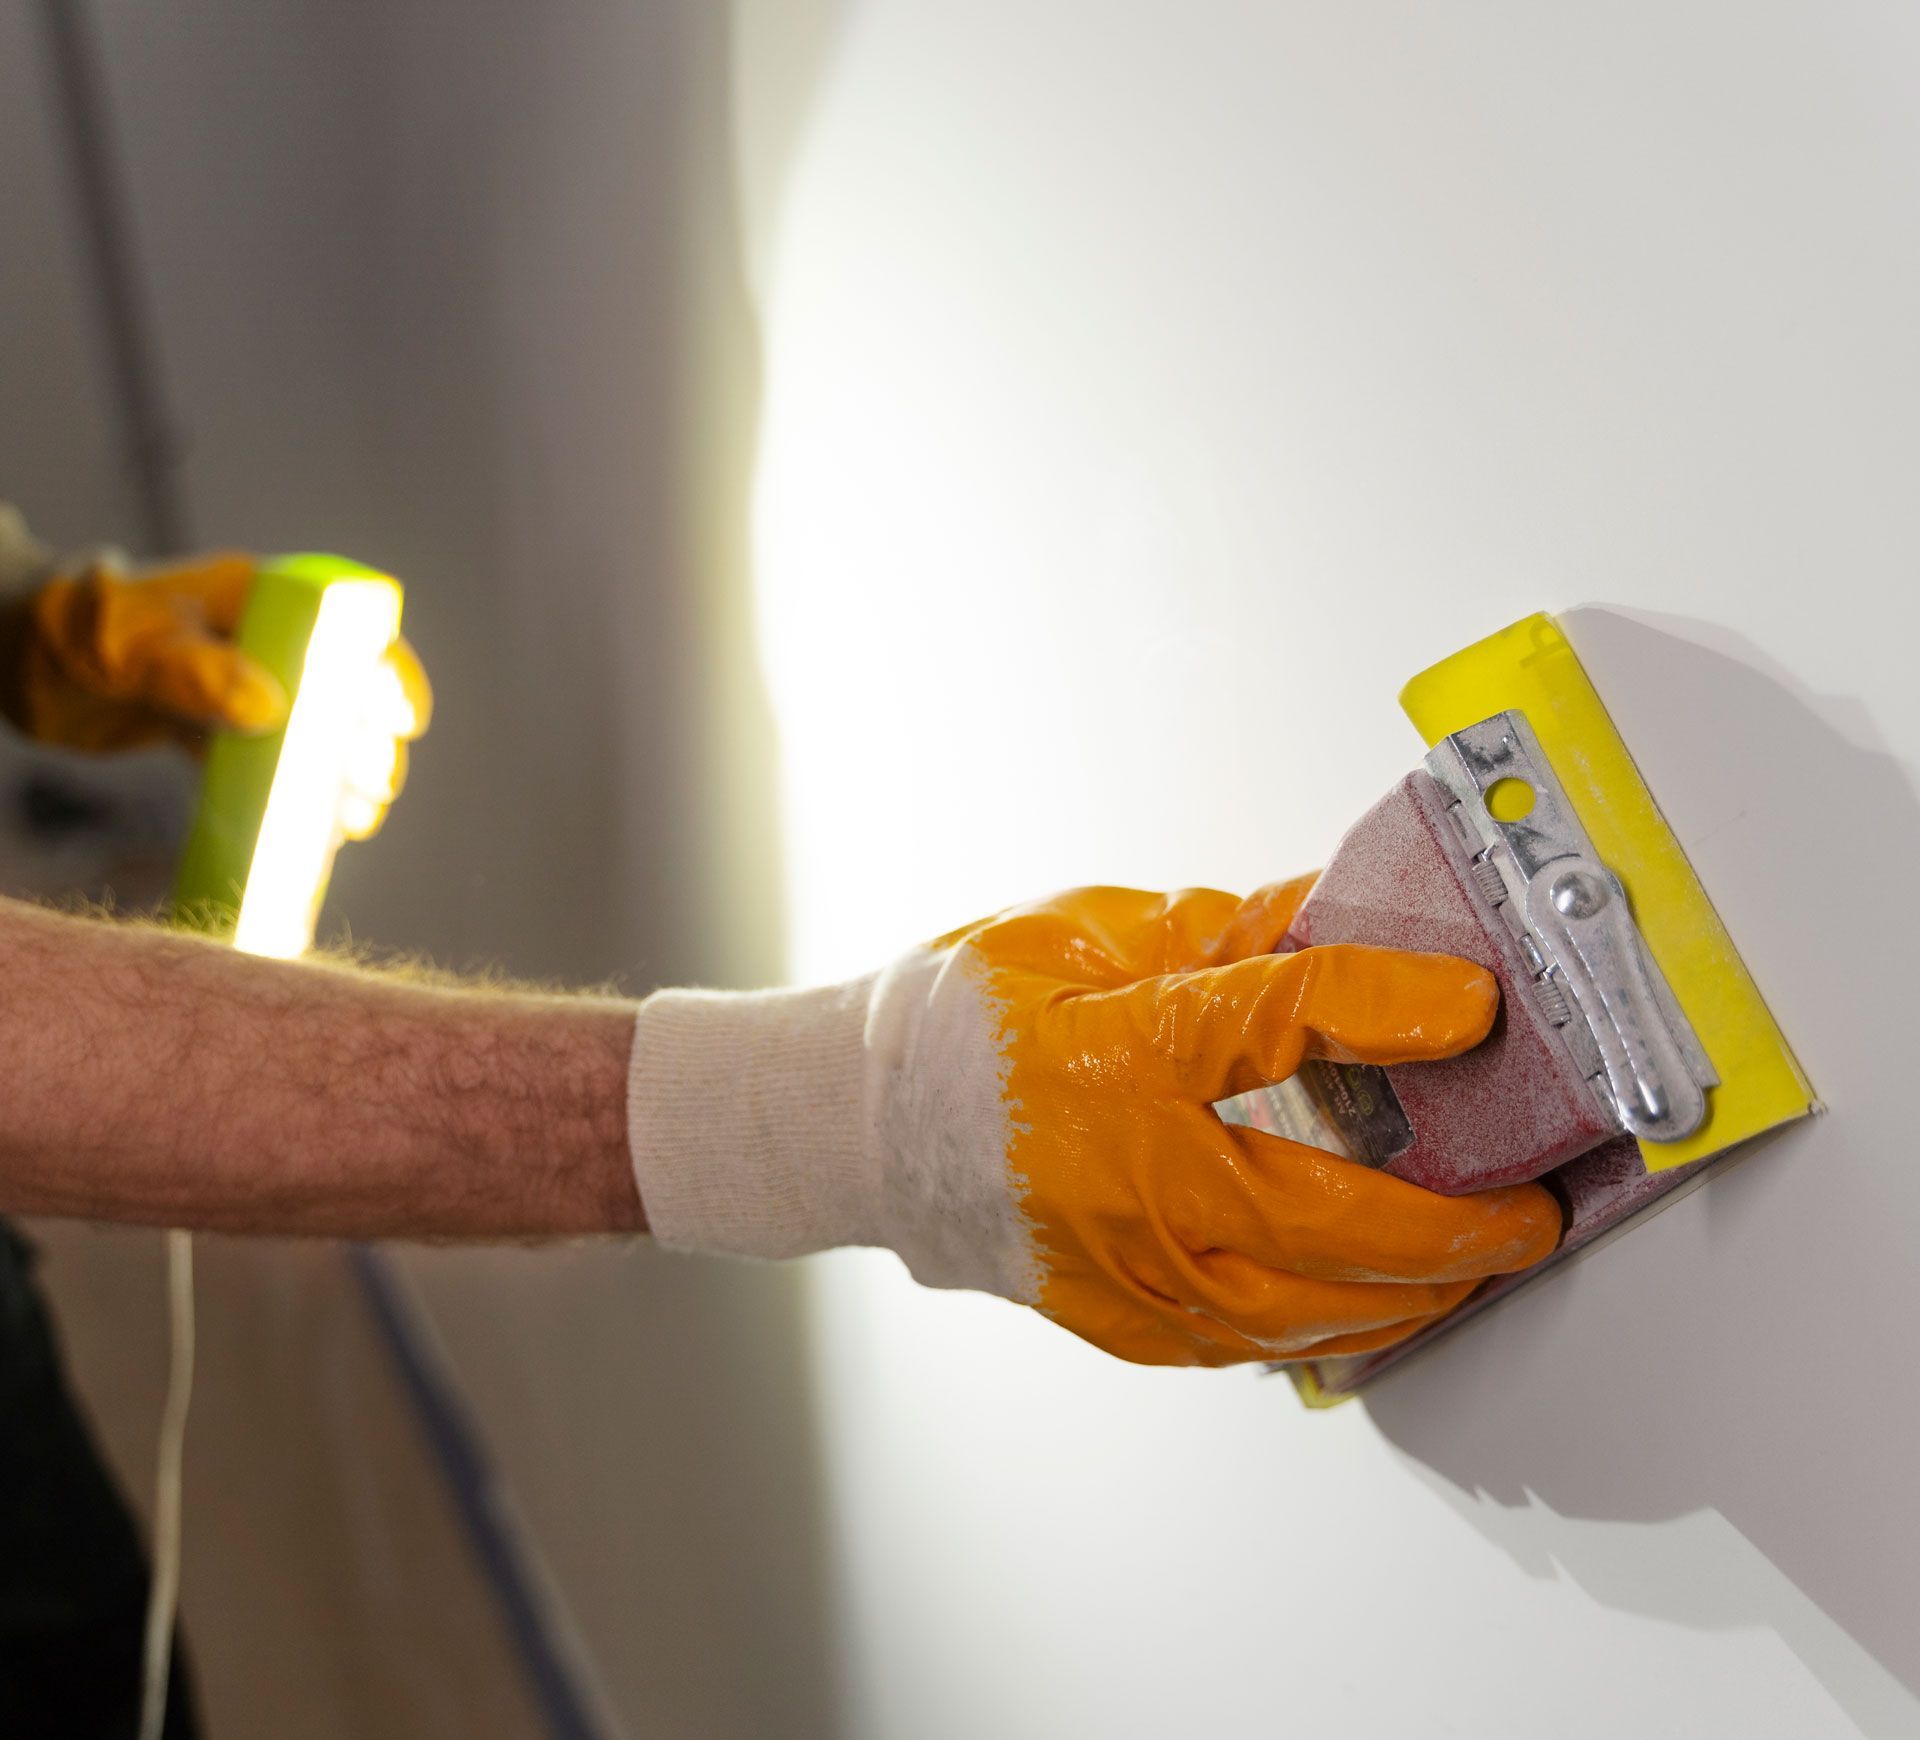
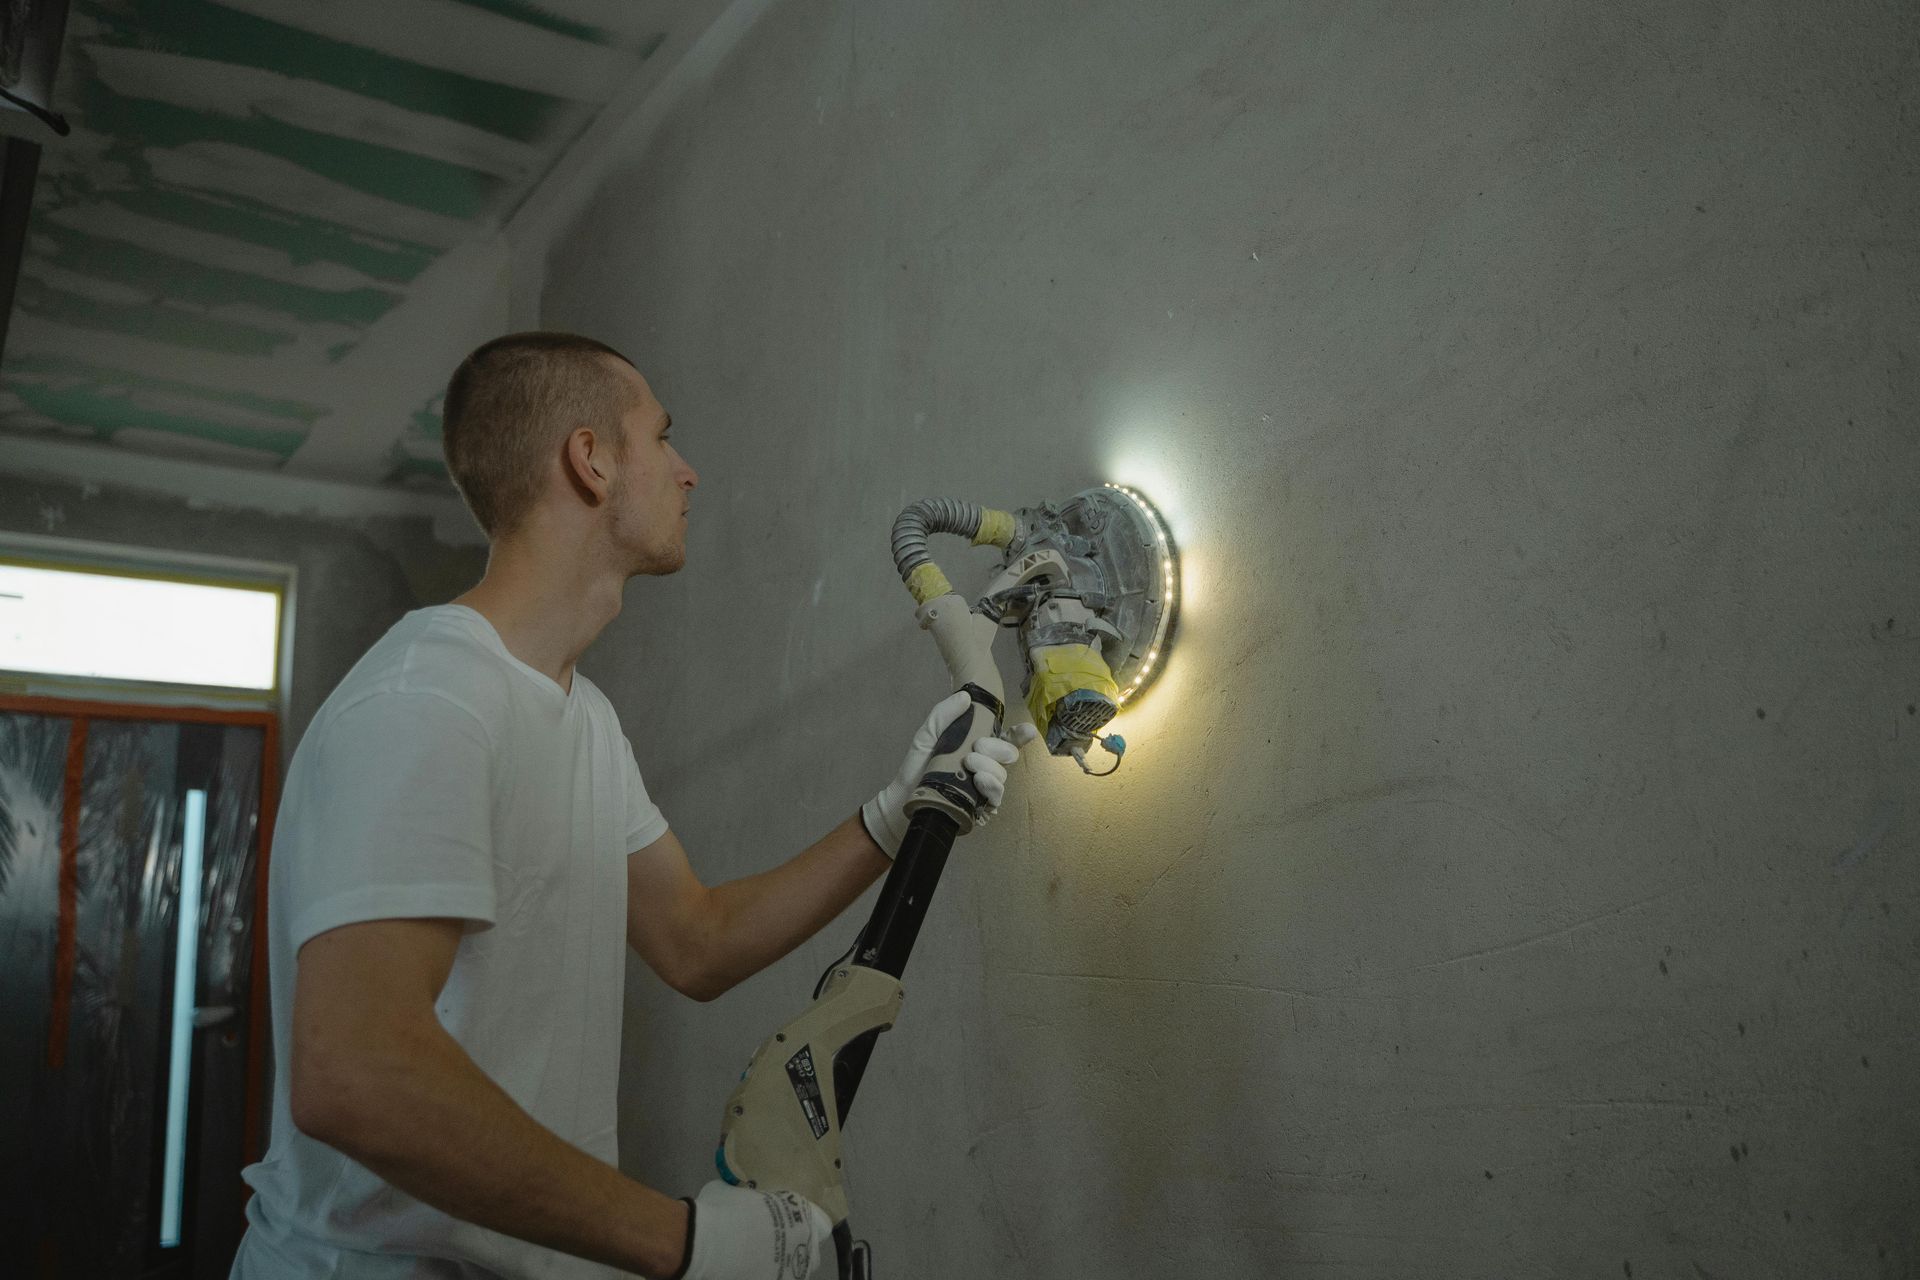
After the joint compound has dried completely, it’s time to sand. Use fine-grit sandpaper to smooth the patched area until it’s flush with the surrounding surface. Be careful not to oversand, as this can create uneven spots. Once you’re satisfied with the surface, you’re ready to paint. For the best results, start with a primer before applying your ceiling paint. This will help the new paint blend seamlessly with the rest of the ceiling, making the repair virtually invisible.
Common Challenges in Drywall Ceiling Repair
Repairing a drywall ceiling can come with unique challenges, especially if the damage is extensive or due to specific issues. Understanding these common obstacles can help you be prepared and know when to seek help.
Dealing with Water Damage
Water damage is one of the trickiest drywall repairs. Signs include dark stains, soft or crumbling drywall, and even a musty odor if mold is present. Before you start any repair, it’s essential to locate and fix the source of the leak. Simply patching over water-damaged drywall won’t address the root issue, and the damage will likely reappear. In many cases, water damage may also affect the ceiling’s structural support, so it’s wise to consult a professional if you suspect this type of damage.
Fixing Cracks and Large Holes
Small cracks are common in drywall ceilings and are usually easy to fix. But large cracks, especially those that keep reappearing, could indicate a more serious issue, like structural settling. Large holes require extra care, as they need a solid backing to hold the repair in place. For these, you’ll often need to cut out a square around the damaged area, fit in a new piece of drywall, and secure it to a stud or support. Without this extra reinforcement, the repair might not hold up over time.
Ensuring Structural Integrity with Stud and Frame
Sometimes ceiling damage isn’t limited to just the drywall—it could involve the studs or framing beneath. This is especially common if you’ve experienced sagging or shifting. Ensuring structural integrity is crucial; neglecting this step could lead to future damage or even safety concerns. If you suspect issues with the underlying structure, it’s best to call in a professional to assess and repair the framing before replacing the drywall.
Cost Considerations: DIY vs Hiring a Professional
Repairing a drywall ceiling can vary widely in cost depending on whether you decide to DIY or hire a professional. Let’s break down the expenses involved in both approaches and see where the long-term savings might lie.
Breaking Down the Costs of DIY Fix
DIY repairs might seem more budget-friendly, but costs can add up depending on the materials and tools you need. Here’s a look at common expenses:
- Patch kits: $10–$20 for small repairs.
- Joint compound and drywall tape: Around $10–$15.
- Sandpaper and putty knives: Around $5–$10.
- Paint and primer: Roughly $15–$30, depending on the area you’re covering.
- Tools (if you don’t already own them): Ladders, sanding blocks, and other items can cost anywhere from $20–$100.
While the initial cost of a DIY repair is often lower than hiring a professional, it’s important to consider your time investment and the risk of needing to redo the job if it doesn’t turn out as expected.
Cost of Professional Drywall Ceiling Repair
Hiring a professional usually means a higher upfront cost, but it comes with the benefit of quality and efficiency. Professionals generally charge between $200 and $500 for small repairs, depending on your location and the extent of the damage. More complex jobs, like large holes or water damage, can go up to $1,000 or more if additional framing or structural work is needed.
While this might seem like a lot, you’re paying for the contractor’s expertise, tools, and materials, as well as the peace of mind that the repair will last. Professionals also typically include painting and finishing in the total cost, which can save you the hassle of doing these final steps yourself.
Long-term Savings: Repair or Replace?
For minor damage, a repair is usually more cost-effective than replacing large sections of drywall. However, if your ceiling has recurring issues—like cracks that keep reappearing—it might be worth exploring a larger fix or even replacement. Addressing underlying issues now could save you from repeated repairs in the future, which adds up both in cost and effort.
In general, if you’re looking to save money over time, it’s wise to invest in a high-quality repair (DIY or professional) that addresses both surface and structural needs. This ensures the ceiling stays intact longer, avoiding the need for frequent touch-ups.
Conclusion
Ceiling drywall repair can be a manageable DIY project for smaller issues, but larger or more complex repairs often call for a professional touch. Investing in expert help can ensure the repair is seamless, safe, and long-lasting.
If you’re in South Central PA and need reliable drywall repair, we highly recommend Patch Boys of South Central PA, based in Hershey. Their skilled team specializes in drywall services, skim coating, ceiling repair, patching, and even full installation and framing. Serving areas like Harrisburg, Hershey, Gettysburg, Lancaster, York, Reading, and Chambersburg, Patch Boys combines quality craftsmanship with exceptional customer service.
Don’t settle for anything less than perfection—trust Patch Boys to handle your ceiling and drywall needs with precision and care. Reach out to them today to experience the difference that true expertise can make in your home!
FAQs
What are the common signs that indicate I need to repair drywall on my ceiling?
Common signs include visible cracks, sagging, water stains, and peeling paint. These issues may suggest underlying problems like water leaks or structural damage that require attention.
Should I repair drywall myself or hire a contractor for ceiling drywall repair?
If you have experience and feel confident in your skills, you might handle minor repairs. However, for more extensive damage or if you don’t feel comfortable, it's best to call a professional contractor to ensure the job is done correctly and safely.
What tools and materials do I need to repair drywall on my ceiling?
You’ll need a piece of drywall, adhesive, screws, sandpaper, joint compound, and painting supplies. A utility knife, drill, and drywall saw are also essential tools for the repair process.
How do I prepare the area before starting the repair process?
Turn off any nearby electrical breakers for safety, and remove fixtures or vents if needed. Ensure the area is clean and dry before beginning, and cover the floor and furniture to protect from dust and debris.
Can repairing drywall myself save money compared to hiring a contractor?
Repairing drywall yourself can be cost-effective for minor damage if you have the right tools and skills. However, hiring a contractor may save time and prevent issues in the future, especially for complex repairs.
What are the steps involved in the drywall repair process for ceilings?
The repair process typically involves cutting out the damaged area, installing a new piece of drywall, securing it with screws, applying joint compound, sanding for a smooth finish, and finally painting the ceiling to blend seamlessly with the existing texture.
How can I ensure a seamless texture when repairing drywall on the ceiling?
Use high-quality joint compound and apply it in thin coats. Sand between coats for a smooth finish, and prime the area before painting. Matching the existing ceiling texture requires patience and attention to detail.
What should I do if there’s a water leak after repairing drywall on my ceiling?
Address the source of the leak immediately to prevent further damage. If unsure, it’s important to call a professional to assess and fix the issue to avoid recurring problems.
How long does it typically take to complete the job when repairing ceiling drywall?
The time to take depends on the extent of the damage and your experience. Small repairs might take a few hours, while larger projects could span several days, especially when allowing time for coats to dry properly.

