How to Repair Drywall Ceiling Water Damage: A Step-by-Step Guide
Water damage on your drywall ceiling is a hassle you don’t want to ignore. Whether it's from a leak, condensation, or a plumbing issue, tackling it right away can save you bigger headaches later. This guide will walk you through the steps to stop and repair drywall ceiling water damage.
What Are the Signs of Water Damage on a Ceiling?
Spotting water damage early is key. Here are the common signs to look for:
- Discolored water stains: You’ll see yellow or brown spots spreading across the ceiling.
- Peeling or bubbling paint: Paint that’s starting to bubble or lift off.
- Sagging drywall: A sagging ceiling means the drywall is soaked and needs attention.
- Musty smells: A musty odor usually means mold has started growing.
These are clear signs of a water issue that you should fix as soon as possible.
How to Identify Water Stains and Peels
Water stains and peeling paint are the first signs you'll likely notice. Here's how to identify them:
- Water stains: These often show up as yellow, brown, or rust-colored spots. They spread outwards, usually forming uneven rings or patches.
- Peeling paint: When moisture seeps through the ceiling, it weakens the paint’s bond to the drywall. The result? Paint starts bubbling and peeling away from the surface.
When you see either of these, it’s a clear signal that there’s water damage above the ceiling.
Understanding the Extent of the Damage
Once you spot water stains or peeling, it's crucial to figure out how bad the damage is. Here's how to assess it:
- Check the area’s size: Small stains may only need minor repairs, but large areas often point to a bigger issue like a major leak or structural problem.
- Press on the drywall: Gently press the stained area. If it feels soft or spongy, the drywall is soaked and will likely need replacement.
- Look for sagging: If the ceiling sags or bows down, the water has weakened the structure, and more extensive repairs might be required.
Knowing how deep the damage goes helps you plan the right fix.
Common Causes: Leaks and Condensation
Water damage on a ceiling is usually caused by two main culprits: leaks or condensation. Here's how to tell the difference:
- Leaks: Leaks from plumbing pipes, a damaged roof, or faulty appliances can drip water directly onto your ceiling. You’ll often notice the damage spreading outward from a single spot.
- Condensation: This happens when warm, moist air meets a cold surface, like an air vent or poorly insulated ceiling. Over time, the moisture collects, leading to stains and mold growth.
Understanding the cause helps you prevent future issues after the repair.
What Are the Risks of Ignoring Mold Growth and Structural Damage?
Ignoring water damage can cause much bigger problems down the road, particularly mold growth and structural issues. Here’s what can happen if you don’t act fast:
Mold Growth
Water-soaked drywall is a breeding ground for mold. It spreads quickly and can lead to health problems like allergies and respiratory issues. Mold removal is also costly, especially if it’s allowed to grow unchecked.
Structural Damage
Water weakens drywall and the ceiling structure itself. Over time, this can lead to sagging, cracks, and in the worst cases, a full ceiling collapse. Structural damage is not only dangerous but can also be expensive to repair.
Taking care of water damage early prevents these serious risks.
How to Inspect and Assess Water-Damaged Ceilings
Before you start any repairs, it’s crucial to inspect and assess the water damage to understand the extent of the issue.
Tools Needed for Proper Inspection
To thoroughly inspect your ceiling, you’ll need a few key tools:
- Flashlight: To get a good look at water stains and damage, especially in low-light areas.
- Moisture meter: This tool measures the moisture level in drywall, helping you see how soaked the ceiling is.
- Ladder: You’ll need one to reach higher areas safely.
Having the right tools ensures a thorough inspection.
Steps to Determine the Source of the Water
Finding where the water is coming from is key to preventing more damage. Here's how to figure it out:
Check for Leaks Above the Ceiling
If you see water damage on the ceiling, check the area directly above it. Look for plumbing issues, roof leaks, or any water lines that could be dripping onto the ceiling.
Inspect the Attic or Roof
If the damage is near the roof, head up to the attic or inspect the roof. Look for wet insulation, damaged shingles, or pooling water. These are common signs of roof leaks.
Examine Air Vents and Ductwork
Condensation around air vents or ductwork can cause moisture to build up on the ceiling. If this is the source, you’ll need to address the ventilation issue to stop the water damage.
Identifying the water source is essential for preventing future issues and ensuring your repair lasts.
When to Call a Professional for Structural Damage
Sometimes, water damage can lead to serious structural issues that are beyond a DIY fix. Here's when it's time to bring in a professional:
Extensive Sagging or Bowing
If your ceiling is sagging or bowing significantly, the structure may be compromised. This isn’t something you want to handle on your own, as it could lead to a collapse.
Large Areas of Water Damage
If the water damage covers a large portion of the ceiling, it’s best to call a contractor. Large-scale repairs require expert tools and materials to ensure everything is done safely and correctly.
Mold Growth
If mold is visible or if you suspect mold behind the drywall, you should contact a professional. Mold remediation requires special handling to ensure your home stays safe and healthy.
Bringing in an expert ensures the structural integrity of your ceiling and keeps the damage from worsening.
What is the Repair Process for Damaged Drywall?
Once you’ve assessed the damage, it’s time to get into the repair process. Follow these steps to fix the drywall.
How to Cut Out the Damaged Area
Start by removing the damaged portion of the drywall. Here’s how:
Mark the Damaged Area
Begin by marking the area you need to remove. Use a pencil or chalk to outline the damaged portion of the drywall, ensuring the lines are straight and easy to follow.
Cut Along the Lines
Using a utility knife or drywall saw, carefully cut along the lines you’ve marked. Make sure your cuts are clean and even to make the next steps easier.
Remove the Damaged Drywall
After you’ve made your cuts, gently pull out the damaged piece of drywall. Be cautious to avoid damaging any surrounding areas.
Removing the damaged section properly is the first step toward a smooth and lasting repair.
Installing a New Piece of Drywall
Now that you've removed the damaged section, it's time to install a new piece of drywall. Follow these steps:
Measure the Opening
Measure the area where the damaged drywall was removed. Make sure you get accurate measurements so the new piece fits perfectly.
Cut a New Piece of Drywall
Using your measurements, cut a new piece of drywall to fit the hole. Use a utility knife or drywall saw to make precise cuts.
Attach the New Drywall
Fit the new drywall into the opening. Secure it using drywall screws, making sure the piece is flush with the surrounding ceiling.
Installing the new drywall is a crucial step to restoring the ceiling’s structure.
Applying Joint Compound and Drywall Tape
Once the new piece of drywall is in place, the next step is to blend it with the existing ceiling. Here's how to do it:
Apply Joint Compound
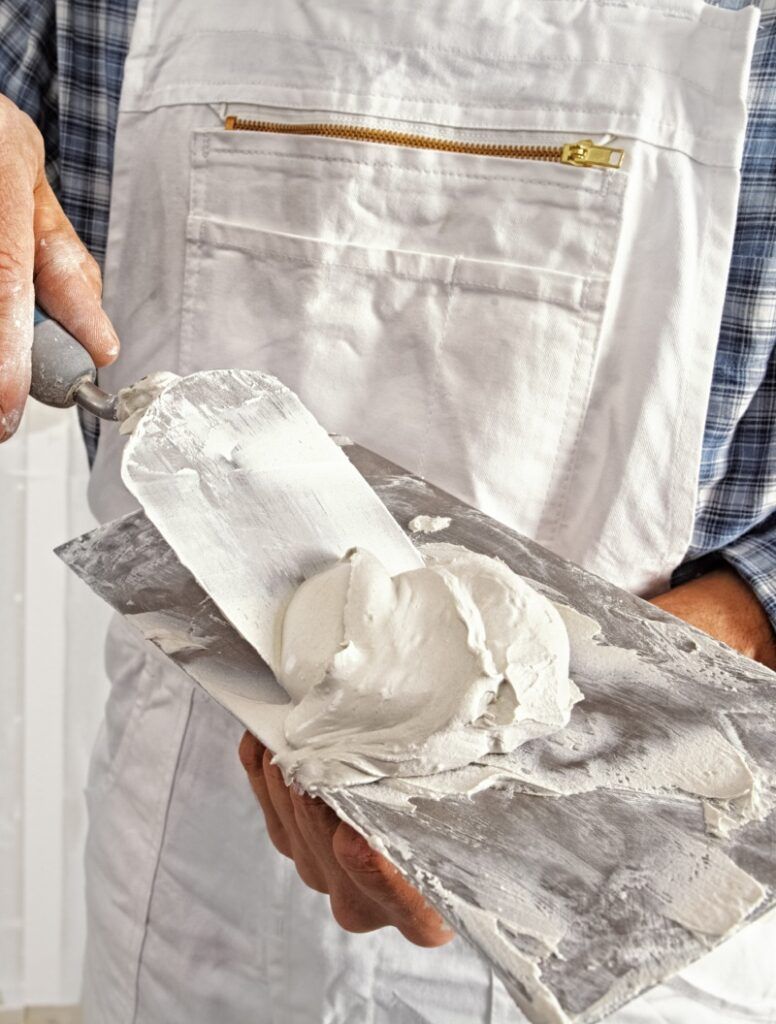
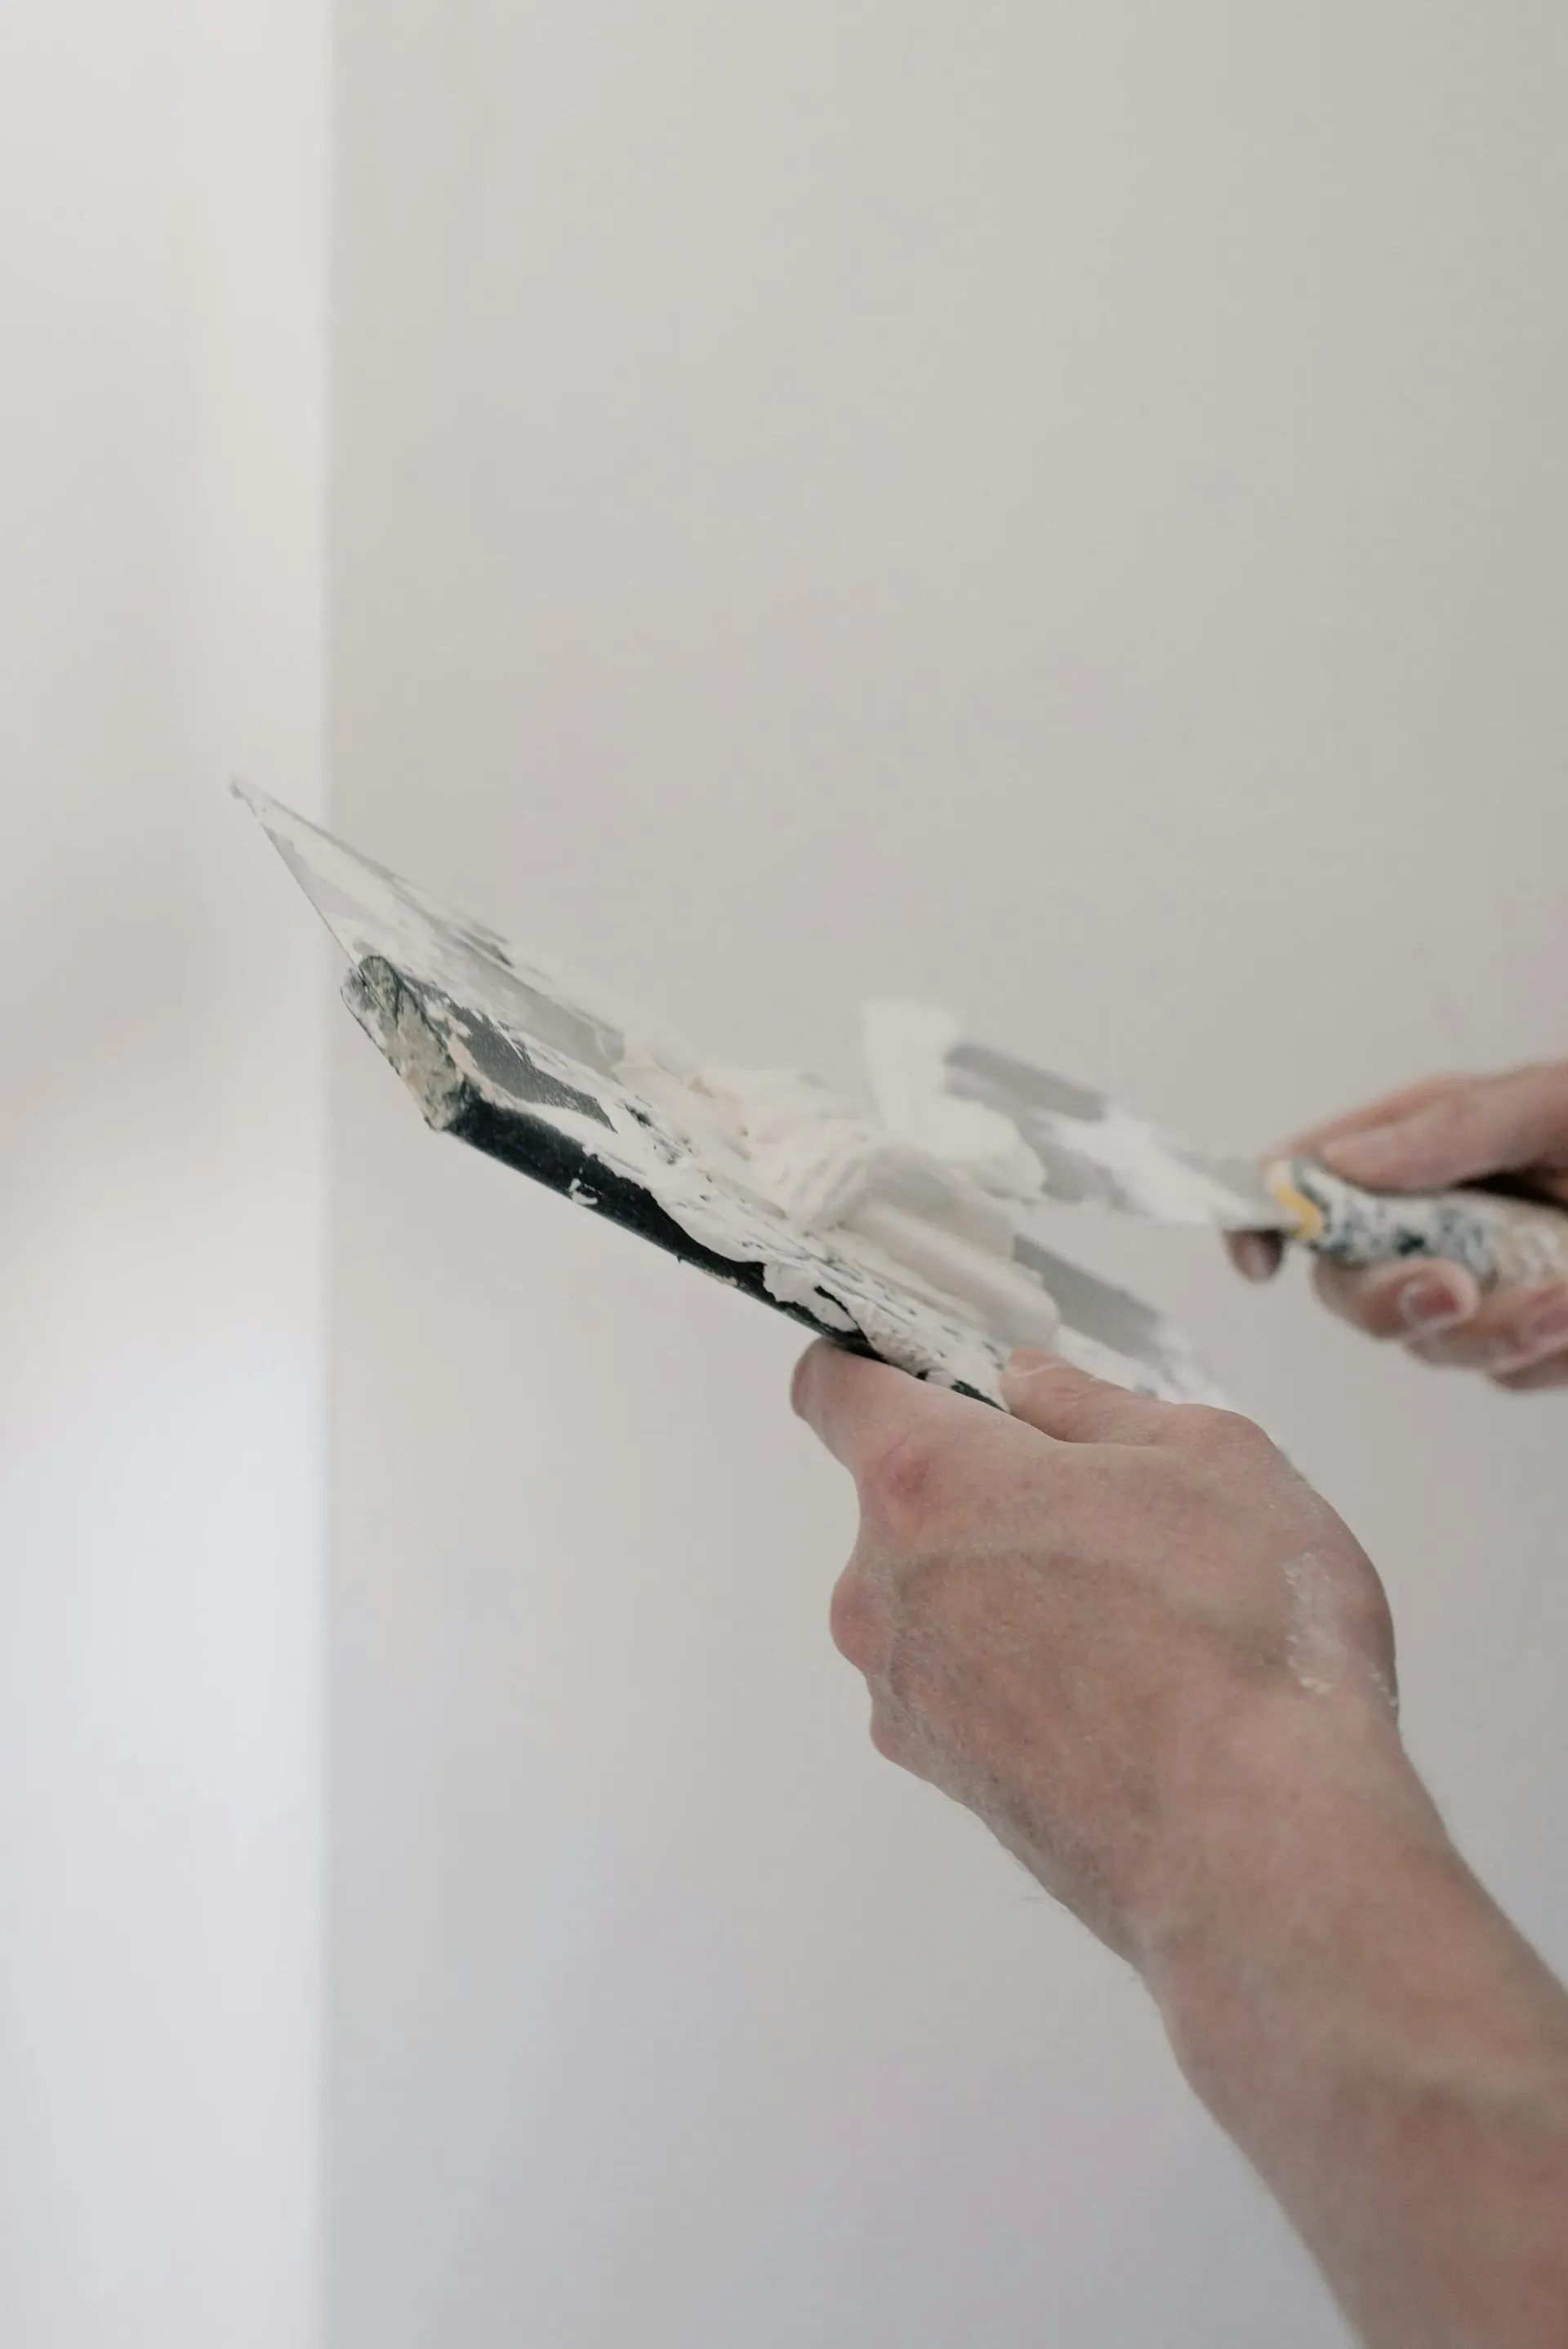
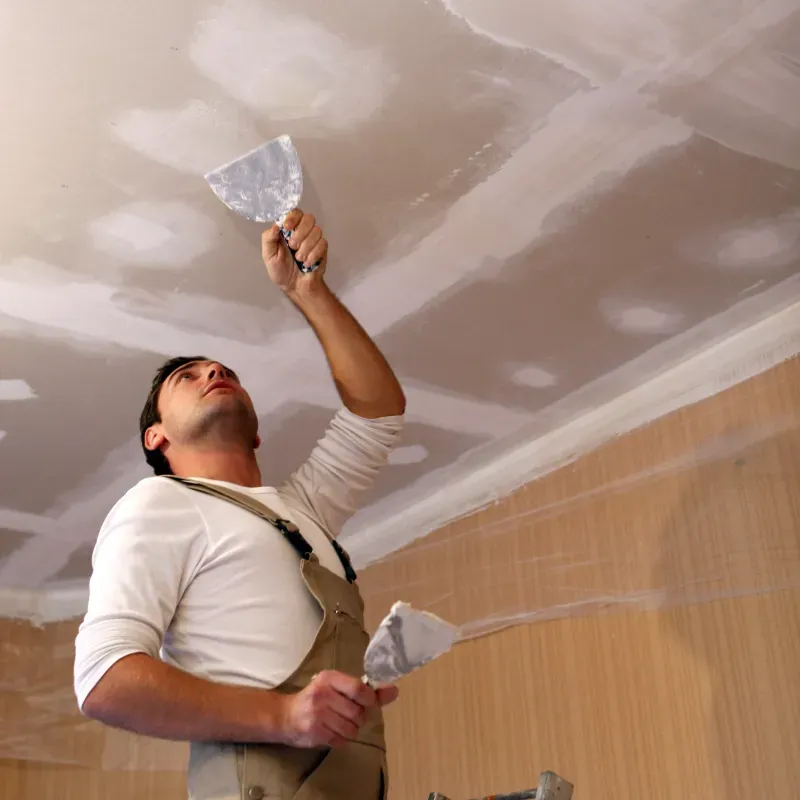
Start by spreading joint compound along the seams where the new drywall meets the existing ceiling. Use a drywall knife to smooth it out, ensuring an even, thin layer.
Place Drywall Tape
While the joint compound is still wet, place drywall tape over the seams. This helps strengthen the joint and prevents cracks from forming.
Smooth the Compound
After placing the tape, apply another thin layer of joint compound over it. Use your drywall knife to smooth everything out, feathering the edges to blend it with the ceiling. Allow it to dry completely before sanding.
Applying joint compound and tape ensures a seamless finish and prepares the ceiling for painting.
How to Patch and Prime a Water-Damaged Ceiling
After repairing the drywall, the next step is to patch and prime the ceiling to restore its appearance. Here’s how to do it right:
Preparing the Ceiling Surface for Patching
Before you patch the ceiling, make sure the surface is clean and smooth:
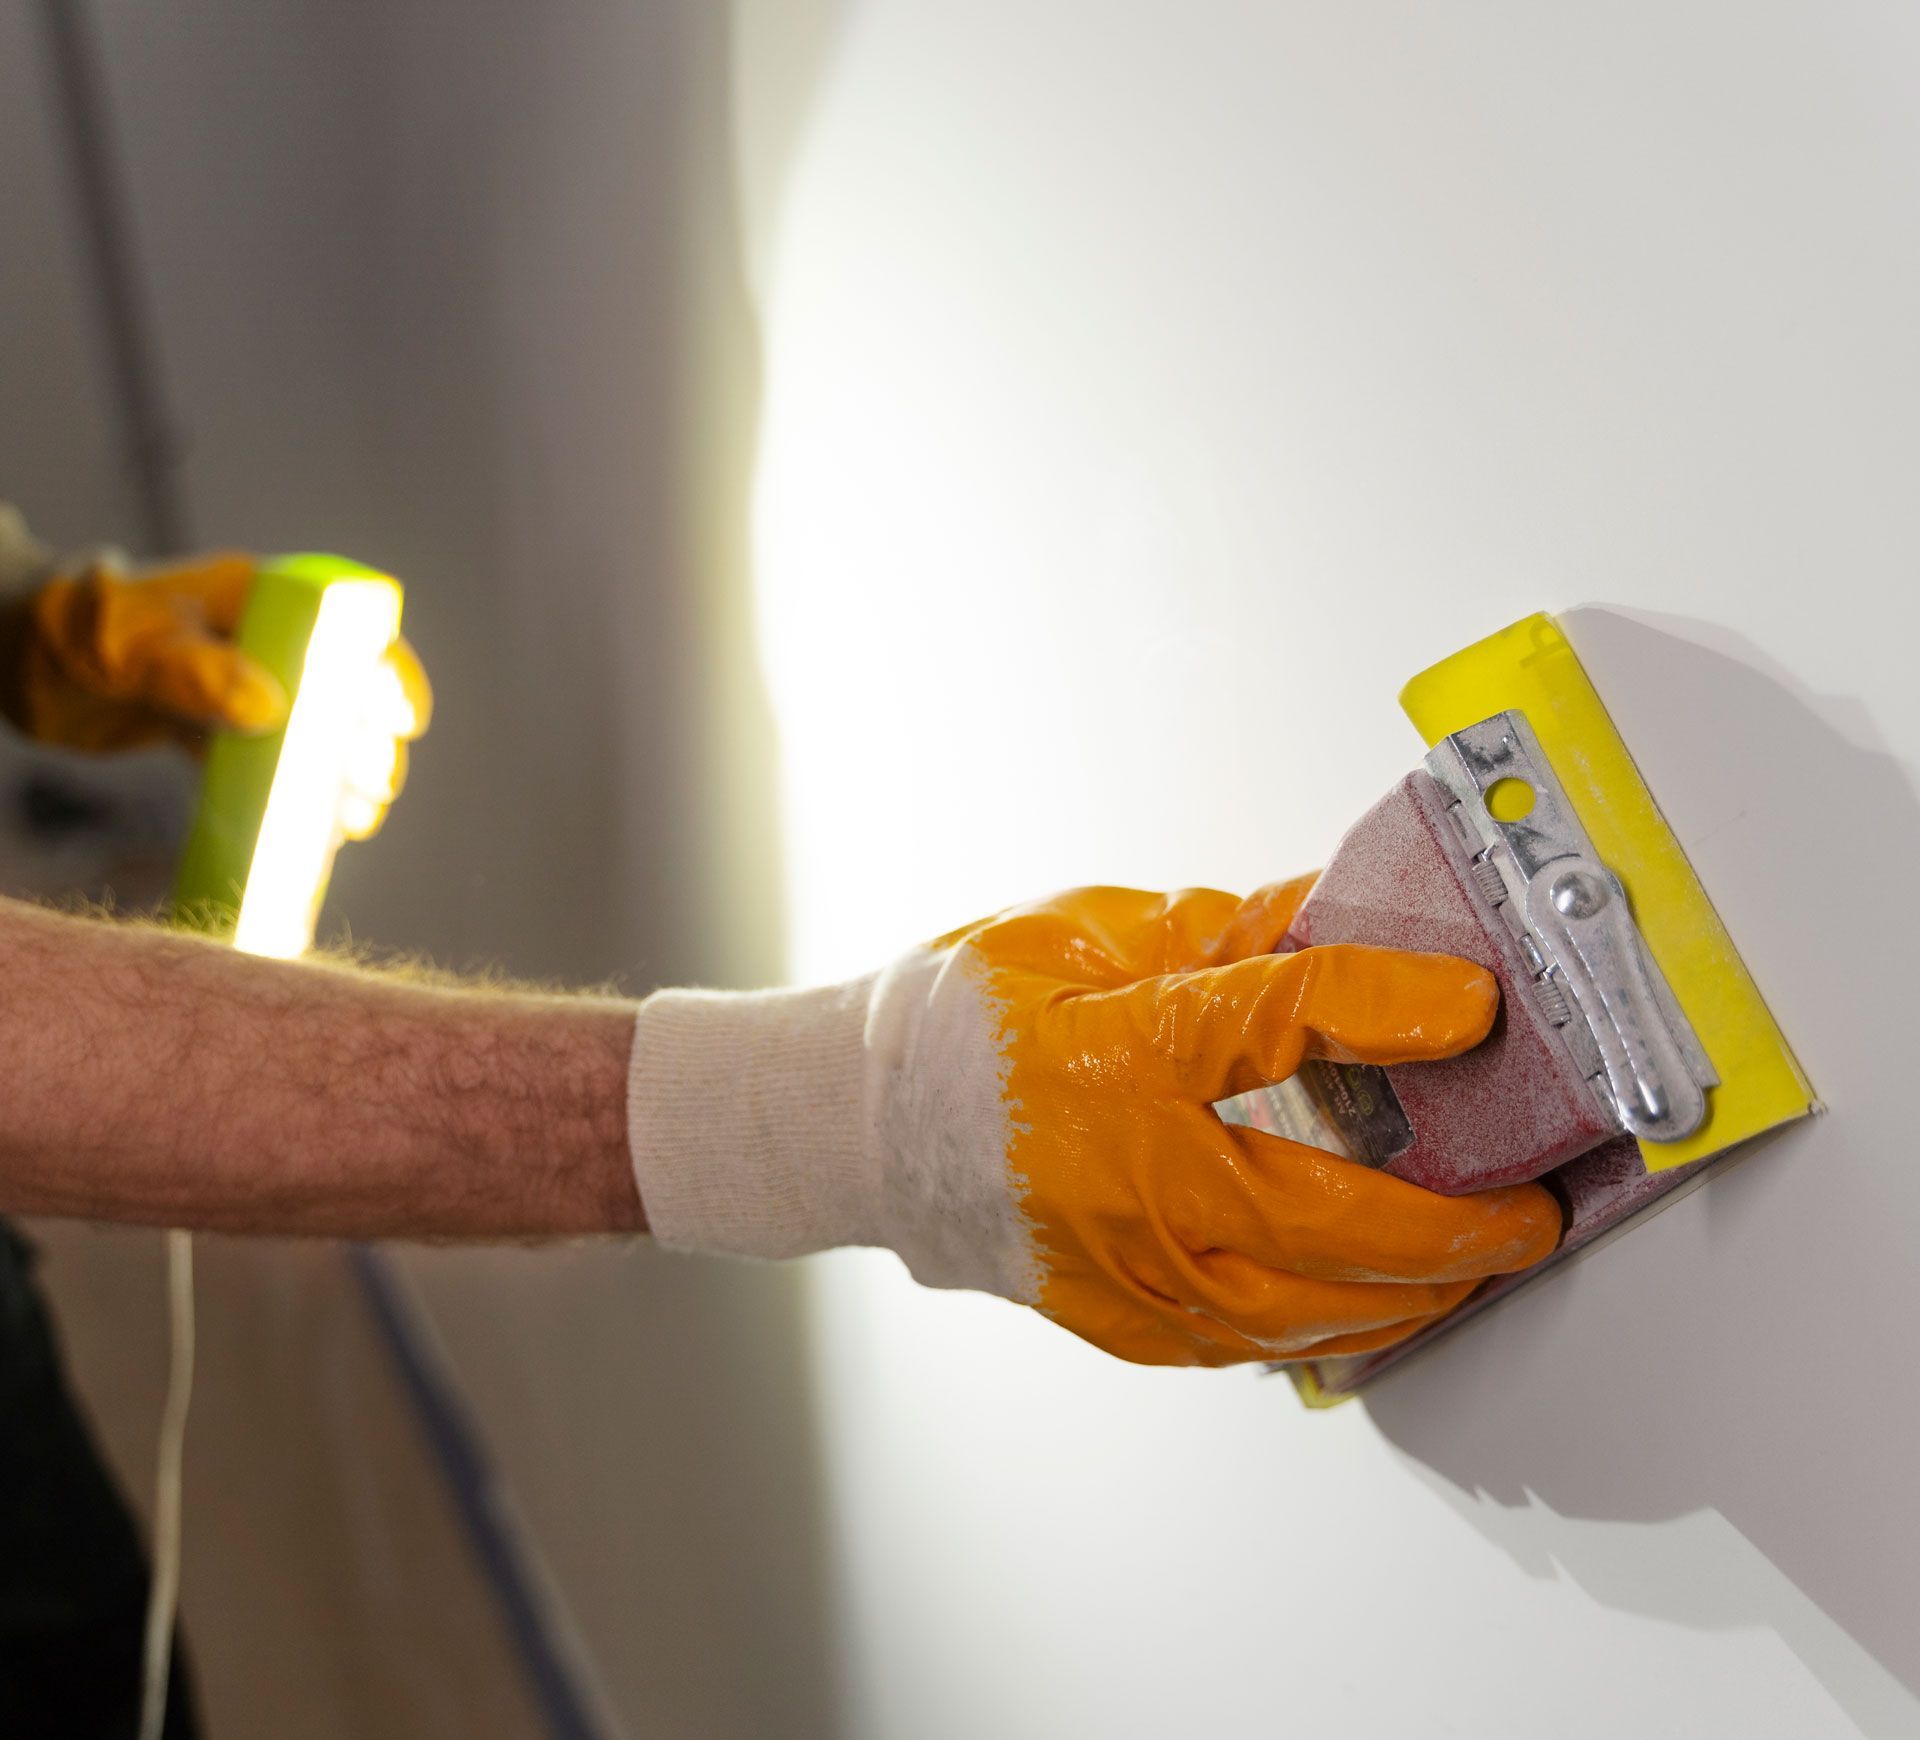
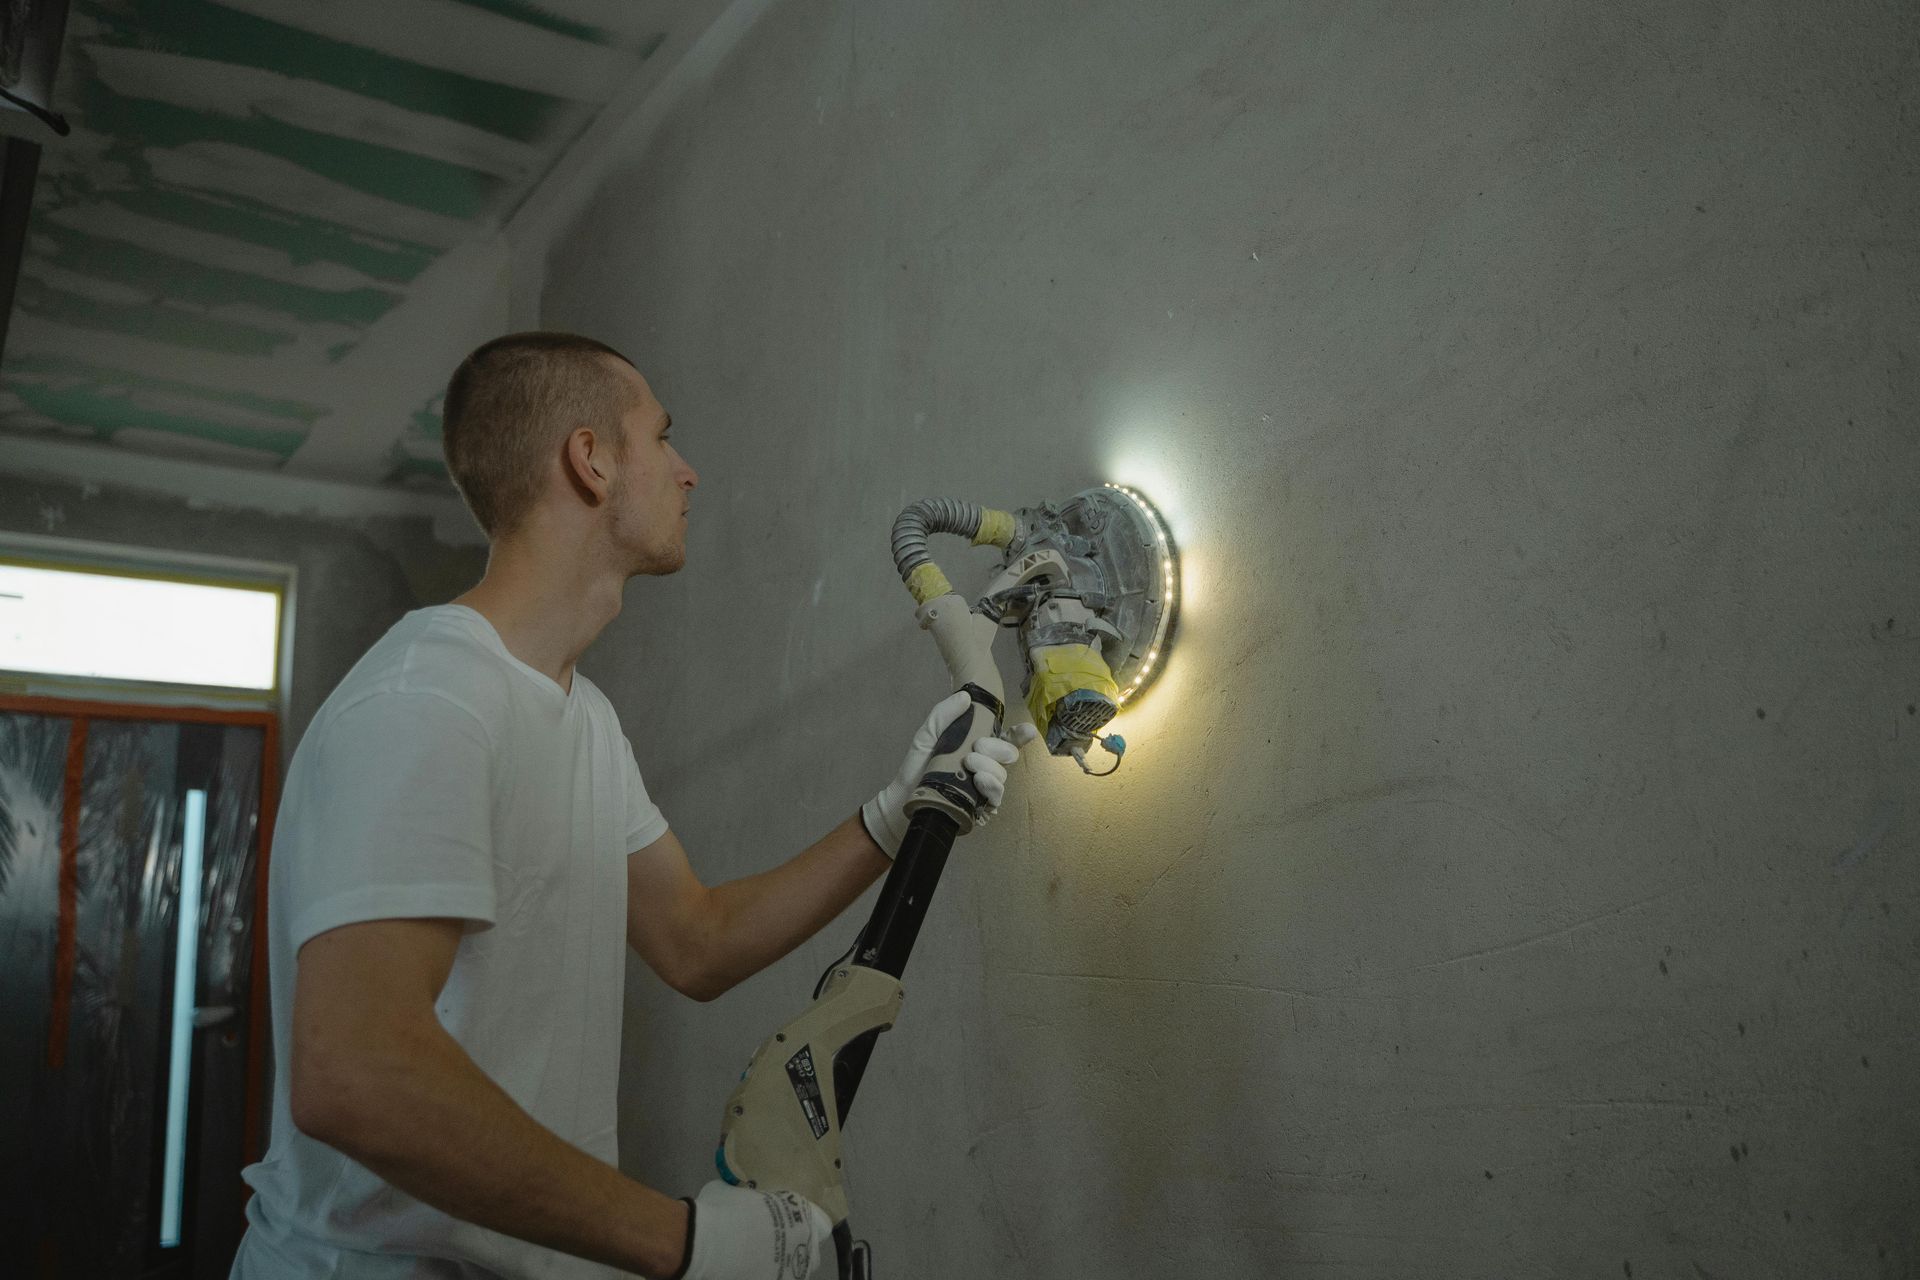
- Sand the repaired area: Use fine-grit sandpaper to smooth out any rough patches left from the joint compound.
- Wipe away dust: After sanding, wipe the area with a damp cloth to remove any dust or debris.
- Check for any uneven spots: Ensure the surface is even and ready for patching. If necessary, apply another layer of joint compound and sand again once dry.
Proper preparation ensures a smooth and professional-looking patch.
Steps to Prime and Paint the Repaired Area
Once you’ve chosen the right primer, it’s time to prime and paint the repaired section of your ceiling. Here’s how to get it done:
Apply the Primer
Using a paint roller or brush, apply the stain-blocking primer to the repaired area. Make sure to cover the edges where the new drywall meets the old ceiling. Let the primer dry completely according to the manufacturer’s instructions.
Paint the Repaired Area
Once the primer is dry, paint the area with ceiling paint. Use smooth, even strokes, blending the new paint with the surrounding ceiling. Depending on the coverage, you may need to apply a second coat after the first one dries.
Feather the Paint for a Seamless Look
Feathering the paint around the edges helps blend the repair with the rest of the ceiling. Lightly overlap the new paint with the old to avoid harsh lines or visible transitions.
Painting the repaired area properly ensures a clean, smooth finish that looks as good as new.
What Materials and Tools Are Needed for Ceiling Repair?
Having the right materials and tools is essential for a smooth ceiling repair process. Here's what you'll need:
Essential Protective Gear and Safety Tips
Safety should always come first when working on ceiling repairs.
- Protective eyewear: Wear safety goggles to protect your eyes from dust, debris, and falling drywall pieces.
- Dust mask or respirator: Prevent inhaling dust and mold particles by wearing a dust mask or respirator, especially when sanding or cutting drywall.
- Gloves: Use gloves to protect your hands when handling tools and materials.
Following these safety tips ensures you stay safe while working on your ceiling repair project.
Gathering Drywall Tools and Materials
To repair your ceiling properly, you'll need the right tools and materials on hand. Here's what you'll need:
Drywall Tools
- Utility knife: For cutting out the damaged drywall.
- Drywall saw: Useful for making more precise cuts in larger areas.
- Drywall knife: To apply joint compound and smooth it out.
- Sanding block: For smoothing out rough edges after applying joint compound.
Materials
- Drywall: You’ll need a new piece of drywall to replace the damaged section.
- Joint compound: Used for filling seams and gaps between drywall pieces.
- Drywall tape: Strengthens the joints and prevents cracking.
- Primer and paint: To match the repaired area to the rest of your ceiling.
Having all these tools and materials ready ensures your repair goes smoothly from start to finish.
Preparing for Home Improvement Projects
Before diving into any home improvement project, preparation is key. Here's how to get ready for ceiling repairs:
Clear the Area
Move any furniture or belongings out of the way to avoid damage and create enough space to work. Cover the floor and any remaining furniture with drop cloths to catch dust and debris.
Gather All Tools and Materials
Lay out all your tools and materials before starting. This saves time and helps you avoid unnecessary interruptions during the repair process.
Plan for Cleanup
Ceiling repairs can create a lot of dust and debris. Have a plan for cleaning up afterward, including vacuuming, wiping down surfaces, and disposing of damaged drywall.
Proper preparation ensures that your ceiling repair goes smoothly and minimizes the mess.
What Are the Best Practices to Prevent Future Ceiling Water Damage?
Preventing ceiling water damage is easier than dealing with repairs. By following these best practices, you can avoid future issues and keep your ceiling in great shape.
How to Maintain Gutters to Prevent Leaks
Proper gutter maintenance is one of the most effective ways to prevent leaks. Here's what you should do:
- Clean gutters regularly: Remove leaves, dirt, and debris that can clog your gutters and cause water to overflow.
- Check for damage: Inspect gutters for cracks, rust, or loose sections. Repair or replace damaged areas immediately.
- Ensure proper drainage: Make sure your downspouts direct water away from your home’s foundation and roofline to avoid water pooling near your ceiling.
Keeping your gutters in good condition will help protect your ceiling from water damage.
Regular Inspection and Maintenance Tips
Regular inspections and maintenance are key to preventing ceiling water damage. Here’s what you should do:
Inspect Your Roof Annually
Check your roof for any signs of damage, such as missing shingles or cracks, at least once a year. Early detection of roof problems can prevent water from seeping into your ceiling.
Check Plumbing Regularly
Leaks in your plumbing can lead to water damage in your ceiling. Regularly inspect visible pipes and fittings for any signs of leaks, rust, or corrosion.
Monitor Ventilation and Humidity Levels
Keep an eye on areas that produce high levels of humidity, like bathrooms and kitchens. Make sure your ventilation systems are working properly and maintain a healthy balance in your home’s humidity.
By staying proactive with inspections and maintenance, you can stop water damage before it starts.
Conclusion
Water damage on a drywall ceiling can lead to bigger problems if ignored, but with the right tools, materials, and steps, you can repair it yourself and prevent future issues. However, some cases may require a professional touch, especially if you're dealing with extensive damage or mold.
For reliable and expert drywall repair services, trust Patch Boys of South Central PA. Whether it’s ceiling repair, drywall services, skim coating, patching, or installation and framing, their skilled team is ready to handle it all with precision and care. Serving areas like Harrisburg, Hershey, Gettysburg, Lancaster, York, Reading, and Chambersburg, Patch Boys is dedicated to transforming your spaces and providing top-notch solutions for your drywall needs.
Call Patch Boys of South Central PA today to get a free estimate and see how they can help you with your next drywall project. From small repairs to large installations, they’ve got you covered. Let Patch Boys restore and enhance your home with quality craftsmanship and excellent service!
FAQs
What are the initial steps to take when you notice drywall ceiling water damage?
First, protect the floor with a tarp to catch any drips and debris. Ensure the area has proper ventilation. Take safety precautions such as wearing goggles and gloves before beginning any repair work.
How do I remove the damaged portion of a drywall ceiling?
Use a utility knife to score the outline of the damaged section. Then, use a drywall saw to cut along the scored lines, ensuring you cut 2 inches wider and longer than the damaged area to fully remove the damaged portion.
What should I do after removing the damaged section of the ceiling?
Inspect the ceiling joists and ensure they are dry and intact. Replace any damaged insulation or ceiling material, if necessary, before installing the new piece of drywall.
How can I prevent future drywall water damage?
Regularly inspect your roof and plumbing for leaks. Ensure that your home has proper ventilation to prevent moisture buildup, and address any early signs of damage promptly to prevent extensive repairs.
What gives peace of mind after repairing drywall water damage?
Knowing that you've stopped the water source, repaired the damaged ceiling correctly, and taken steps to prevent future issues provides peace of mind and ensures the longevity of your home’s structure.

