The Hidden Costs of Drywall Mistakes
Installing drywall seems straightforward—measure, cut, and secure it to the wall. But even small mistakes can lead to cracks, weak joints, uneven surfaces, and expensive repairs. If you’re not careful, a simple job can turn into a major headache. Whether you're tackling a DIY project or hiring a contractor, knowing what to avoid can save you time, money, and frustration.
So, what are the most common drywall mistakes? The biggest errors include poor taping, overdriven screws, bad measurements, skipping primer, and rushing the sanding process. These mistakes don’t just make your walls look bad—they can cause long-term problems like cracking, sagging, and even mold growth.
Some drywall issues aren’t just cosmetic. If drywall isn’t installed properly, it can lead to structural damage, wasted materials, and costly repairs down the road. The good news? Most of these mistakes are preventable. This guide will walk you through the most common errors and how to get the job done right the first time.
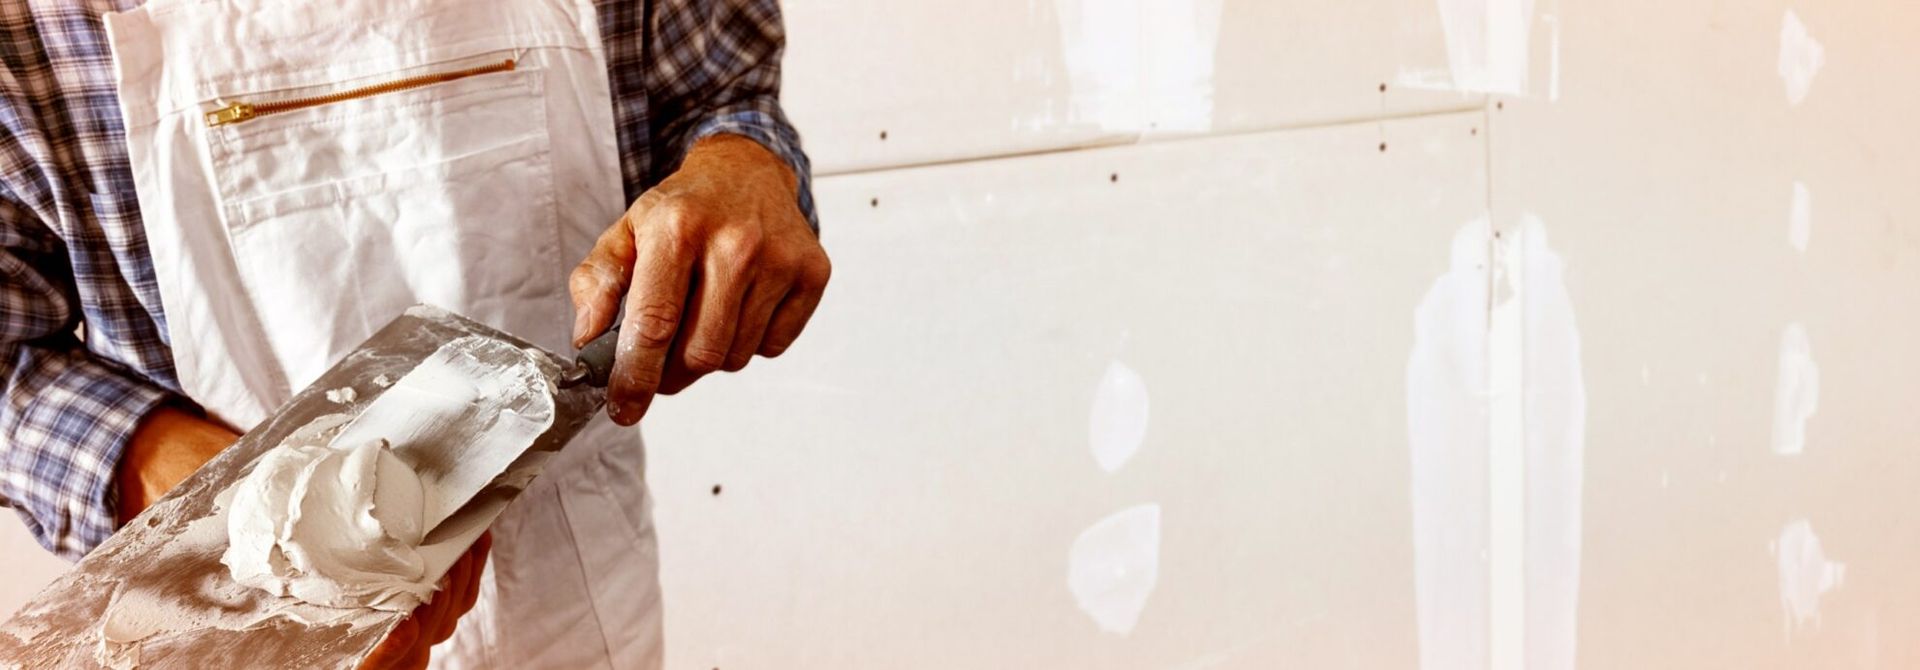
The #1 Costly Mistake: Poor Joint Taping & Mudding
Why This Mistake Happens
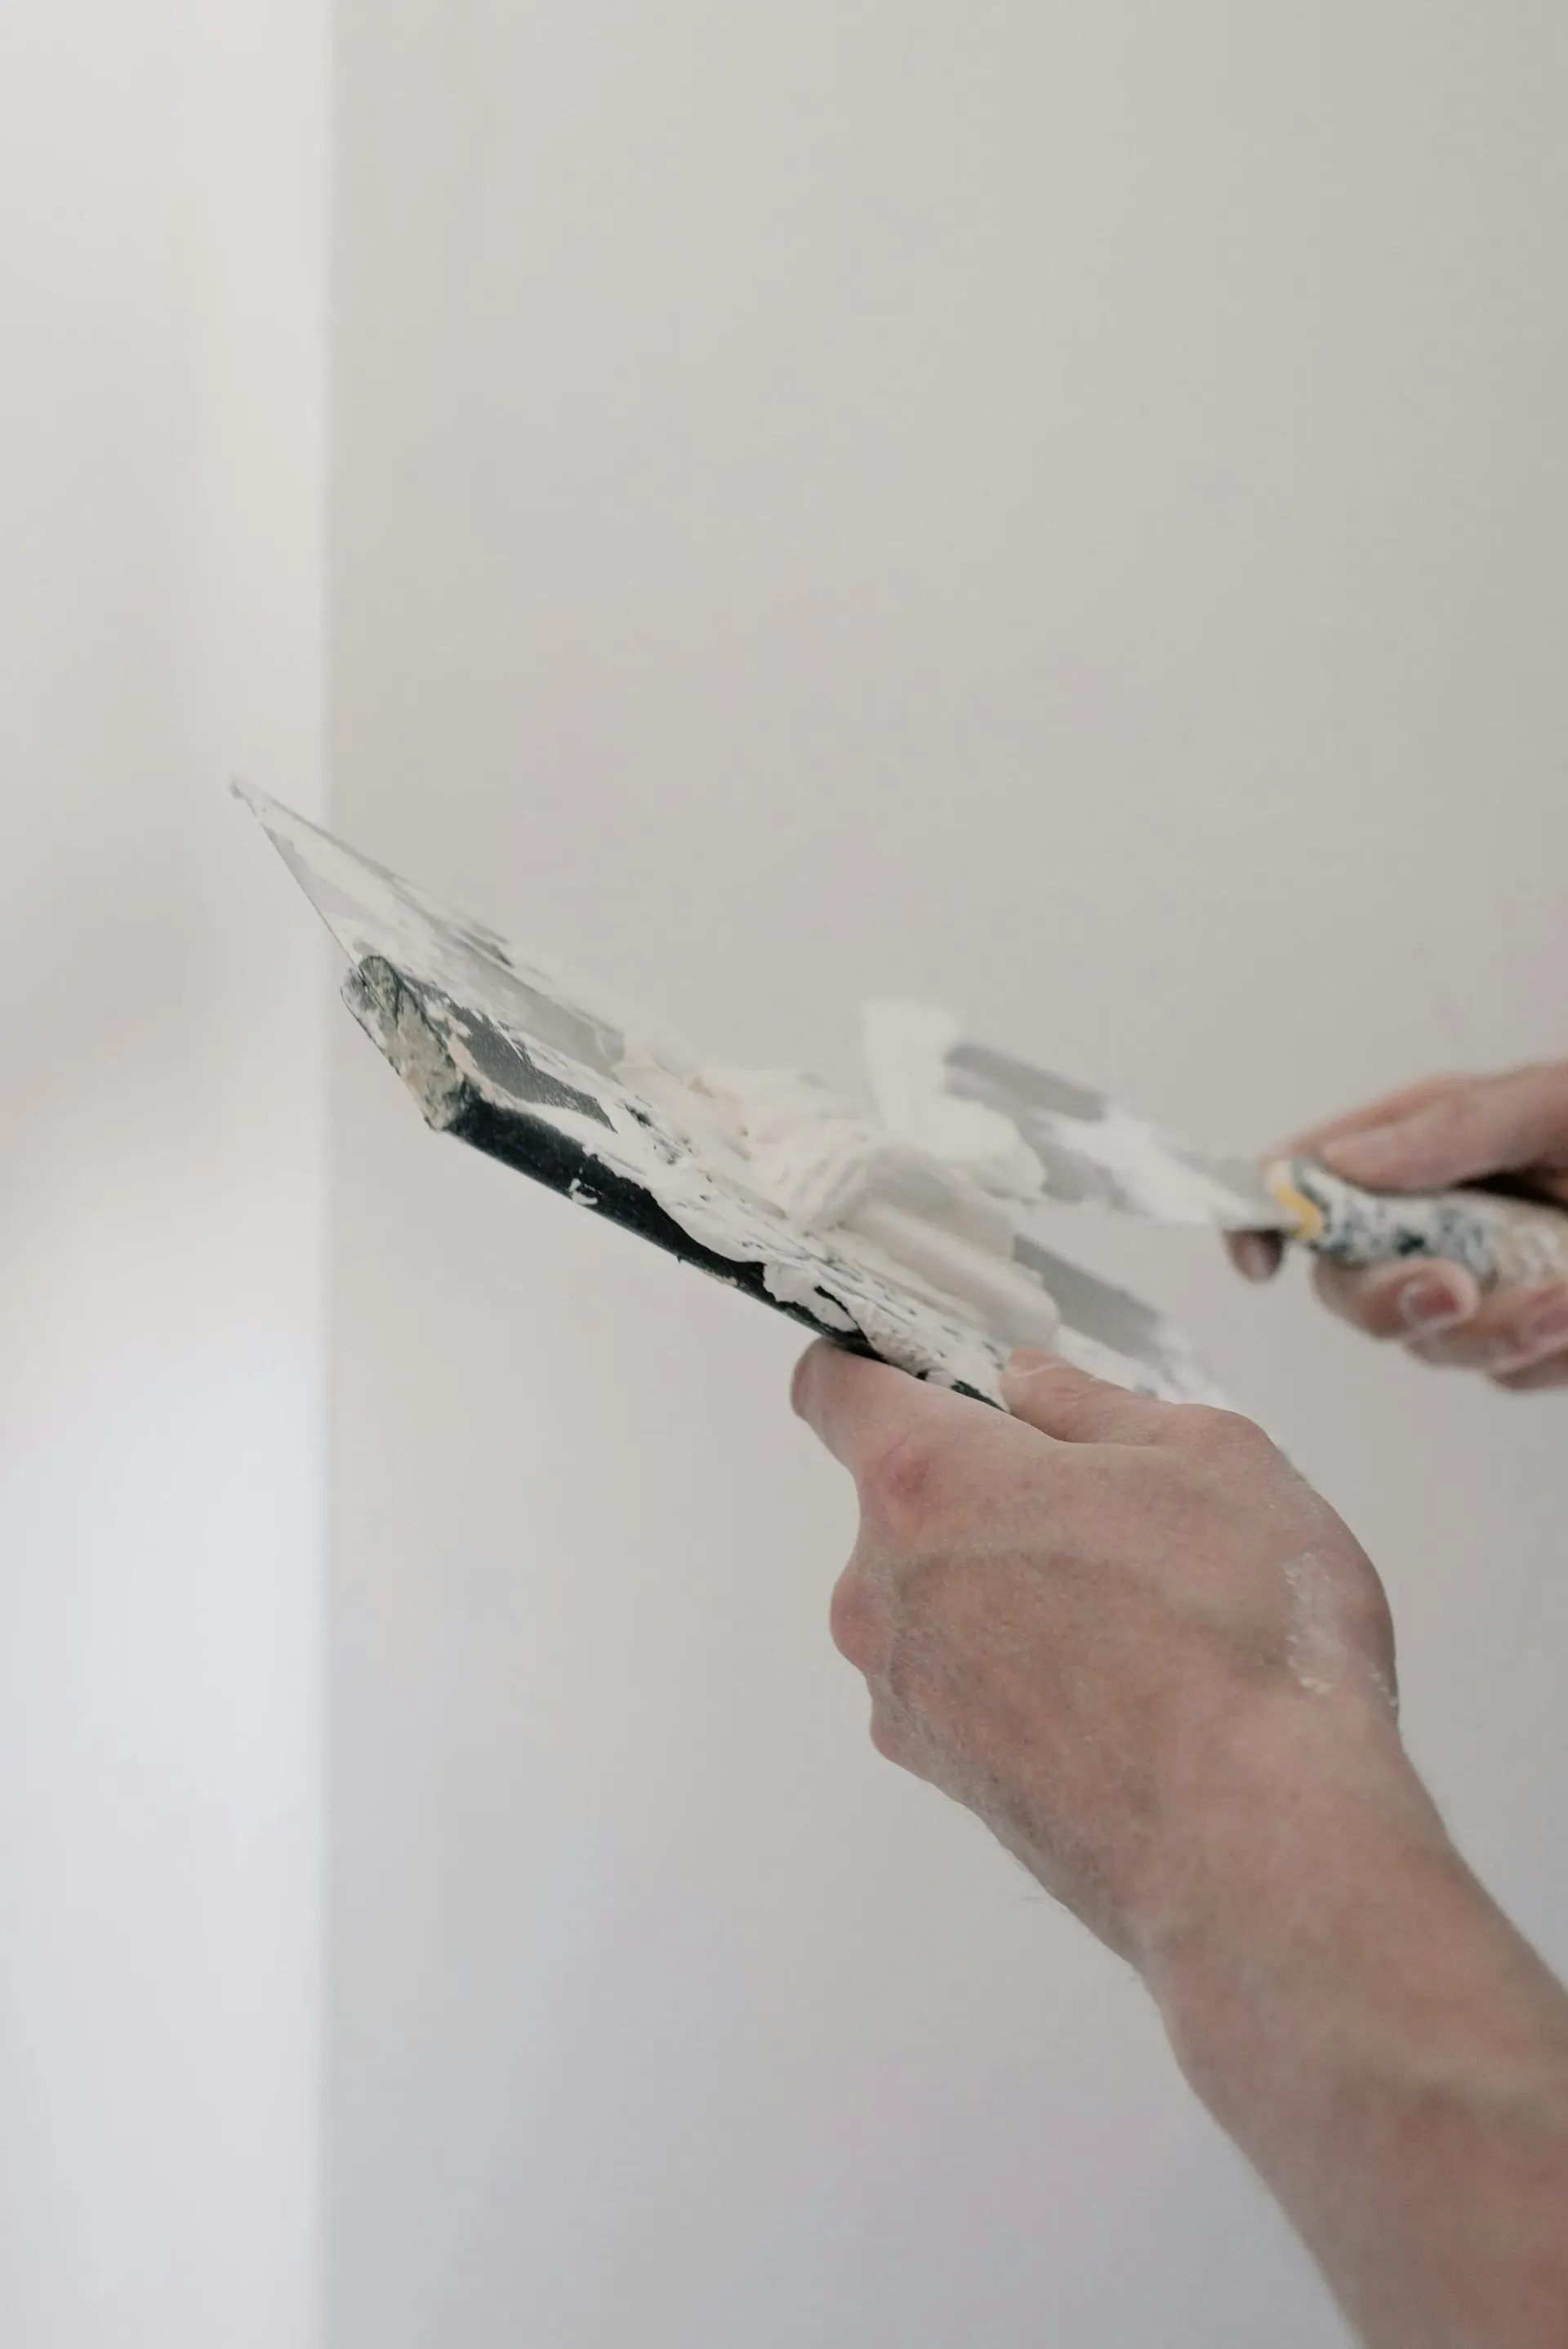
Taping and mudding might seem like the easiest part of drywall installation, but it’s where most people mess up. Rushing the process, using too much or too little joint compound, or failing to feather out the edges can lead to cracks, bubbles, and uneven seams.
The Cost of Bad Taping
When joint tape isn’t applied correctly, it weakens the seams. Over time, this can cause visible cracks or peeling. Fixing bad taping means sanding everything down and redoing the work, which adds extra time, materials, and labor costs.
How to Avoid It
- Use the right tape – Paper tape works best for flat joints, while mesh tape is better for corners.
- Apply thin layers of joint compound – Thick layers take longer to dry and are harder to sand.
- Feather the edges – Blend the mud smoothly into the drywall for an invisible seam.
- Let it dry completely before sanding or adding another coat – Rushing leads to cracks.
Getting this step right will save you from costly repairs and ugly walls down the line.
Incorrect Fastening: Overdriven or Misplaced Screws
Why This Mistake Happens
Drywall needs to be fastened securely, but many people either drive screws too deep or don’t place them correctly. Overdriven screws break the drywall’s paper surface, making it weaker. Screws placed too far apart or too close to the edges can cause loose panels or cracks.
The Cost of Bad Fastening
When screws go in too deep, they lose their holding power, leading to sagging drywall or screw pops. If screws aren’t evenly spaced, the drywall can shift, causing cracks and weak spots. Fixing these problems means extra time patching, replacing screws, or even redoing entire sections.
How to Avoid It
- Use a drywall screw setter – This helps drive screws just below the surface without breaking the paper.
- Follow proper spacing – Keep screws 16 inches apart on walls and 12 inches apart on ceilings.
- Avoid edges – Place screws at least ½ inch away from the edges to prevent cracking.
- Check your work – If a screw goes in too deep, add another one nearby for support.
Taking your time with fastening will prevent loose drywall, screw pops, and future repairs.
Poor Measurement & Cutting: Gaps, Weak Seams, and Extra Patching
Why This Mistake Happens
Cutting drywall isn’t just about making a straight line. Many people measure wrong, cut too small, or don’t account for framing layout. This leads to gaps, uneven seams, and extra patching work.
The Cost of Bad Cutting
If your drywall pieces don’t fit snugly, you’ll end up using more joint compound to fill the gaps. This not only weakens the seams but also makes the finish look sloppy. Poor cuts can also lead to wasted materials, forcing you to buy extra sheets.
How to Avoid It
- Measure twice, cut once – Always double-check before making a cut.
- Use a T-square – This helps ensure straight, clean lines.
- Score and snap – Instead of sawing, score the drywall with a utility knife, then snap it along the line.
- Leave a slight gap – A
⅛-inch gap allows for expansion and prevents cracking later.
Taking the time to cut properly will save you money on materials and prevent unnecessary patching.
Skipping Expansion Gaps & Moisture Protection: Cracking & Mold Growth
Why This Mistake Happens
Many people think drywall should fit tightly against walls and ceilings, but that’s a mistake. Drywall expands and contracts with temperature and humidity changes. If there’s no room for movement, it can crack over time. Another common issue is using the wrong type of drywall in moisture-prone areas, which can lead to mold growth and water damage.
The Cost of Ignoring Expansion Gaps & Moisture Protection
Without proper gaps, drywall can push against other panels, causing visible cracks or bulges. If regular drywall is used in bathrooms or basements, moisture can seep in, leading to mold, warping, and expensive replacements. Fixing these issues often requires removing and reinstalling drywall, which adds labor and material costs.
How to Avoid It
- Leave a ⅛-inch gap – This allows for natural expansion and prevents cracking.
- Use moisture-resistant drywall – Green board or cement board should be used in bathrooms, laundry rooms, and basements.
- Seal joints properly – Apply a waterproof primer in high-moisture areas before painting.
- Check for proper ventilation – Good airflow helps prevent moisture buildup and mold.
Preventing cracks and moisture issues from the start will help you avoid costly repairs and keep your walls in top shape.
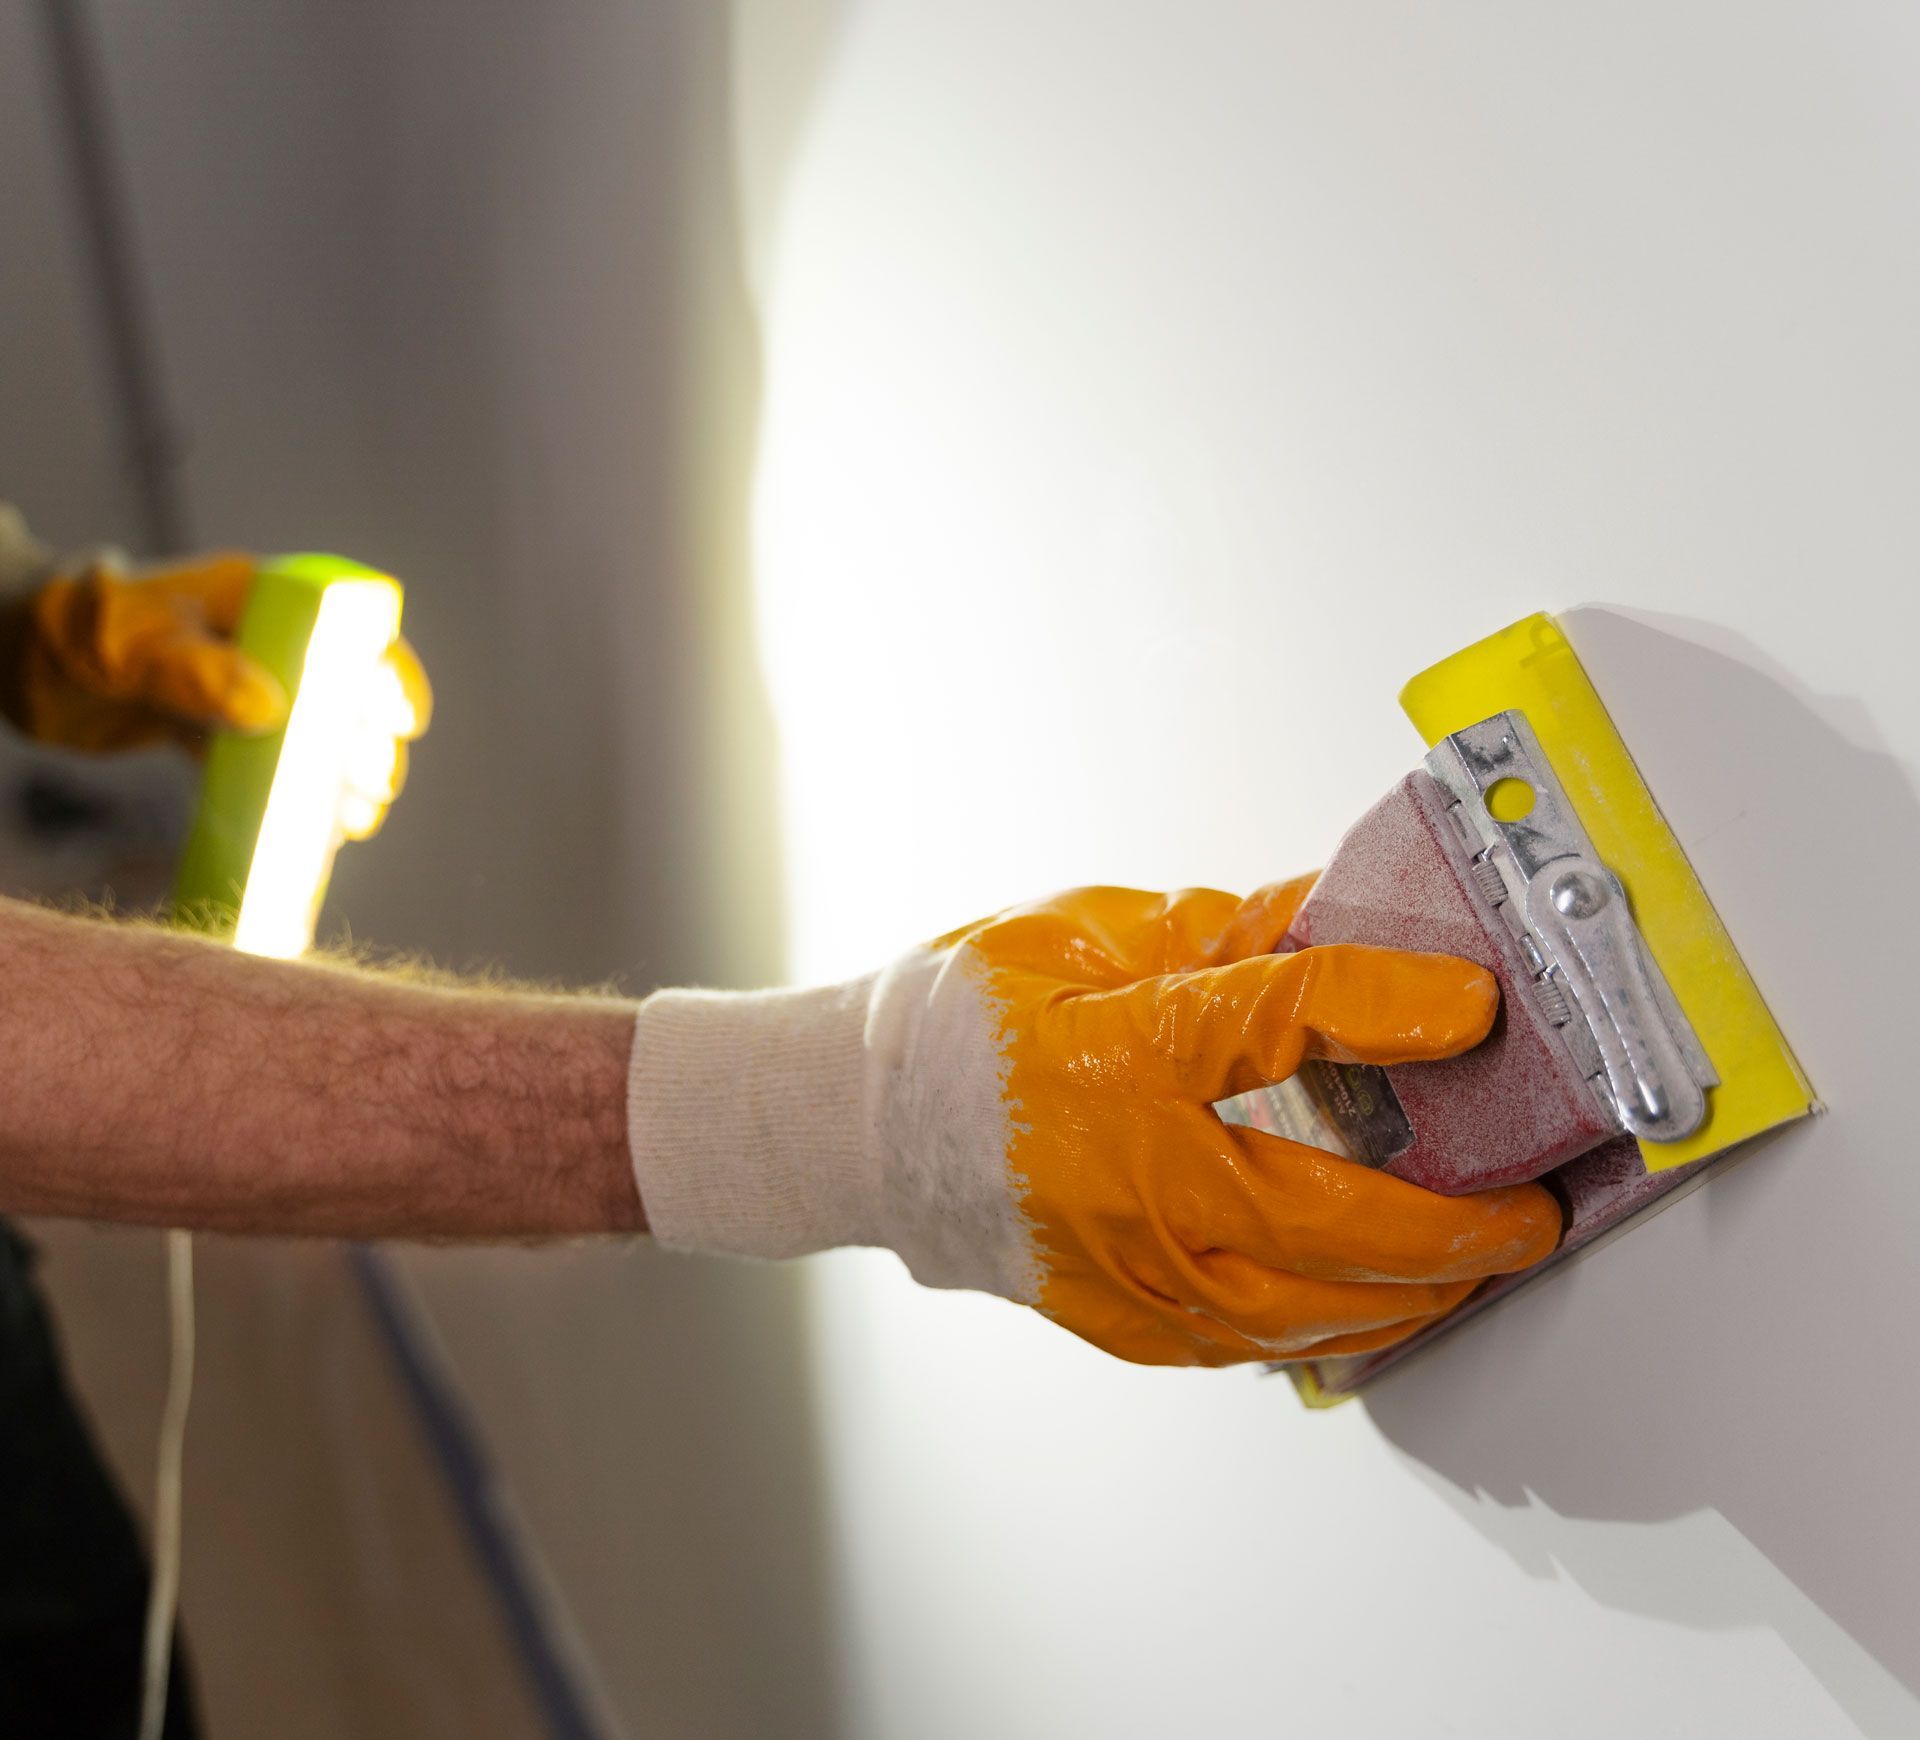
Sanding Too Much or Too Little: Ruining the Finish Before Paint
Why This Mistake Happens
Sanding is the final step before painting, but many people either overdo it or don’t do enough. If you sand too much, you can thin out the joint compound, exposing the tape underneath. If you don’t sand enough, you’ll end up with rough, uneven surfaces that stand out after painting.
The Cost of Bad Sanding
Over-sanding means weak spots that may crack or need re-mudding, while under-sanding leaves visible ridges and bumps. Once paint goes on, any imperfections will be even more noticeable, leading to repainting and extra labor costs.
How to Avoid It
- Use light pressure – Let the sandpaper do the work; pressing too hard can damage the surface.
- Start with a fine-grit sandpaper (150-220 grit) – This smooths out the surface without taking off too much.
- Use a sanding pole – This helps cover large areas evenly.
- Check your work with a light – Hold a light at an angle to spot any rough areas before painting.
A properly sanded drywall surface will look flawless once painted and save you from extra work later.
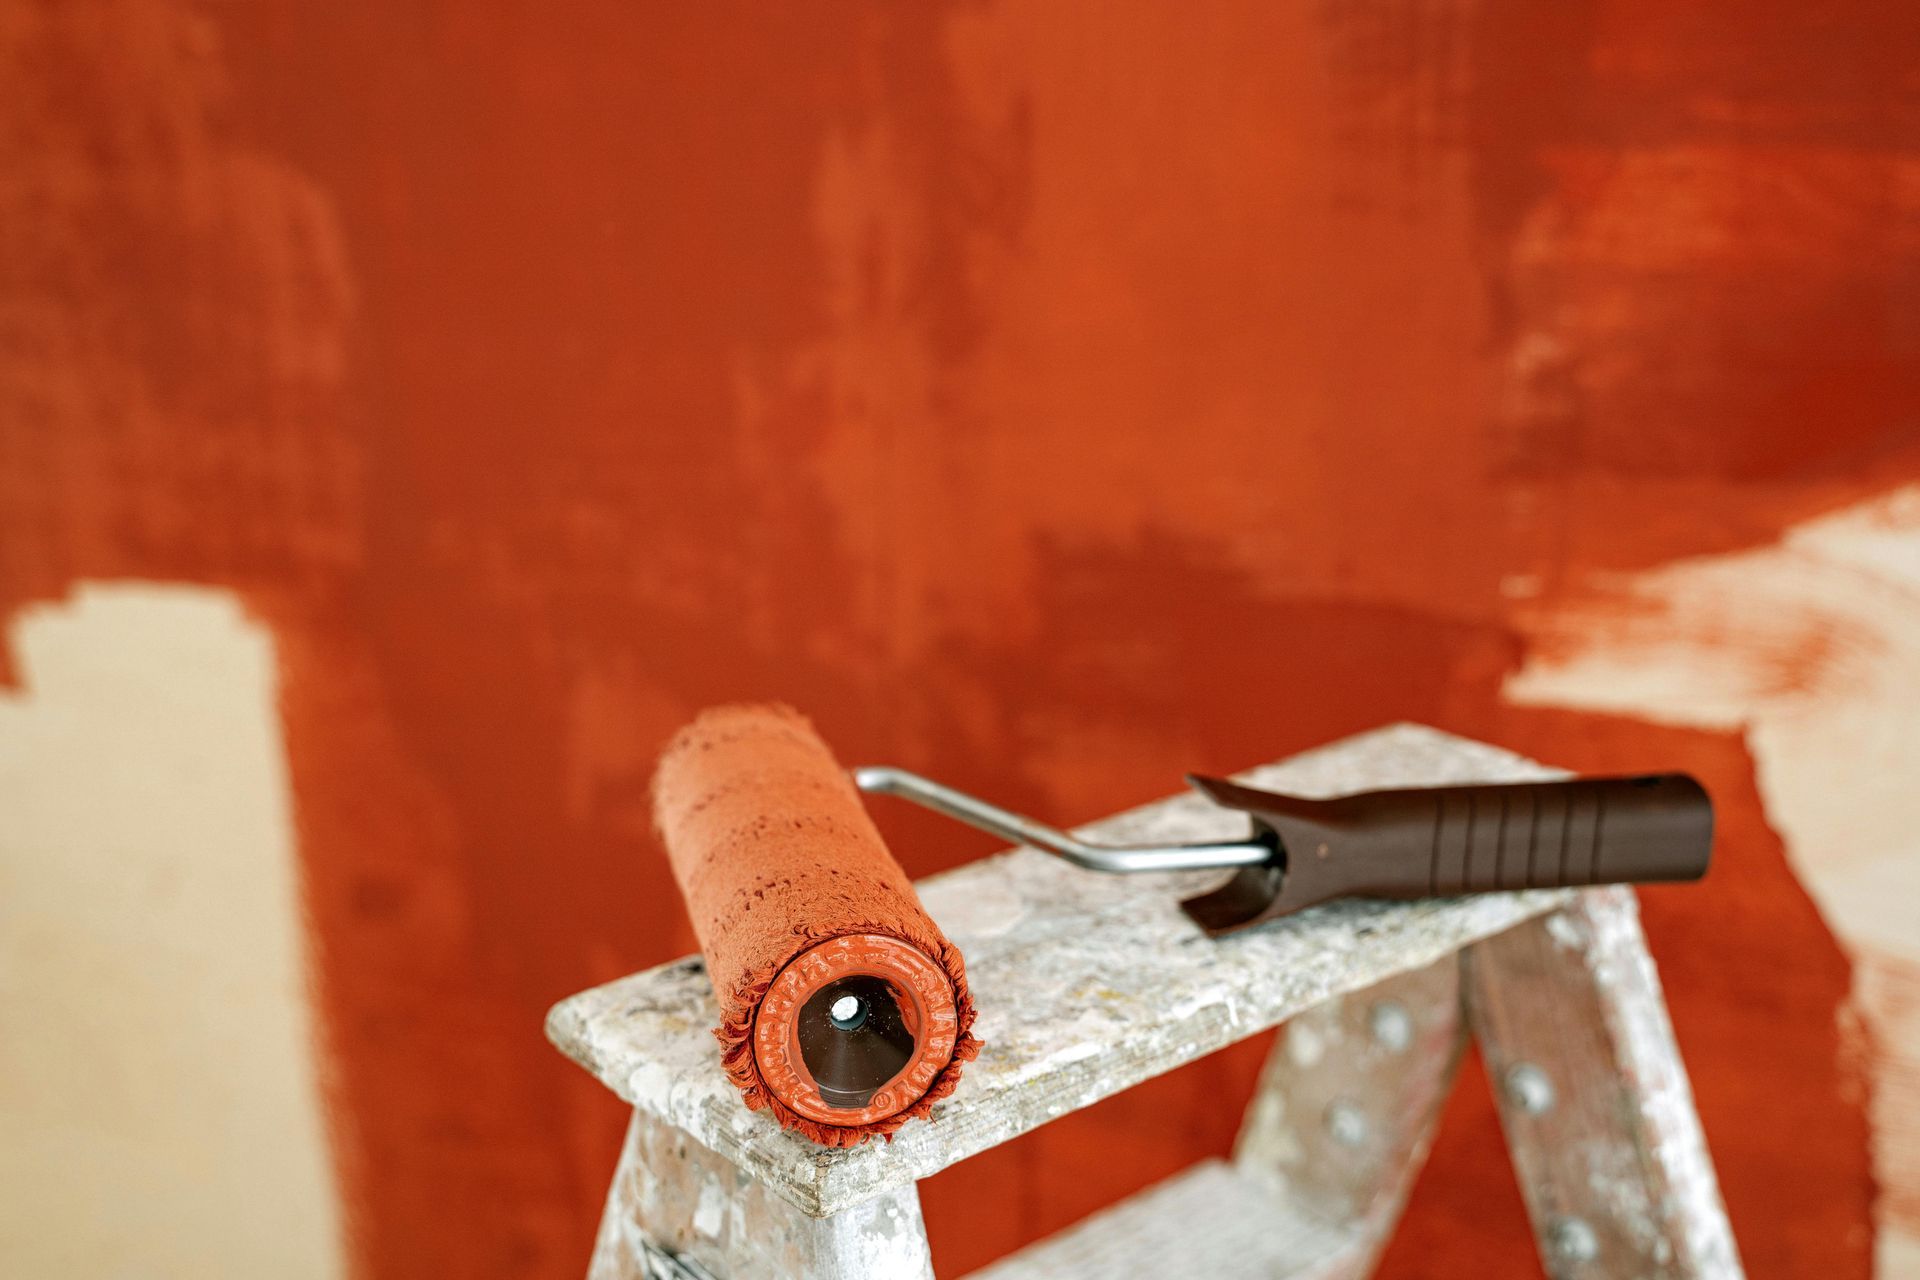
Painting Too Soon or Skipping Primer: Uneven and Patchy Walls
Why This Mistake Happens
After installing drywall, some people rush to paint without properly preparing the surface. Skipping primer or painting too soon can lead to blotchy, uneven color and poor adhesion. Drywall is porous, so it absorbs paint unevenly, especially where joint compound is applied.
The Cost of Skipping Primer or Rushing to Paint
Without primer, you’ll need extra coats of paint to get an even finish, which wastes time and money on materials. In some cases, paint can peel or chip, forcing you to sand and repaint—doubling your workload.
How to Avoid It
- Always use a drywall primer – This seals the surface and ensures smooth, even paint coverage.
- Let the drywall fully dry – If joint compound is still damp, paint won’t stick properly.
- Use the right roller – A ¾-inch nap roller helps apply primer and paint evenly.
- Check for imperfections before painting – Sand down any rough spots or visible seams.
Taking these steps will help your paint look professional and last longer, saving you from unnecessary touch-ups.
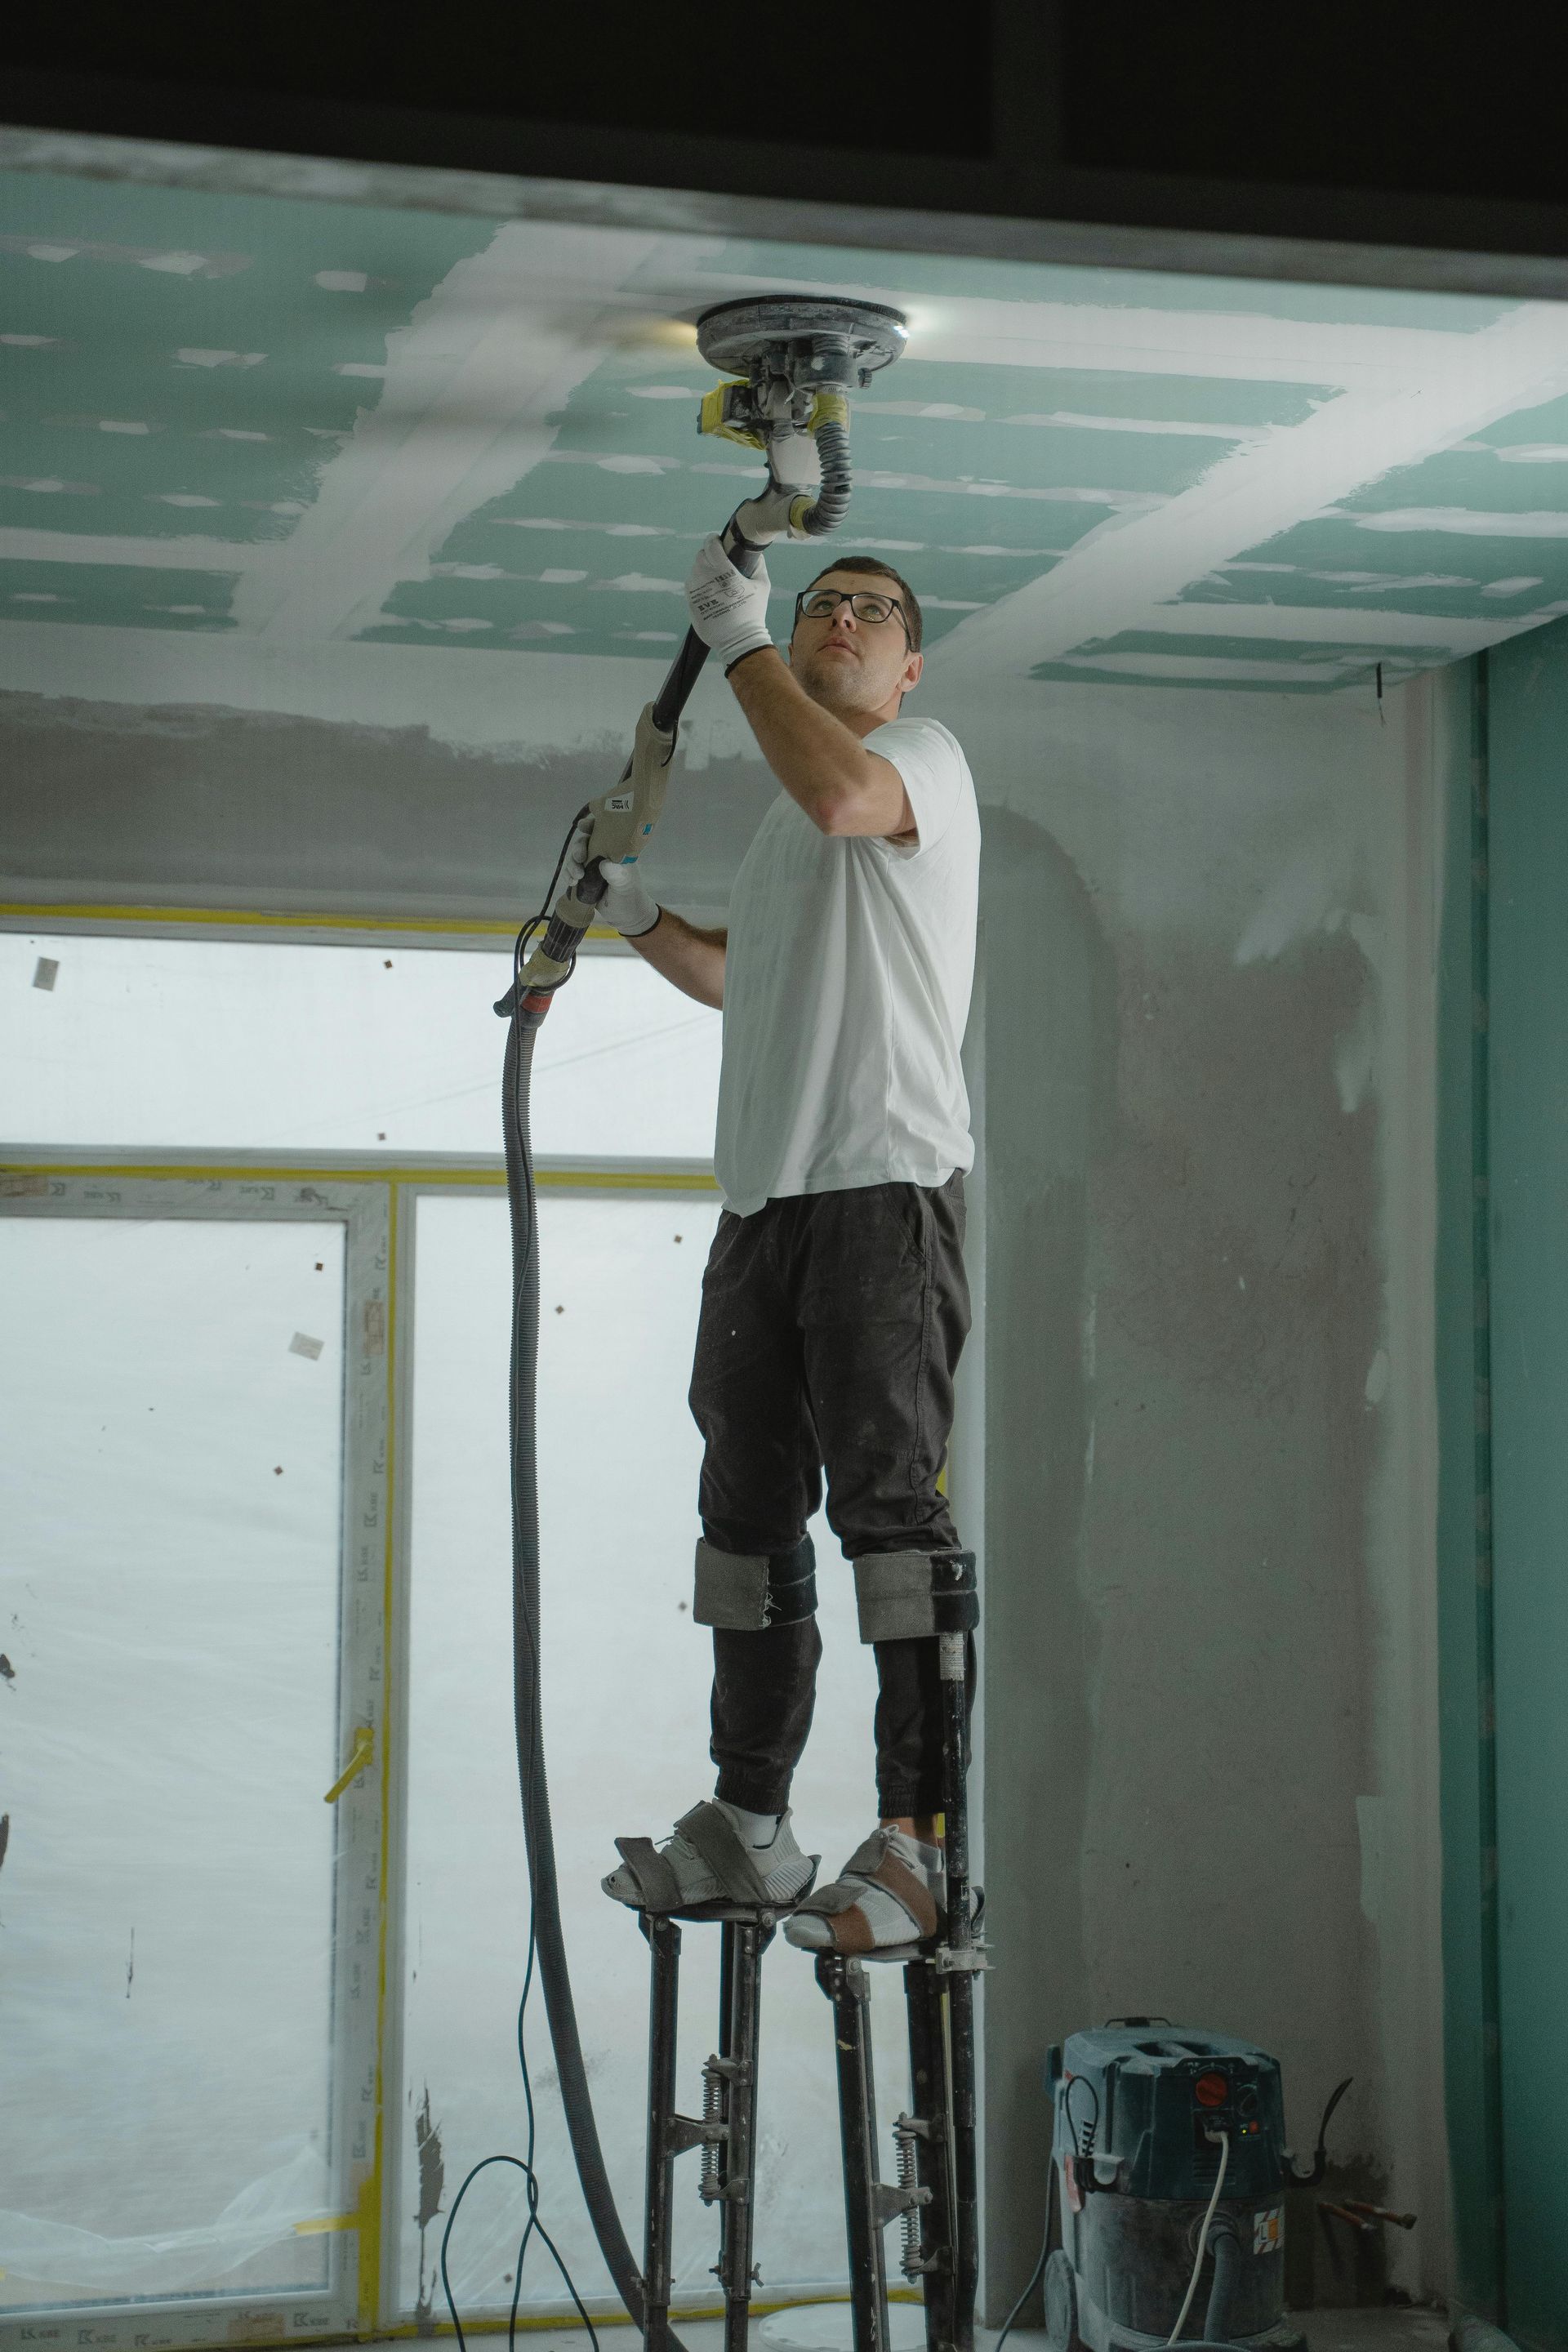
When DIY Drywall Installation Turns Into a Costly Mistake
Why This Mistake Happens
Many homeowners try to install drywall themselves to save money, but without experience, they often make mistakes that lead to expensive repairs. From bad taping and over-sanding to improper fastening, these errors weaken the drywall, cause visible flaws, and reduce the lifespan of the walls.
The Cost of DIY Mistakes
Fixing DIY drywall mistakes can cost hundreds or even thousands of dollars, depending on the extent of the damage. A poorly installed wall may need extra joint compound, re-sanding, or even complete panel replacements. Plus, if you don’t use moisture-resistant drywall where needed, mold problems could require a full tear-out and rebuild.
How to Avoid It
- Know your skill level – Drywall work looks easy but requires precision and technique.
- Invest in the right tools – Using a drywall screw setter, T-square, and sanding pole can prevent common mistakes.
- Take your time – Rushing leads to poor seams, over-sanding, and uneven finishes.
- Hire a professional for complex jobs – If you’re covering a
large area, working around plumbing, or finishing a ceiling, it’s worth hiring an expert.
While small repairs can be a great DIY project, a full drywall installation is often best left to professionals to avoid costly rework.
Conclusion
Drywall mistakes can lead to cracks, uneven surfaces, and costly repairs, but they’re avoidable with the right approach. From proper taping and fastening to precise cutting and sanding, every step matters. Skipping key details can mean redoing the work, wasting materials, and spending more money in the long run. Whether you're tackling drywall as a DIY project or hiring a professional, quality installation is key to long-lasting, flawless walls.
For expert drywall solutions in Harrisburg, Hershey, Gettysburg, Lancaster, York, Reading, and Chambersburg, trust Patch Boys of South Central PA. Our skilled team specializes in drywall services, skim coating, ceiling repair, patching, installation, and framing. Whether you need a simple repair or a full drywall installation, we ensure precision, durability, and a smooth finish. Don’t let drywall mistakes cost you—contact Patch Boys today for expert service and lasting results!