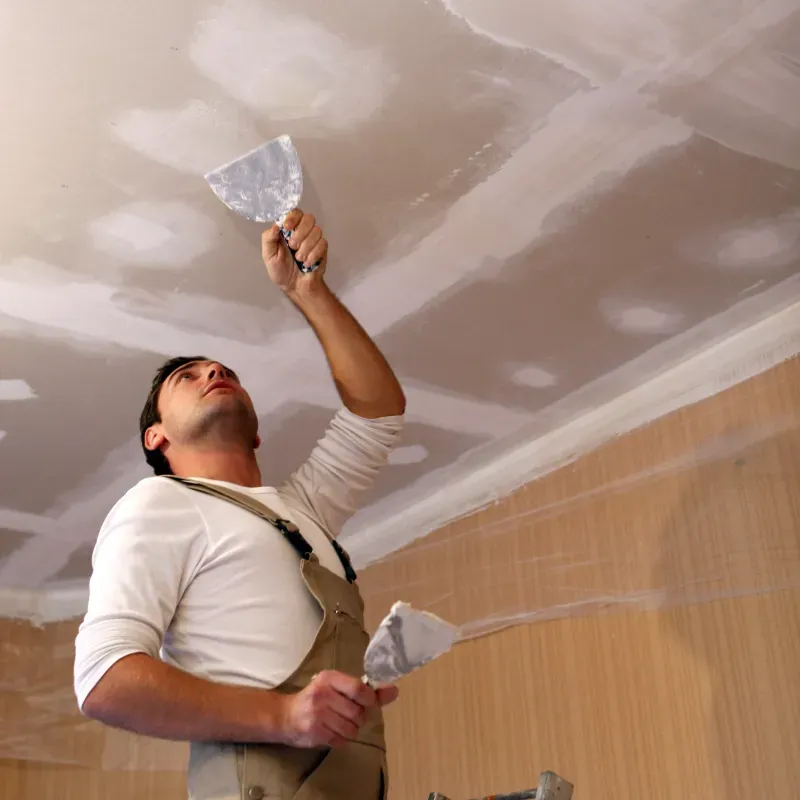
The Drywall Installation Process: From Start to Finish
In the world of home construction and renovation, drywall stands out as a fundamental element that shapes the interior of almost every modern building. Its smooth, paint-ready surface offers a canvas for homeowners and designers alike to realize their aesthetic visions.
However, the process of installing drywall is both an art and a science, requiring meticulous planning, precise execution, and a good understanding of the material's properties. Whether you're a seasoned DIY enthusiast ready to tackle your next project or a homeowner considering the DIY route for the first time, this guide will walk you through the drywall installation process from start to finish.
Drawing on expert insights and the latest data, we aim to equip you with the knowledge needed to ensure your drywall installation not only meets but exceeds expectations. Let's dive into the first critical steps: planning and preparation.
Planning and Preparation
Assesing Your Space
Before any drywall goes up, the first step is to fully assess the space you're working with. This involves measuring the height and width of your walls and ceilings to determine how much drywall you'll need. Remember, it's always better to have a little extra than to find yourself short mid-project. This phase is crucial for creating an accurate budget and timeline.
Choosing the Right Materials
Not all drywall is created equal. Depending on your room's specific needs, you might choose between standard drywall, moisture-resistant for bathrooms or basements, or fire-resistant for kitchens and garages. Each type has its unique benefits and applications, ensuring your space is not only beautiful but also functional and safe.
Expert Insight
Johnathan Masters, a seasoned construction expert with over 25 years in the industry, advises, "Consider the room's use and potential exposure to moisture or heat when selecting your drywall type. The right choice here can significantly impact the longevity and safety of your space."
Preparing the Worksite
Safety first. Ensure your workspace is clean, clear, and safe for work. Lay down drop cloths to protect your floors, and make sure the area is well-ventilated to handle any dust or fumes from the installation process. Gathering all your tools and materials beforehand can save time and prevent interruptions once the work begins.
The Installation Process
Framing Inspection and Preparation
Before the first panel of drywall is ever lifted, ensuring that the framing is ready to receive it is crucial. This step is about more than just making sure the frame is sturdy; it's about ensuring that it's perfectly level and free of any potential obstructions like protruding nails or uneven stud placements. An uneven frame can lead to a host of problems down the line, from difficulty in fitting the drywall panels to issues with wall finishes.
A thorough inspection involves using a level and a straightedge to check for uniformity across all studs and joists. Any discrepancies here can be corrected with shims to ensure a flat surface for the drywall. This meticulous preparation sets the stage for a smoother installation process and a more polished final look.
Cutting and Hanging Drywall
Measuring twice and cutting once is the golden rule when it comes to hanging drywall. Begin by determining the size of the panel needed, marking your measurements on the drywall, and using a T-square to ensure straight lines. A utility knife is typically used to score the front of the drywall sheet; a strong bend will snap the sheet cleanly along the scored line, followed by cutting the paper backing to separate the pieces fully.
Hanging drywall starts at the ceiling, working your way down to ensure any seams are less noticeable and easier to tape and mud. Drywall screws, spaced about every 8 inches along studs, secure the panels. It's important to sink the screws just below the surface without breaking the paper face, a balance that ensures a strong hold without compromising the integrity of the drywall.
Taping and Mudding
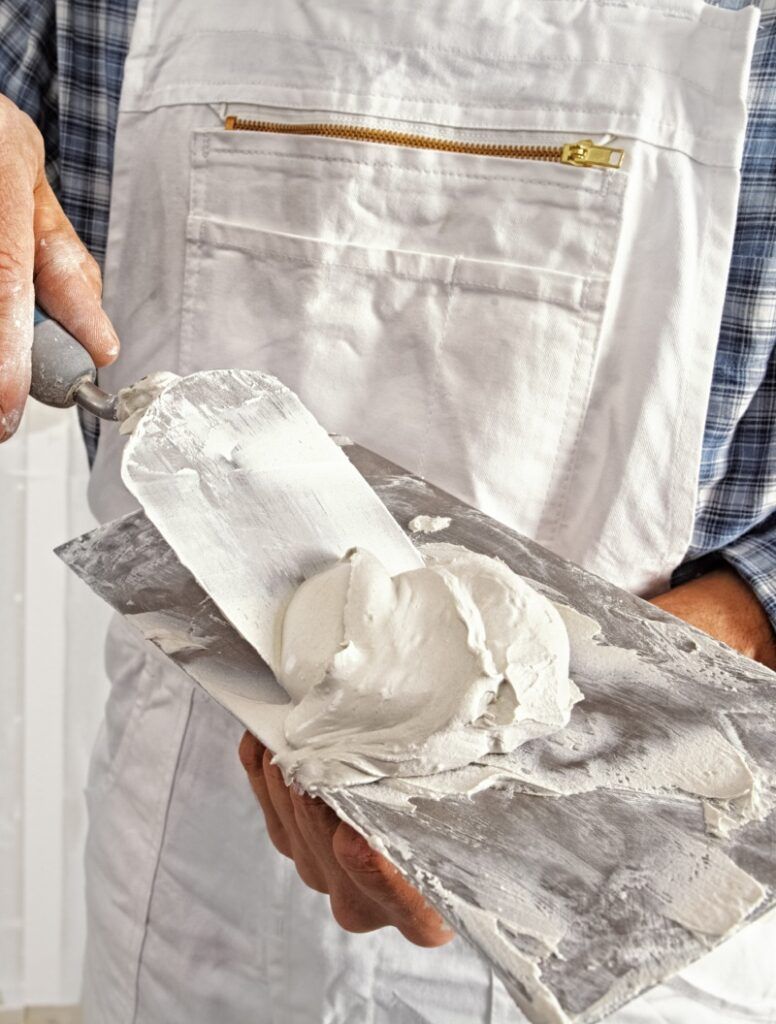
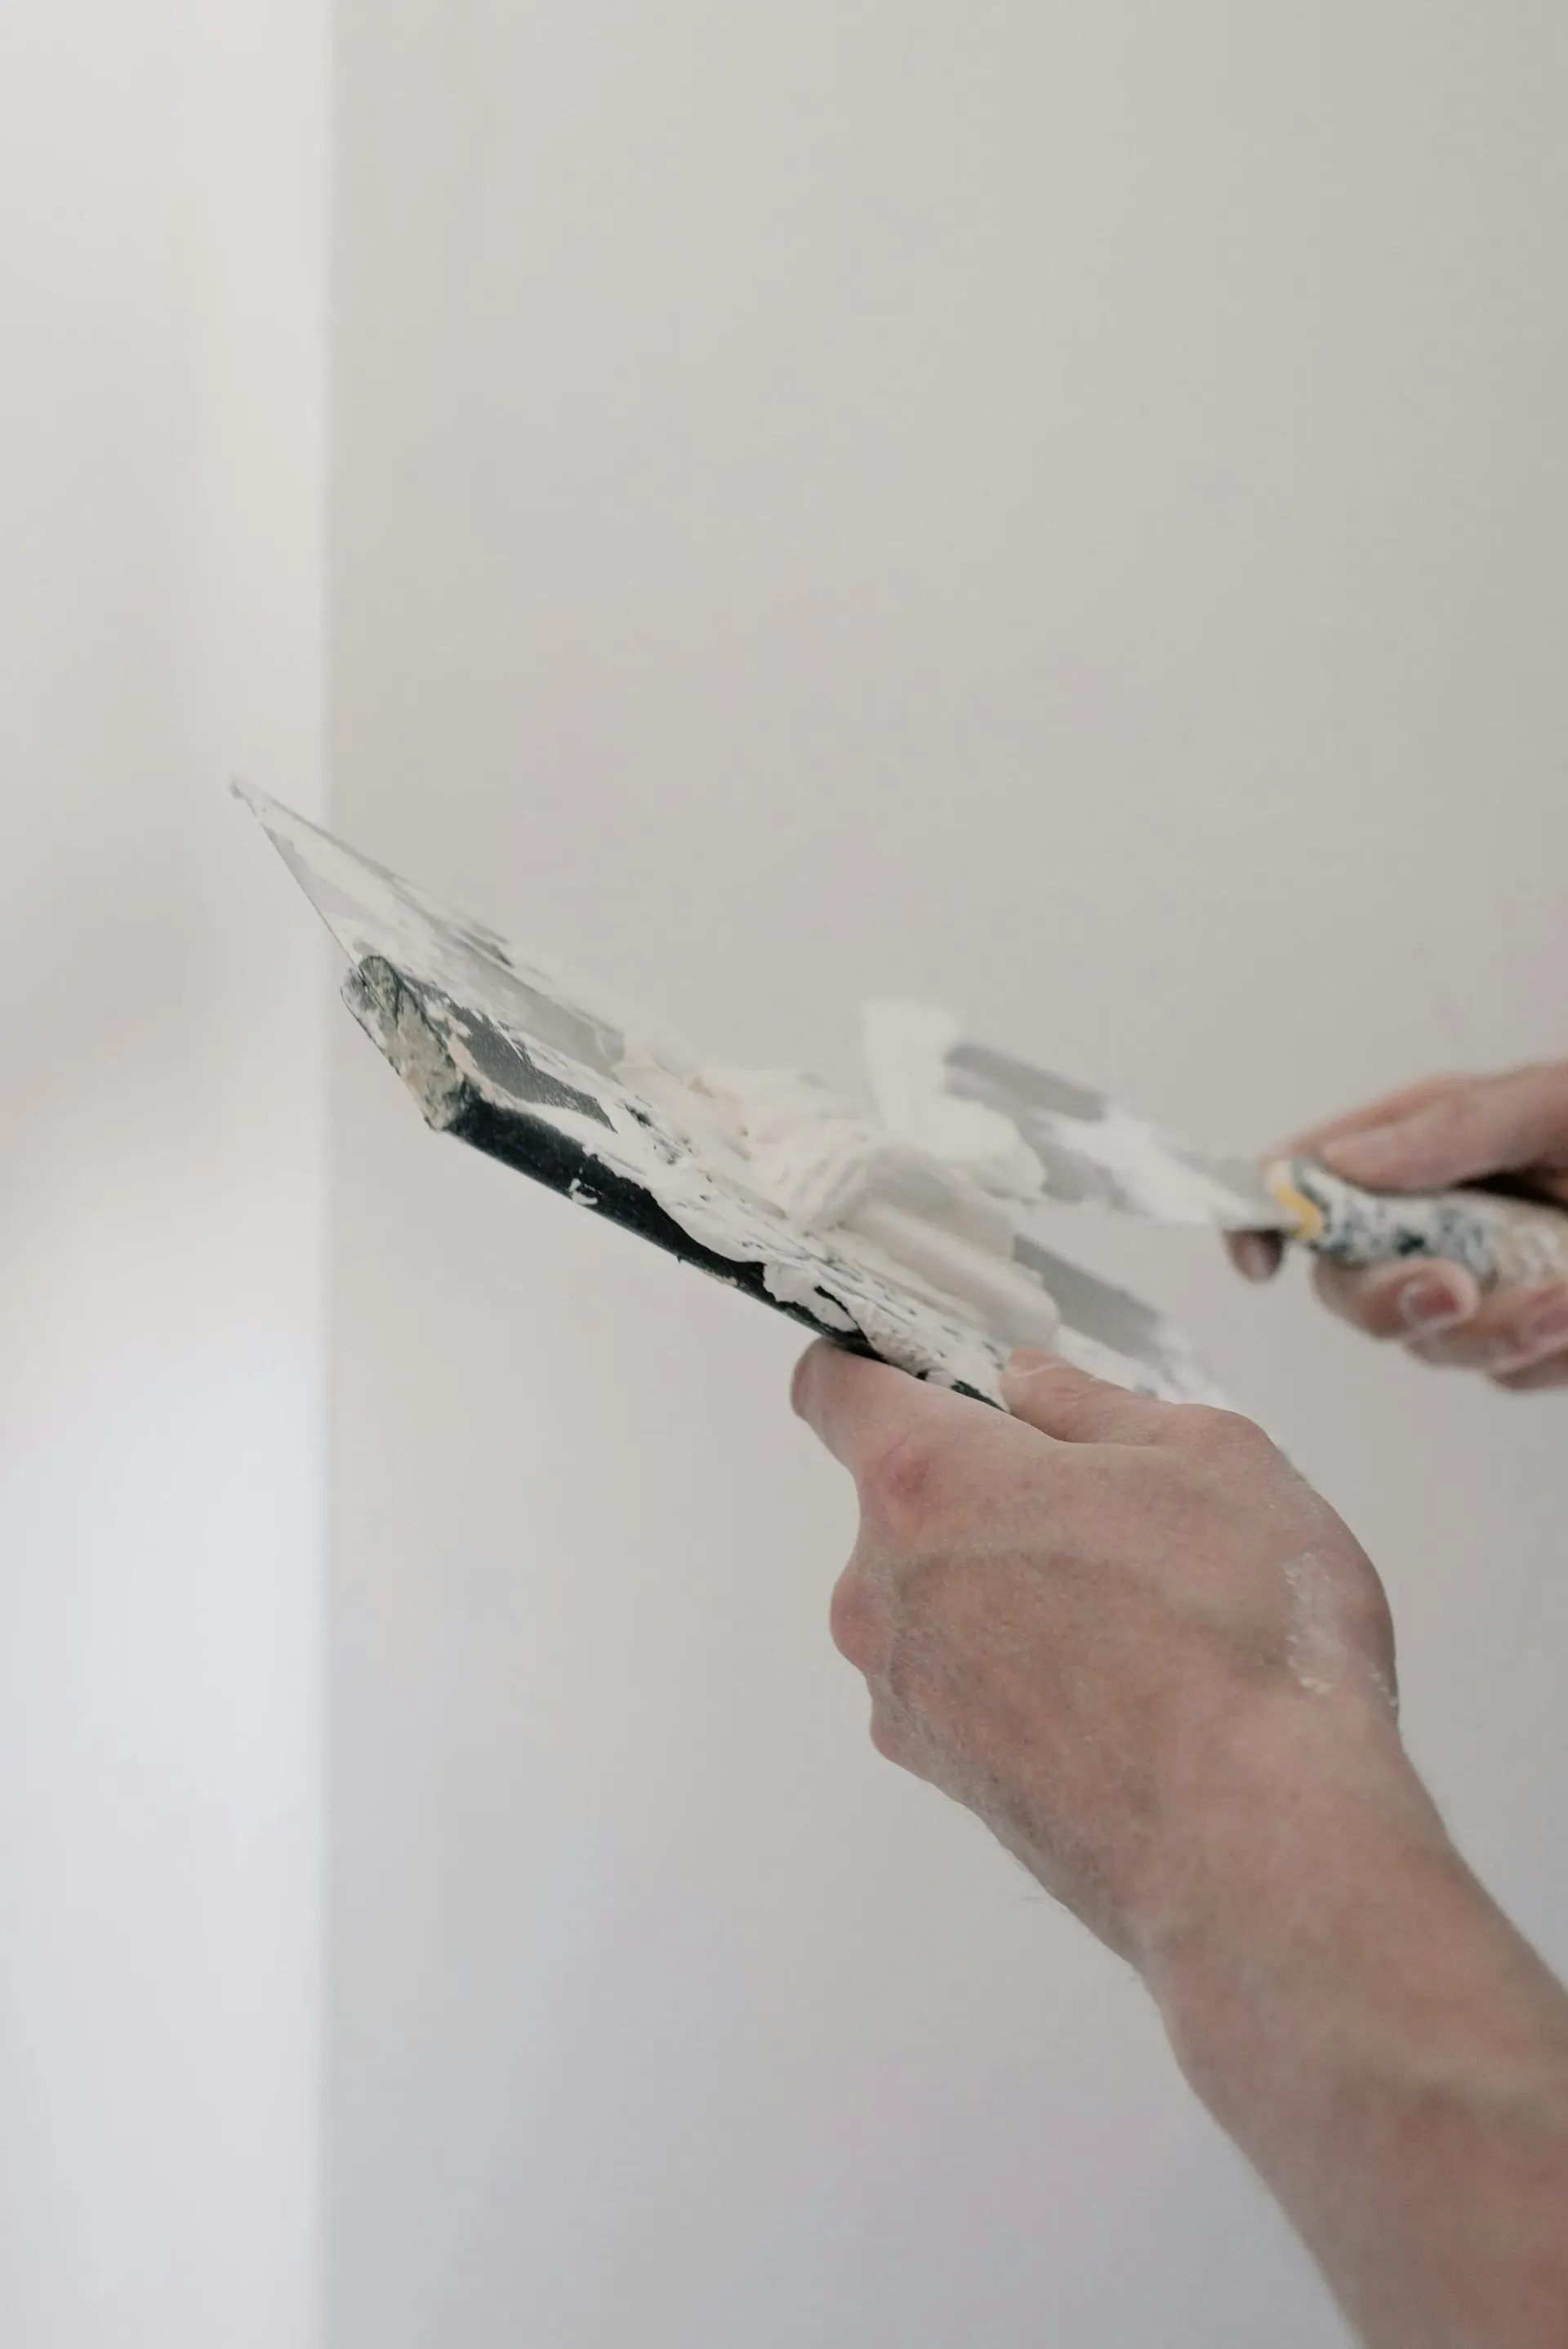
With the drywall securely in place, the next steps are taping and mudding to create seamless joins between panels. Joint compound, or mud, is applied over each seam, followed by placing a strip of drywall tape over the wet mud. Additional layers of mud are applied over the tape, feathered out with each application to blend seamlessly into the panel. This process might take several applications, with each layer needing to dry completely before sanding it smooth and applying the next. The goal is to achieve a flat, smooth surface that's indistinguishable from the rest of the wall.
Sanding and Finishing
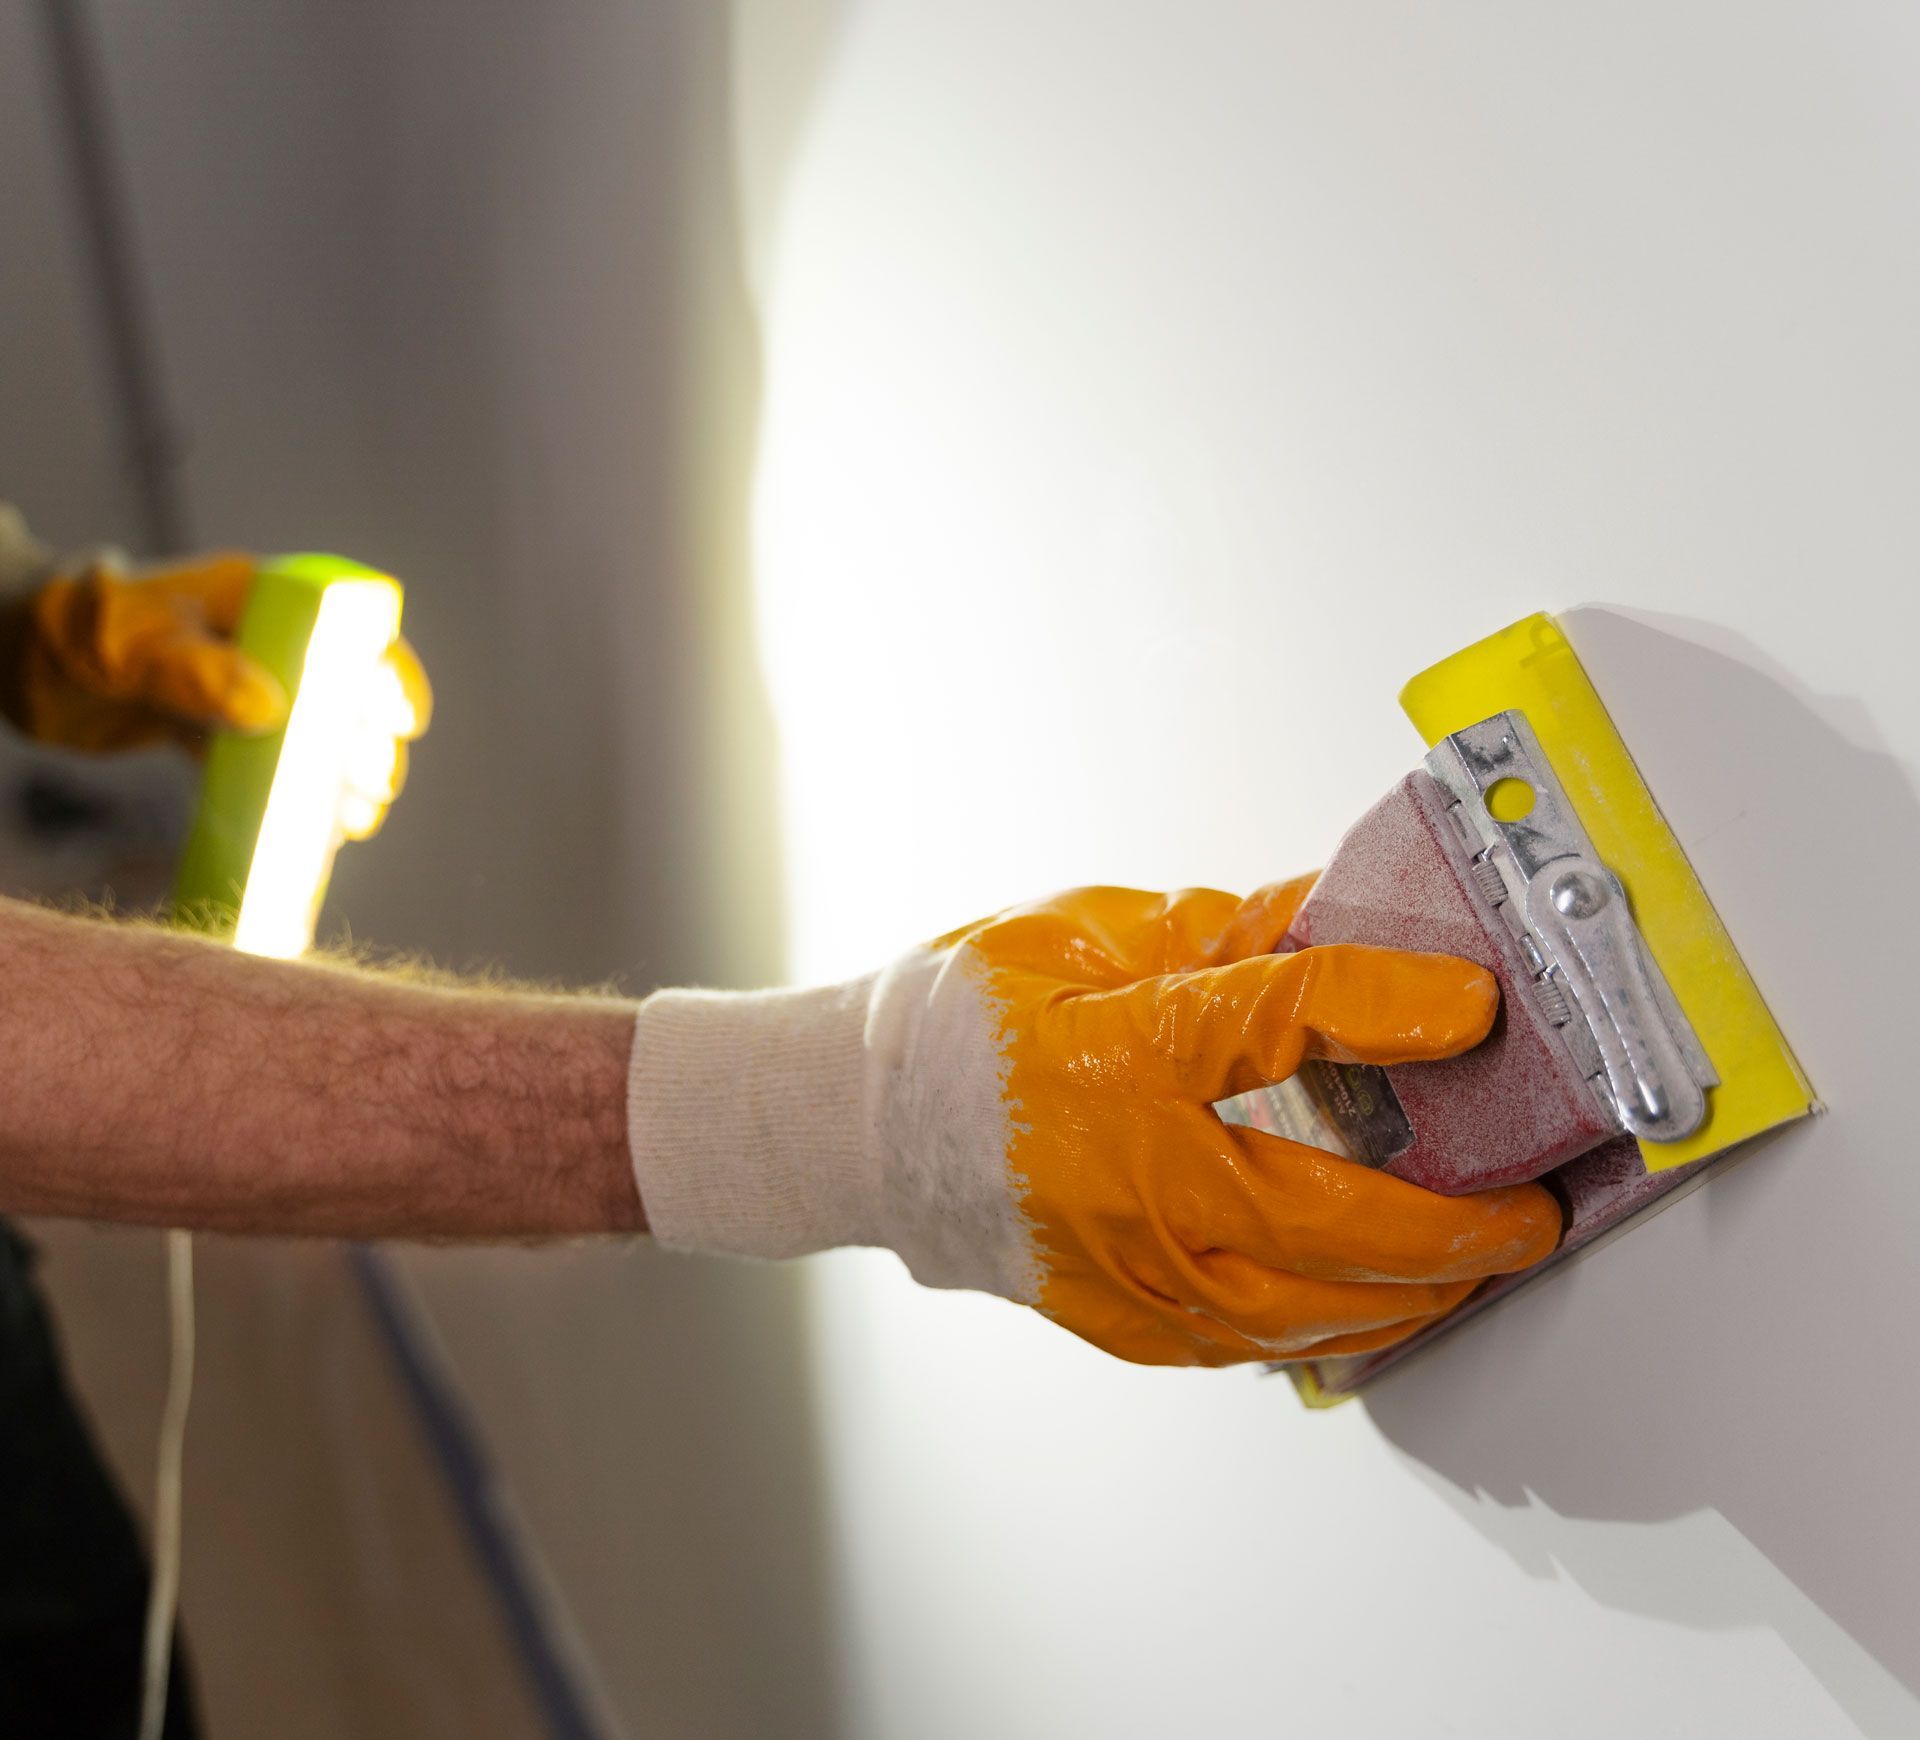
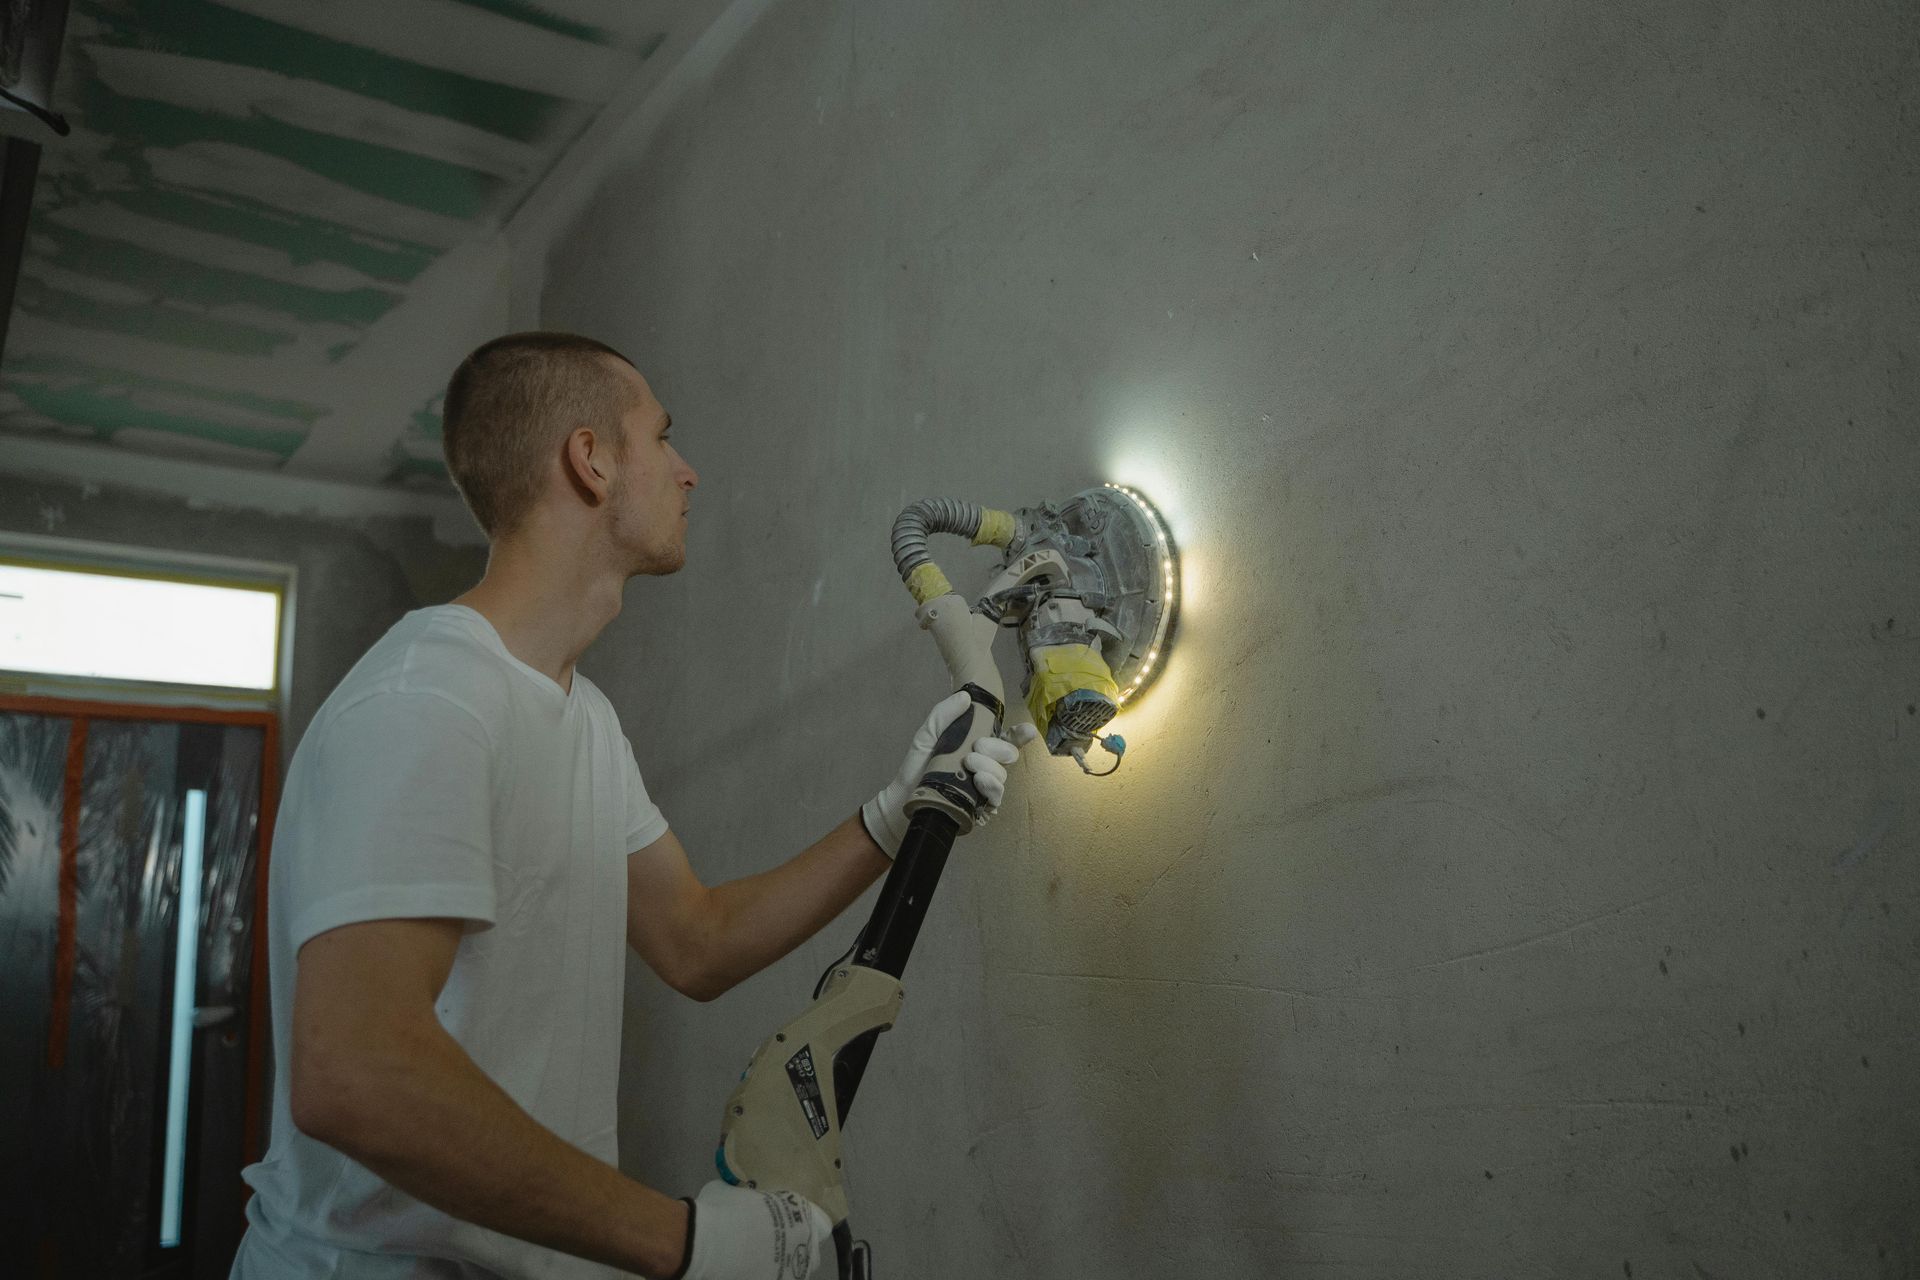
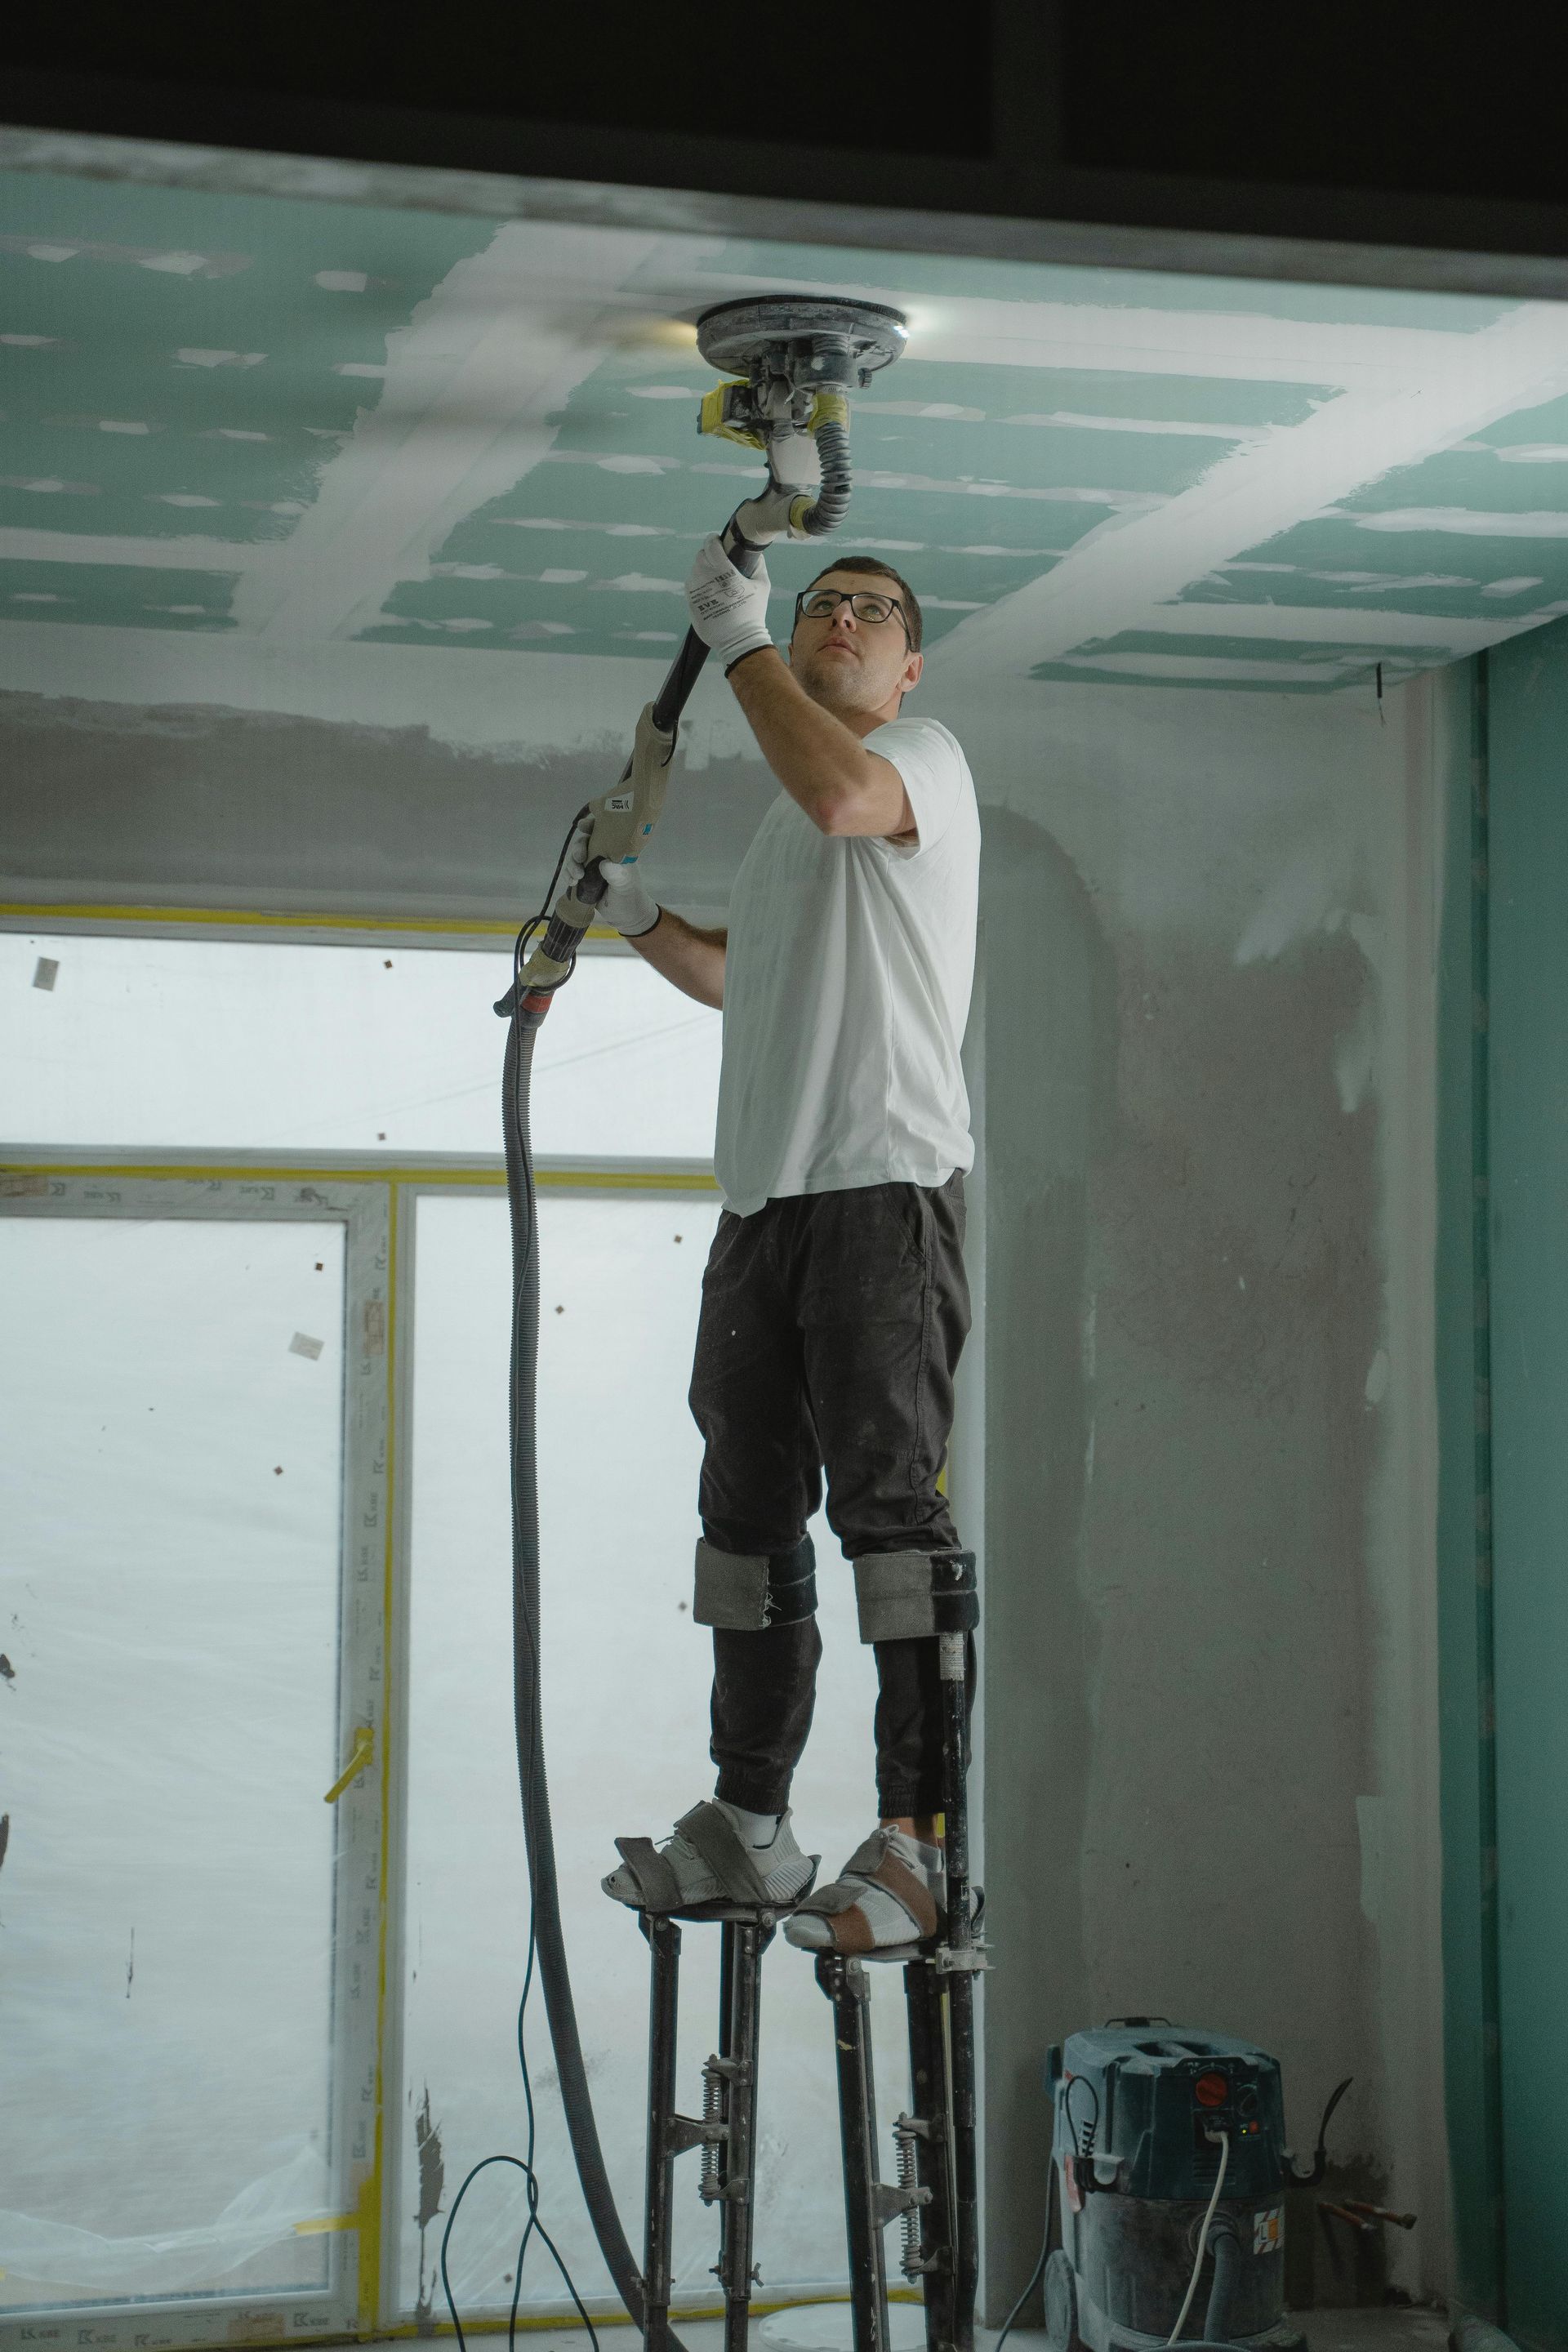
The final step in the drywall installation process is sanding. Once the mudded seams have dried thoroughly, a fine-grit sanding sponge or sandpaper is used to smooth out any imperfections, feathering the edges of the mud into the drywall panel. This stage is as much about feel as it is about sight; running your hand over the surface will reveal any bumps or ridges that need further attention.
Dust from sanding can be pervasive, so proper ventilation and dust masks are essential for safety. Once the walls are smooth to the touch and visually free from imperfections, they're ready for painting, texturing, or wallpapering, marking the completion of the drywall installation process.
Common Challenges and Solutions
Navigating through the drywall installation process isn't without its hurdles. Even with meticulous planning and execution, you're likely to encounter a few common challenges. Understanding how to address these can make the difference between a project that feels like a struggle and one that proceeds smoothly.
Dealing with Corners and Curves
Corners, both inside and out, demand precision and patience. The key to achieving crisp, clean corners lies in properly cutting your drywall and using corner bead—a thin, metal or plastic strip designed to protect and perfect corner angles. For inside corners, folding paper tape is preferred, as it can be easily pressed into the angle, providing a sharp line. Applying joint compound to both sides of the corner, pressing in the tape, and then smoothing out ensures a seamless finish.
Curved walls present a unique challenge, requiring the use of flexible drywall and a technique called kerfing, where small cuts are made in the back of the drywall to allow it to bend. These areas may need a lighter touch with joint compound and more attention during sanding to maintain the curve's integrity.
Avoiding and Fixing Bubbles and Cracks
Bubbles in the tape or cracks in the joint compound are often signs of haste—either in applying too thick a layer of mud or not allowing adequate drying time between layers. To prevent this, ensure each layer is thin and fully dry before proceeding. If bubbles or cracks appear, gently scrape the area to remove any loose material, reapply a thin layer of compound, and smooth. Patience is your ally here, ensuring that repairs are imperceptible once painted.
Case Study: A Real-World Scenario
Consider the renovation of a historic home, where the drywall installation encountered numerous challenges, from uneven framing due to settling over the decades to intricate curves in the architecture. By employing the techniques outlined above, including careful measurement, kerfing for curves, and meticulous mudding and taping, the renovation team was able to preserve the home's character while ensuring the walls were perfectly smooth and ready for modern finishes. This case study underscores the importance of adaptability and precision in overcoming common drywall installation challenges.
Preventative Tips
A few key practices can help mitigate common issues before they become problems:
- Always inspect and prepare your framing thoroughly to ensure it's level and secure.
- Measure twice and cut once, especially in areas with complex angles or curves.
- Apply joint compound in thin, even layers, allowing ample drying time between applications.
- Use the right tools for each job, from taping knives to sanding blocks, ensuring they're clean and in good condition.
Professional vs. DIY Installation
When it comes to drywall installation, the decision between taking a DIY approach or hiring professionals can significantly impact both the project's outcome and your overall satisfaction. This section will help you navigate this decision, offering insights into when each option might be the best fit.
When to Call in the Pros
Professional drywall installers bring a wealth of experience, efficiency, and specialized tools to the table. Here are a few scenarios where hiring a professional team might be your best bet:
- Large-scale projects: If you're renovating multiple rooms or an entire house, the scale might be too much for a DIY approach.
- Complex designs: Features like high ceilings, custom arches, or intricate details often require the precision and know-how of a seasoned professional.
- Time constraints: When you need the job done quickly and to a high standard, professionals can expedite the process.
- Quality assurance: Professionals not only ensure the job is done right but also often provide warranties for their work.
Cost-Benefit Analysis
Budget plays a crucial role in the decision-making process. While DIY can be more cost-effective in terms of labor savings, these savings must be weighed against the potential costs of mistakes, which could lead to higher expenses in the long run. Professionals, while initially more costly, bring efficiency and expertise that can prevent costly errors and ensure longevity. Additionally, consider the value of your time and whether it could be better spent elsewhere.
DIY Empowerment
For those leaning towards DIY, success is within reach with proper preparation and realistic expectations. Here are tips for a successful DIY drywall installation:
- Educate yourself: Take advantage of online tutorials, classes, and guides to familiarize yourself with the process and techniques.
- Gather the right tools: Investing in the right tools can make a significant difference in the ease and quality of your installation.
- Start small: If you're new to drywall, begin with a smaller project, like a single room or a partition wall, to build your skills.
- Seek advice: Don't hesitate to consult professionals at your local hardware store or tap into the knowledge of experienced DIYers in online forums.
The Final Verdict
The choice between DIY and hiring professionals for drywall installation comes down to assessing your skills, the project's complexity, your budget, and how you value your time. If you decide to go DIY, approach the project with patience, thorough preparation, and a willingness to learn. For those opting for professional services, choose a reputable contractor with proven expertise in drywall installation to ensure a flawless finish.
Conclusion: Embarking on Your Drywall Installation Journey
Drywall installation is a critical phase in any construction or renovation project, laying the foundation for the aesthetic and functional quality of your space. Whether you choose to embark on this journey as a DIY project or enlist the help of professionals, understanding the process, common challenges, and the critical decision points along the way is essential. By equipping yourself with knowledge, the right tools, and a clear plan, you can ensure that your drywall installation is executed flawlessly, transforming your space into the vision you've set out to achieve.
For those in South Central PA looking for unparalleled expertise in drywall installation, Patch Boys of South Central PA is the premier choice. Specializing in everything from basic installations to complex repairs, skim coating, and ceiling repair, their team of seasoned professionals ensures every project is executed with precision and care. Serving areas including Harrisburg, Hershey, Gettysburg, Lancaster, York, Reading, and Chambersburg, Patch Boys of South Central PA combines local accessibility with top-tier service, making them your go-to for reliable, high-quality drywall services. Whether your project is big or small, residential or commercial, their commitment to excellence and customer satisfaction stands unmatched.

