Choosing the Right Patch for the Hole: A Guide to Different Patch Types and Selection Criteria

When it comes to home repairs, the right tools and materials make all the difference. Among these, choosing the right patch for repairing holes can be a game-changer. Whether it's a tiny puncture in a wall or a sizable gap in an outdoor fixture, the material you choose to bridge that gap can ensure durability, aesthetics, and strength. In this guide, we'll explore the most common types of patches—mesh and fiberglass—and provide you with a detailed criterion to select the ideal patch based on the size and location of the damage. Perfect for both DIY enthusiasts and professional handymen, this guide aims to equip you with the knowledge to make informed decisions for effective repairs.
Overview of Patch Types
When it comes to mending holes, not all patches are created equal. Each type has its unique properties and ideal use cases, making the selection crucial for achieving the best results. Let's break down the two most popular patch types: mesh and fiberglass.
Mesh Patches
Mesh patches are typically made from woven materials that offer flexibility and easy application. Ideal for small to medium-sized repairs, mesh is perfect for drywall, ceilings, and other interior surfaces. Its key advantage lies in its ability to blend seamlessly with the surrounding material, providing a discreet fix that is barely noticeable once painted over.
Fiberglass Patches
On the other hand, fiberglass patches are known for their robustness and superior durability. Composed of glass fibers woven into a fabric and often pre-impregnated with resin, these patches are tough and resistant to weather and chemicals. They're an excellent choice for larger holes or areas exposed to moisture and external elements, such as outdoor walls and pipes.
Comparison of Mesh and Fiberglass Patches
Choosing between mesh and fiberglass often comes down to the specific repair needs:
- Durability: Fiberglass wins for its strength and longevity.
- Ease of Application: Mesh is easier to handle and apply, especially for beginners.
- Cost: Mesh patches are generally more cost-effective.
- Suitability: Fiberglass is preferred for harsh environments, whereas mesh is ideal for indoor repairs.
Understanding these differences will help you select the right patch type based on the specific requirements of your repair project.
Factors to Consider When Choosing a Patch
Selecting the right patch isn't just about the type; it's also crucial to consider the specifics of the repair job. Here’s what you need to keep in mind:
Hole Size
The size of the hole dictates the strength and size of the patch required. For small holes, simple mesh patches might suffice, offering a quick and unobtrusive repair. Larger holes, particularly those in areas subject to stress or weather exposure, will benefit from the robust nature of fiberglass patches, ensuring a repair that’s both secure and long-lasting.
Location of the Hole
Where the hole is located plays a significant role in the type of patch you should choose. Indoor holes, especially in less visible areas, can be covered effectively with mesh. For holes exposed to outdoor elements—think exterior walls or roofing—fiberglass provides the resilience needed to withstand environmental challenges.
Material Being Repaired
Compatibility between the patch material and the surface is vital. Mesh is flexible, making it ideal for drywall and other common interior surfaces, whereas fiberglass, with its rigid structure, is better suited for tougher materials like wood or metal exteriors.
Aesthetic Considerations
Think about the final appearance. If the repair area is highly visible, you'll want a patch that can integrate well with the existing surface. Mesh patches are easier to conceal and smooth over, which is perfect for areas like living room walls or ceilings.
Step-by-Step Guide to Applying Patches
Applying a patch correctly is just as important as choosing the right one. Follow these steps to ensure a smooth and durable repair:
Preparing the Surface
- Clean the area around the hole. Remove any debris, dust, or loose material to ensure the patch adheres well.
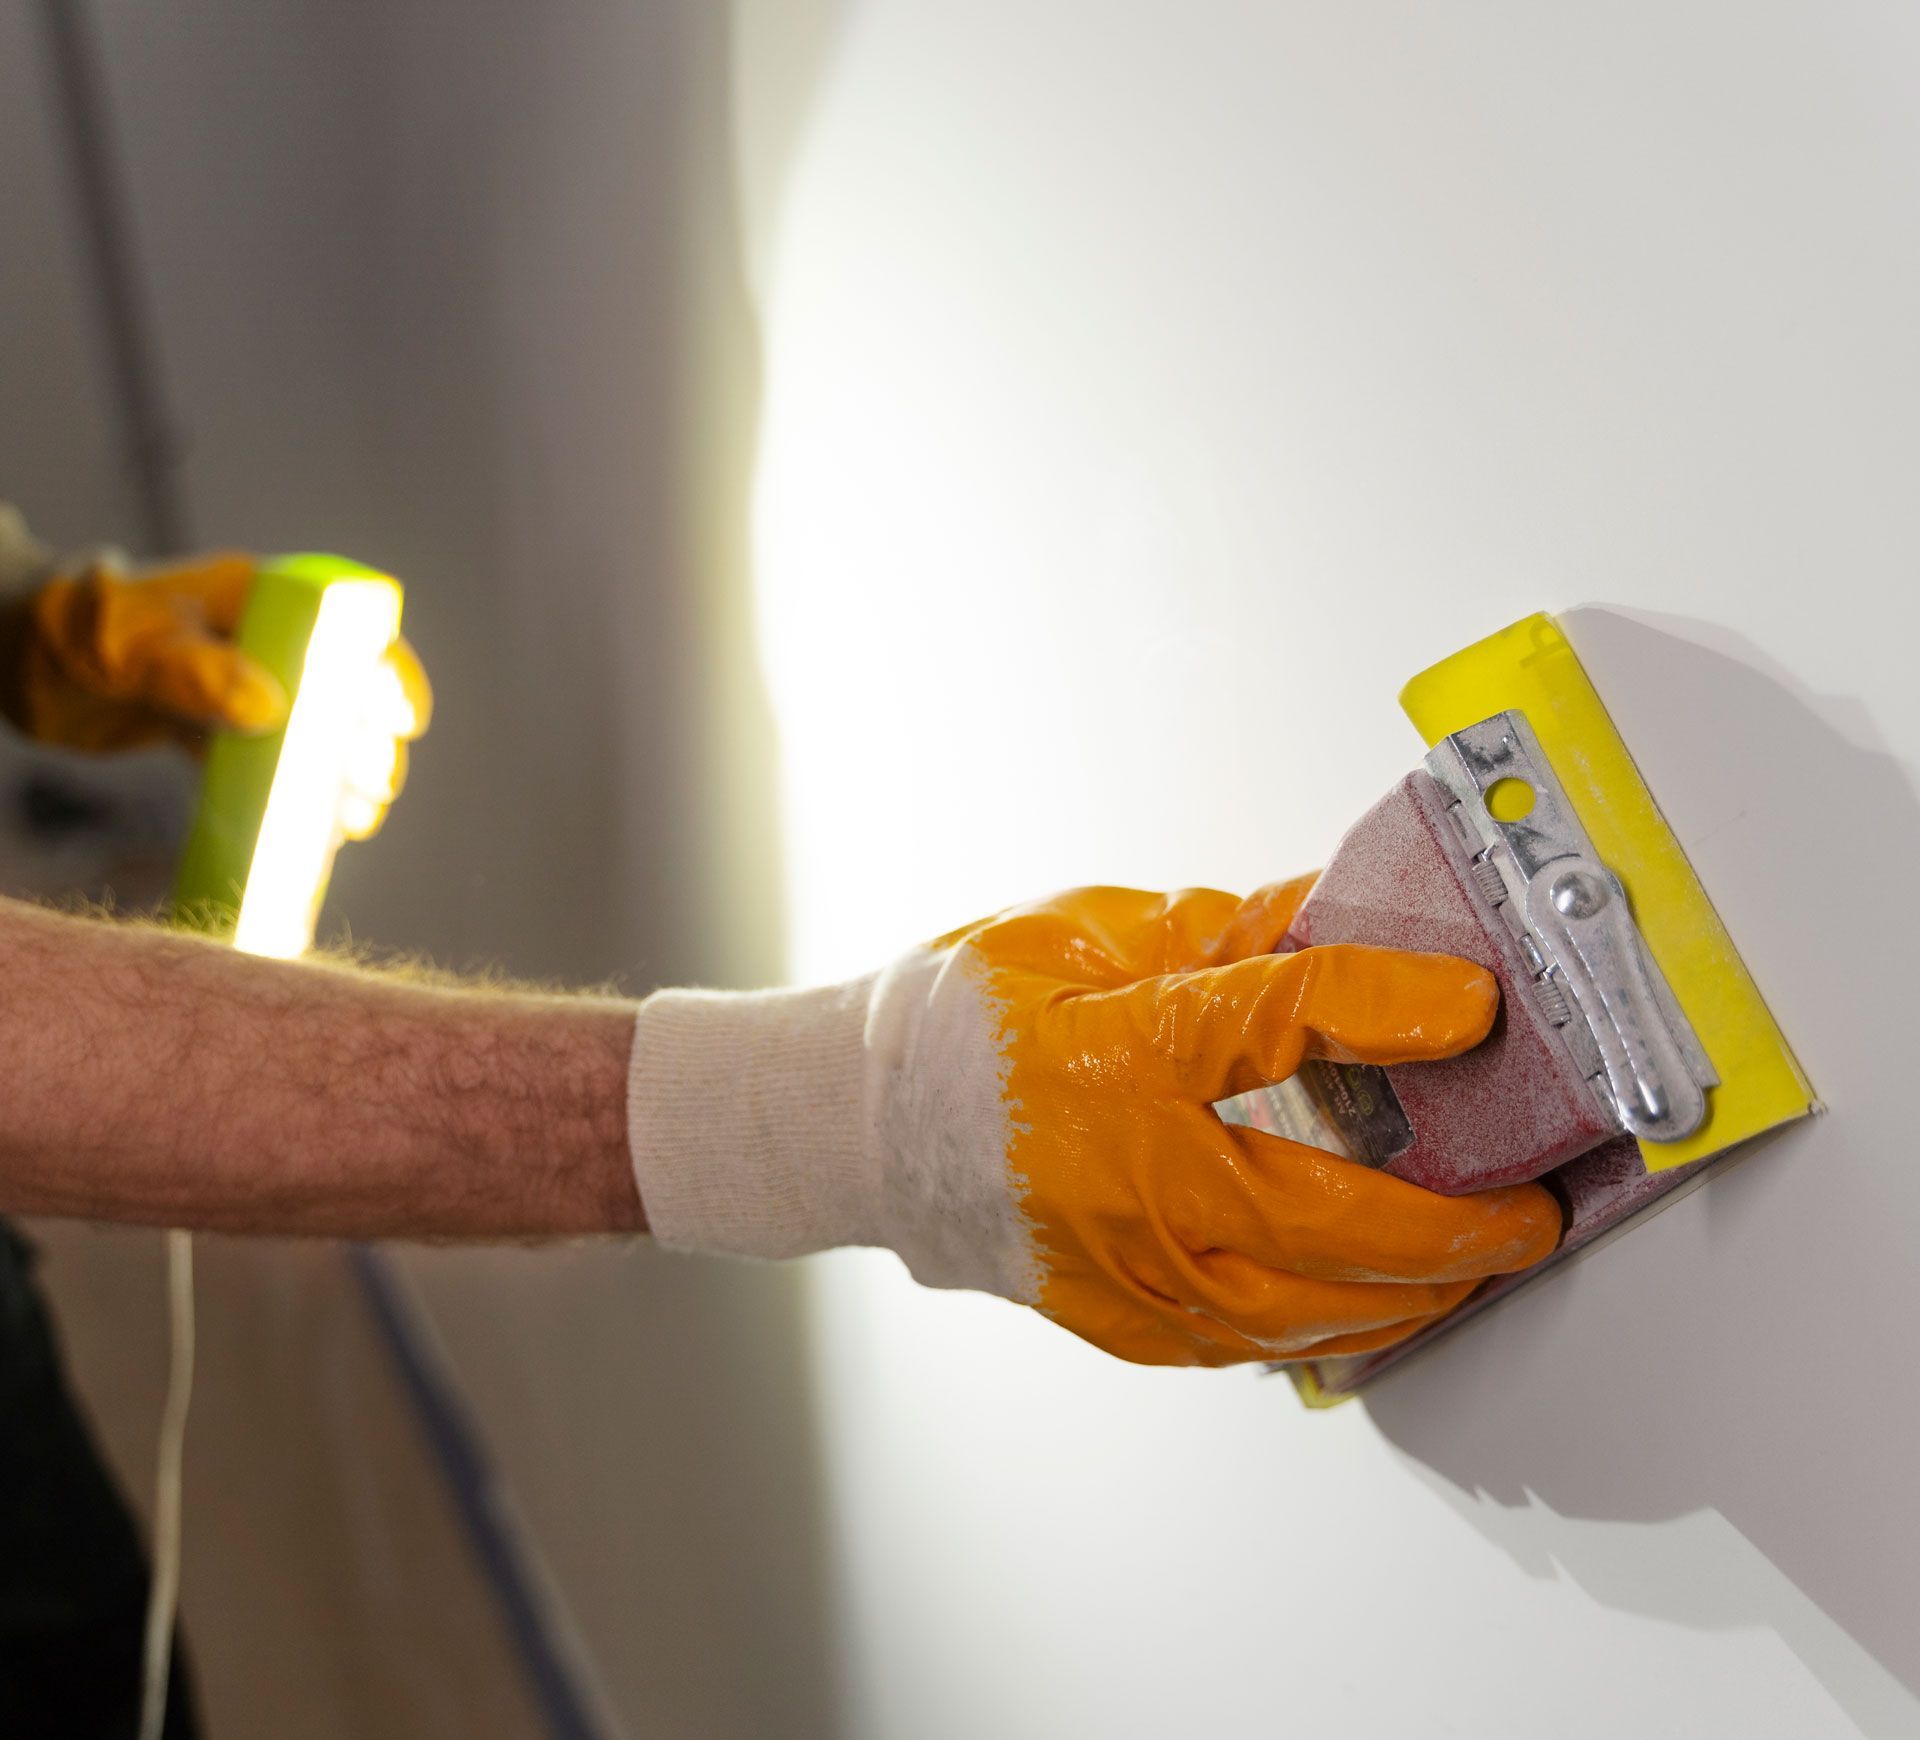
- If the edges of the hole are uneven, gently sand them to create a smooth surface.
Applying a Mesh Patch
- Cut a piece of mesh patch that extends beyond the hole by at least one inch on all sides.
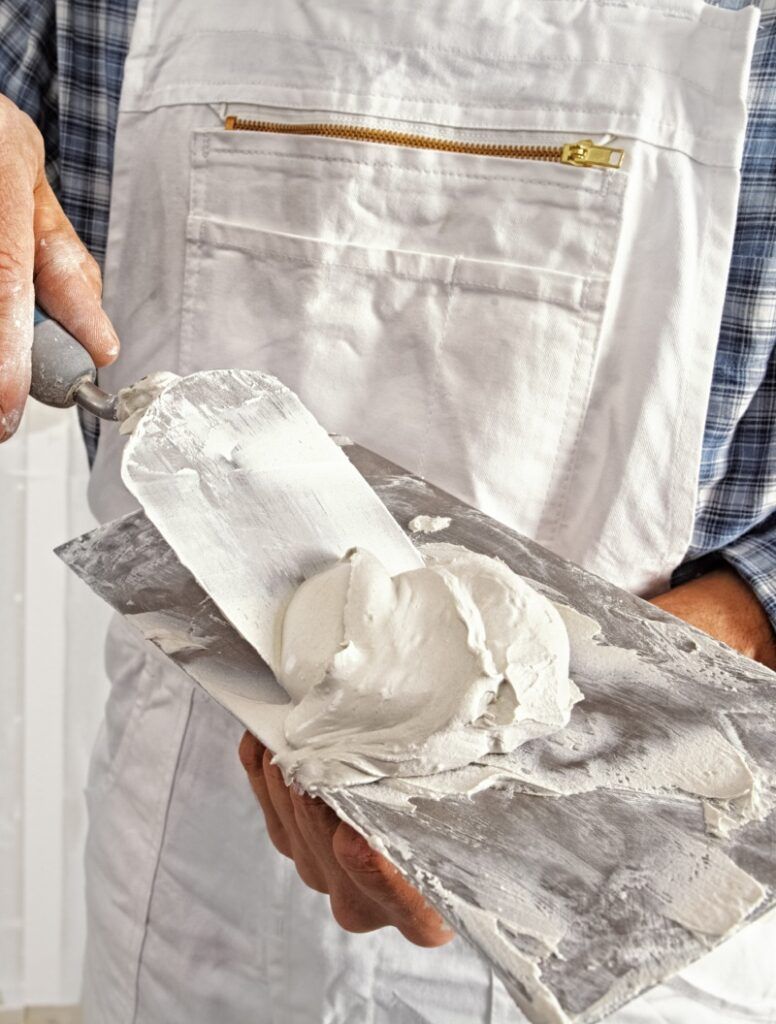
- Apply a layer of joint compound over the hole, then press the mesh patch into the wet compound.
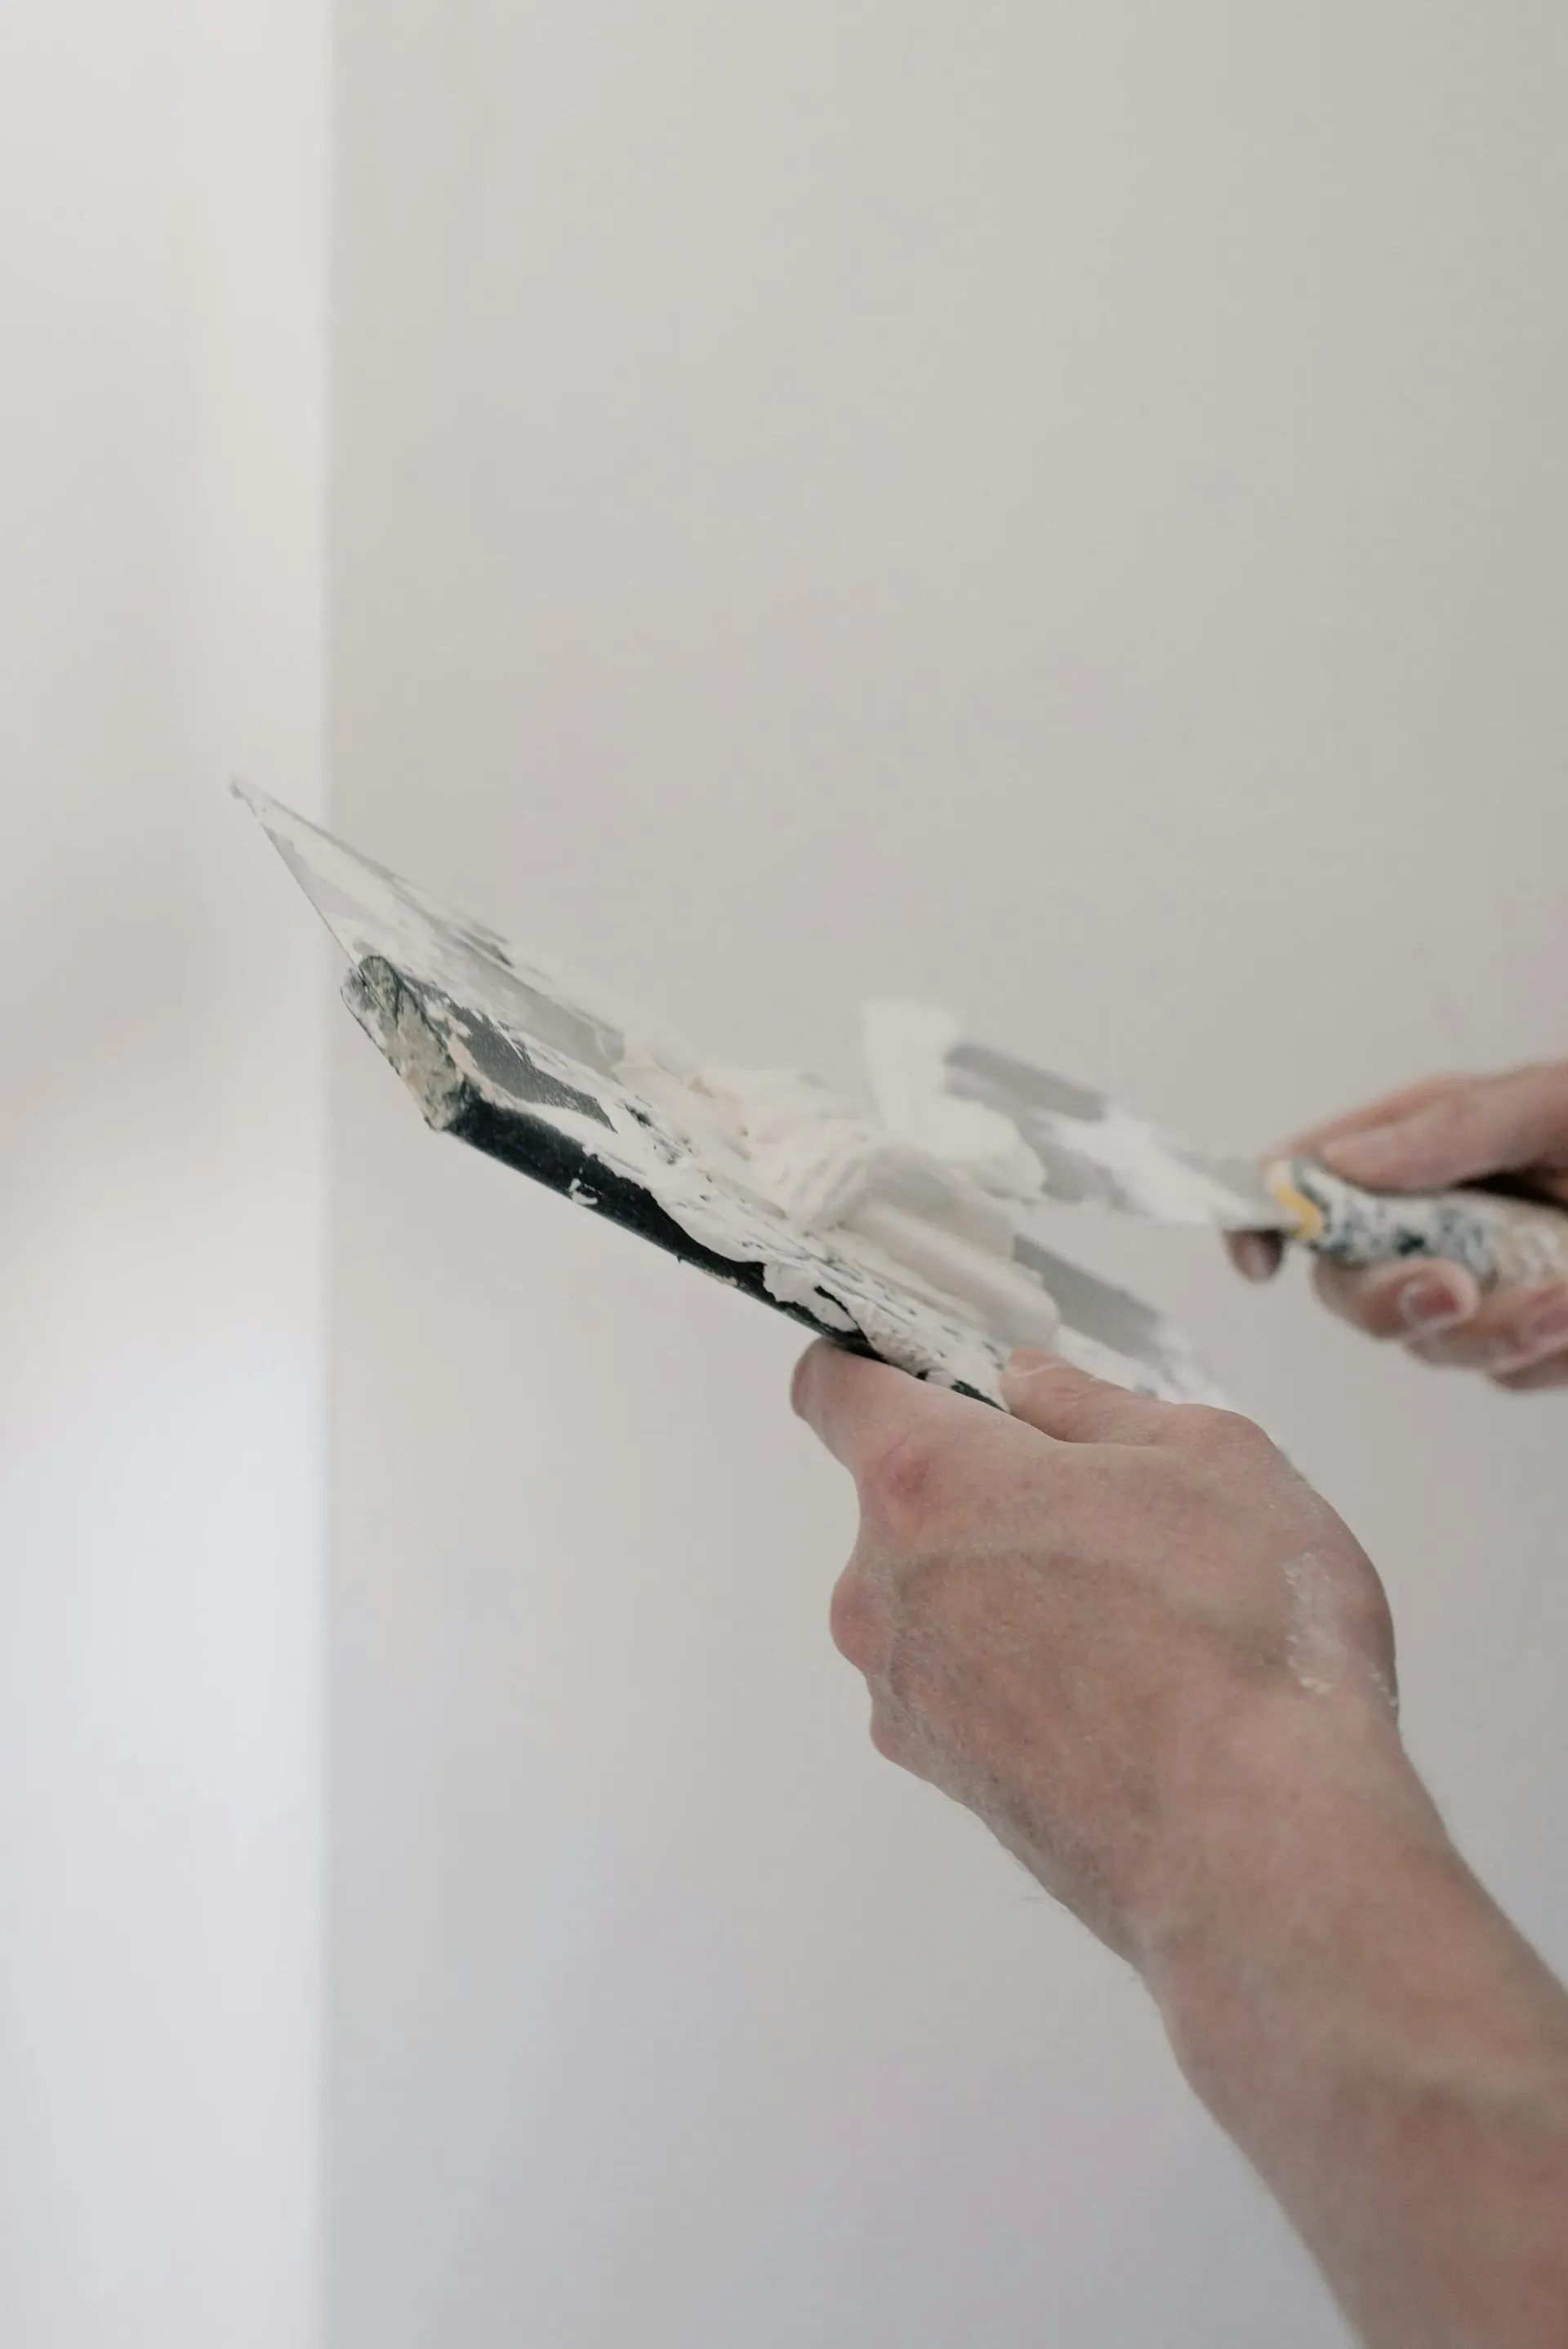
- Smooth out the patch with a putty knife to remove any air bubbles and excess compound.
- Allow the compound to dry completely, then apply another layer over the patch to ensure it blends seamlessly with the surrounding surface.
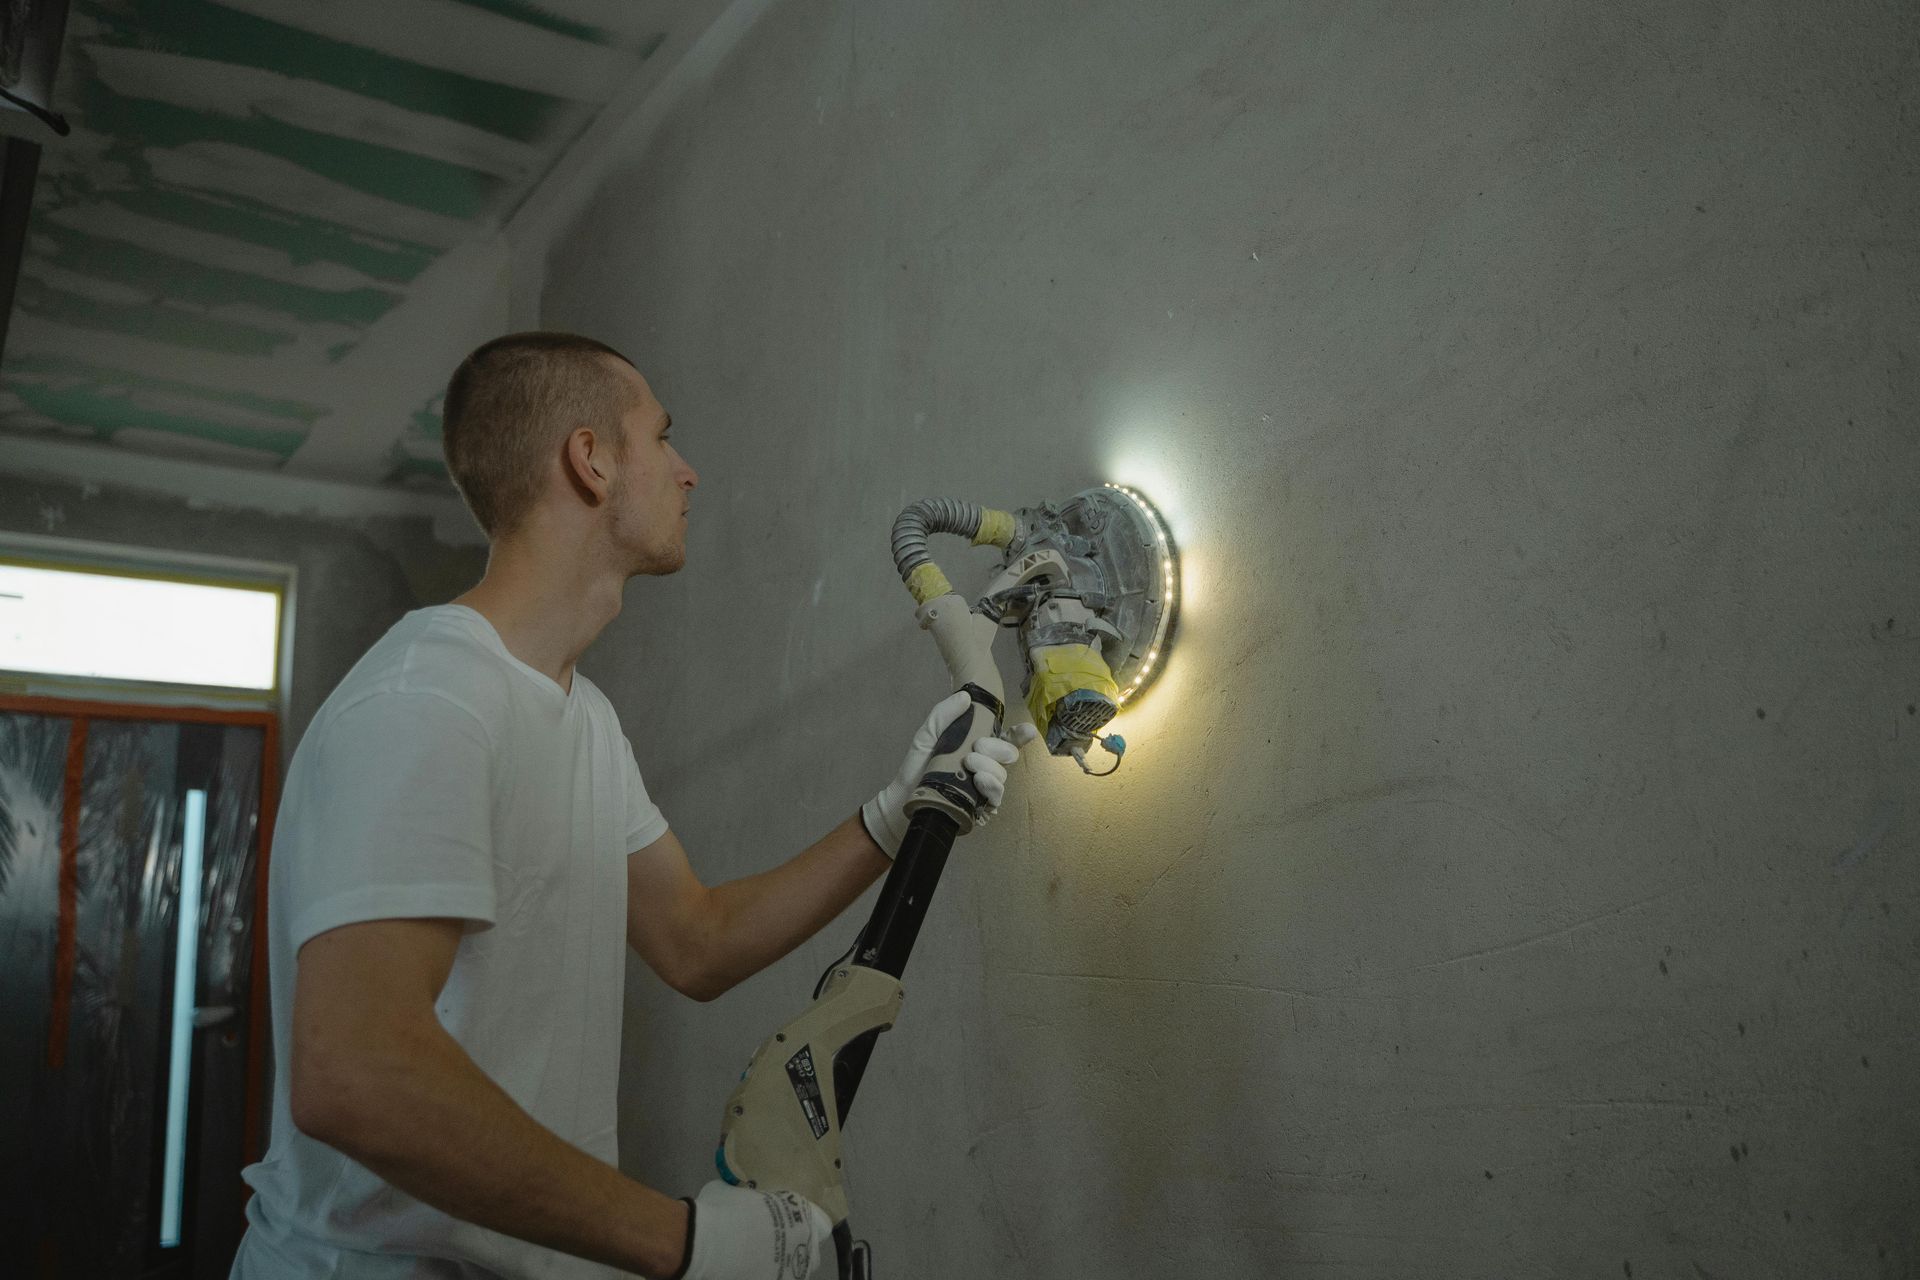
- Once dry, sand lightly for a smooth finish.
Applying a Fiberglass Patch
- Cut the fiberglass patch to size, ensuring it covers the hole and overlaps the area around it.
- Mix the resin according to the manufacturer’s instructions if it’s not pre-impregnated.
- Apply the resin to the area, then place the patch over the hole.
- Use a brush or roller to press the patch into place, ensuring it’s fully saturated with resin.
- Allow it to cure as per the instructions, checking for any signs of lifting or bubbling.
Finishing Touches
- For both types of patches, once the final layer is dry, paint over the area to match the rest of the surface.
- Inspect your work to ensure the patch has adhered properly and the surface appears uniform.
Advanced Tips and Tricks
Enhance your patching skills with these professional insights that ensure your repairs look great and last longer:
1. Preparing for Complex Repairs
For holes that are irregularly shaped or particularly large, creating a 'backer' from a spare piece of drywall or similar material can provide extra support for the patch. Secure this backer inside the hole with screws to the surrounding material before applying your patch.
2. Using Adhesives for Extra Hold
In addition to the standard application methods, consider using a spray adhesive on the back of mesh patches for extra hold, especially in high-traffic areas where the repair might be subject to more wear and tear.
3. Blending Techniques for Seamless Finish
To ensure the patch isn’t noticeable, feather the edges of the joint compound or resin well beyond the borders of the patch. This technique makes the patch blend into the existing surface more smoothly.
4. Handling Textured Surfaces
When working with textured walls or ceilings, replicate the texture over the patch using specialized tools or homemade solutions like a sponge dipped in drywall compound to mimic a stipple effect.
5. Climate Considerations
Be mindful of temperature and humidity when applying patches, especially with fiberglass. Resin cures differently in various conditions, so aim for a dry, moderate day to undertake these repairs.
Implementing these advanced tips will elevate the quality of your repairs, ensuring they are not only functional but also aesthetically pleasing.
Maintenance and Care Post-Application
Proper maintenance can significantly extend the life of your patches. Here's how to ensure your patch repairs remain in top condition:
1. Regular Inspections
Check the repaired areas periodically, especially after extreme weather conditions, to ensure the patch is still securely adhered and the surrounding material has not deteriorated.
2. Immediate Action on Issues
If you notice any lifting, cracking, or peeling around the patch, address it immediately. Applying a small amount of joint compound or additional resin can often fix minor issues before they escalate.
3. Cleaning the Repaired Surfaces
Keep the patched areas clean from dust and debris which can accumulate and cause wear over time. Gentle cleaning with mild soap and water is usually sufficient.
4. Protecting from Moisture
For outdoor patches or those in moist environments, consider applying a waterproof sealant over the patch and surrounding area to prevent water ingress, which can compromise the repair.
5. Touch-ups as Needed
Over time, you may need to touch up the paint or texture on the patch to keep it looking fresh. This is particularly true for high-traffic areas or those frequently exposed to sunlight.
By following these care tips, you can maintain the integrity and appearance of your patch repairs, ensuring they continue to perform well long after the initial application.
Conclusion
Choosing the right patch for the right job not only ensures a sturdy repair but also maintains the aesthetics of your space. Whether you opted for a mesh or a fiberglass patch, understanding the specific requirements and applying your patch correctly are crucial to a successful repair. We've covered the different types of patches, detailed how to select them based on various factors, and provided step-by-step application instructions. Plus, we've shared advanced tips and maintenance advice to help you ensure your repairs last.
Frequently Asked Questions
1. Can I use a DIY patch made from household items for temporary fixes?
Absolutely! For small, non-structural repairs, items like adhesive tape, cardboard, or even heavy-duty fabric can serve as temporary solutions. Just remember, these are not long-term fixes and should be replaced with appropriate patching materials as soon as possible.
2. What are the safety considerations when applying chemical-based patches like fiberglass?
Safety is key when handling fiberglass patches. Always wear gloves, a mask, and protective eyewear to prevent irritation from the fibers. Work in a well-ventilated area to avoid inhaling any fumes from the resin.
3. How do weather conditions affect the choice and application of patches?
Weather plays a significant role, especially with outdoor repairs. High humidity can affect drying and curing times, while extreme temperatures can make certain materials too brittle or too soft for effective application. Always check the manufacturer’s recommendations for temperature and humidity conditions.
4. Are there eco-friendly patch options available?
Yes, there are several eco-friendly alternatives on the market, including patches made from recycled materials and those that use non-toxic adhesives and resins. These options provide a sustainable choice without compromising on quality.
5. How do I handle a patch repair gone wrong?
If a patch repair fails, remove the faulty patch carefully to avoid further damage to the surrounding area. Clean and prep the surface again thoroughly before reapplying a new patch. If you’re unsure about why the repair failed, consulting a professional might help identify the issue and prevent future problems.

