Essential Tips for a Flawless Finish: Applying Joint Compound Smoothly
Are you tackling some wall repairs and aiming for that smooth, professional finish? Whether you're filling in a small hole or fixing up a larger area, knowing how to properly apply joint compound is key. This compound, often called mud, is crucial for achieving seamless walls that look as good as new. In this guide, we'll walk you through essential tips and tricks—from choosing the right type to the final touches—to help you master the application of joint compound like a pro.
Choosing the Right Joint Compound
Selecting the correct joint compound is your first step toward a flawless finish. There are three main types you should know about: all-purpose, lightweight, and setting-type compounds. Each serves a unique purpose.
- All-purpose compound is versatile, ideal for both taping and finishing. It's a reliable choice for most patching needs, though it dries slower than others.
- Lightweight compound is easier to sand and dries faster. It's excellent for the final layers, especially if you're looking for ease of handling.
- Setting-type compound hardens quickly through a chemical reaction. It's perfect for deeper repairs that need a solid, quick set, but it requires more skill to mix and apply accurately.
Before making a decision, consider the size of your repair and the drying time you can manage. Smaller, quick fixes might benefit from a fast-drying lightweight compound, while larger areas might need the workability of an all-purpose type.
Tools and Materials Needed
To ensure your joint compound application goes smoothly, having the right tools and materials on hand is crucial. Here’s what you’ll need:
- Putty knife: Essential for applying and smoothing the compound. Sizes vary, so a few different widths can be helpful.
- Sanding block or sandpaper: For refining the finish between coats and smoothing the final layer.
- Mixing paddle: A drill attachment that makes mixing easier and more consistent.
- Primer and paint: To seal and finish the wall once the compound has fully dried.
- Additional supplies: Such as a mud pan for holding the compound while you work, and a utility knife for trimming any loose paper or debris from the wall.
Start by setting up your workspace to keep it clean and organized. Lay down drop cloths to protect your floors, and use painter’s tape to shield any trim or adjacent surfaces you don’t want the compound on.
Preparing the Joint Compound
Getting your joint compound ready for application is a critical step that can make or break the smoothness of your finish. Here’s how to mix it to the right consistency:
- Start with a clean bucket to avoid impurities that could cause bumps or imperfections.
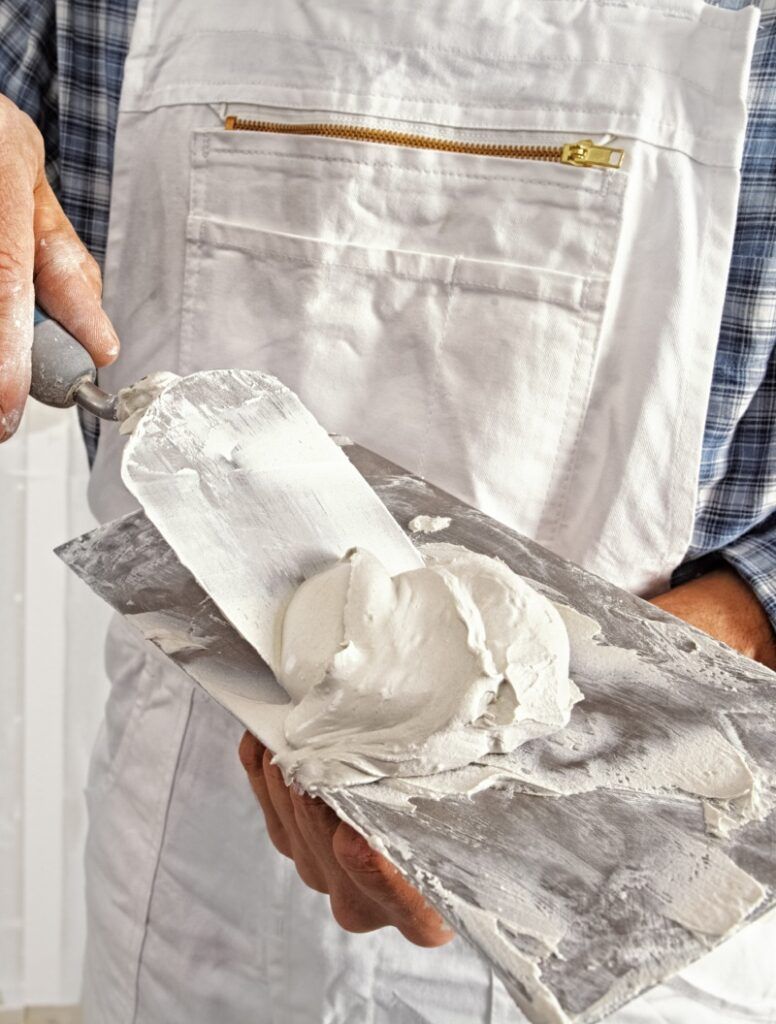
- Pour in the dry compound first, then add water slowly. This order helps prevent clumps. Aim for a consistency similar to thick pancake batter, which allows easy spreading without running.
- Use a mixing paddle attached to a power drill for a thorough and consistent mix. Blend until the compound is smooth and free of lumps.
- Let it sit for a few minutes. This resting period lets any air bubbles escape, ensuring a smoother application.
Mix only as much compound as you can use within 15 to 20 minutes, especially if you’re using a setting-type compound, which can harden quickly.
Applying the Joint Compound to the Wall
Now that your joint compound is ready, it’s time to apply it to the wall. Follow these steps for a smooth application:
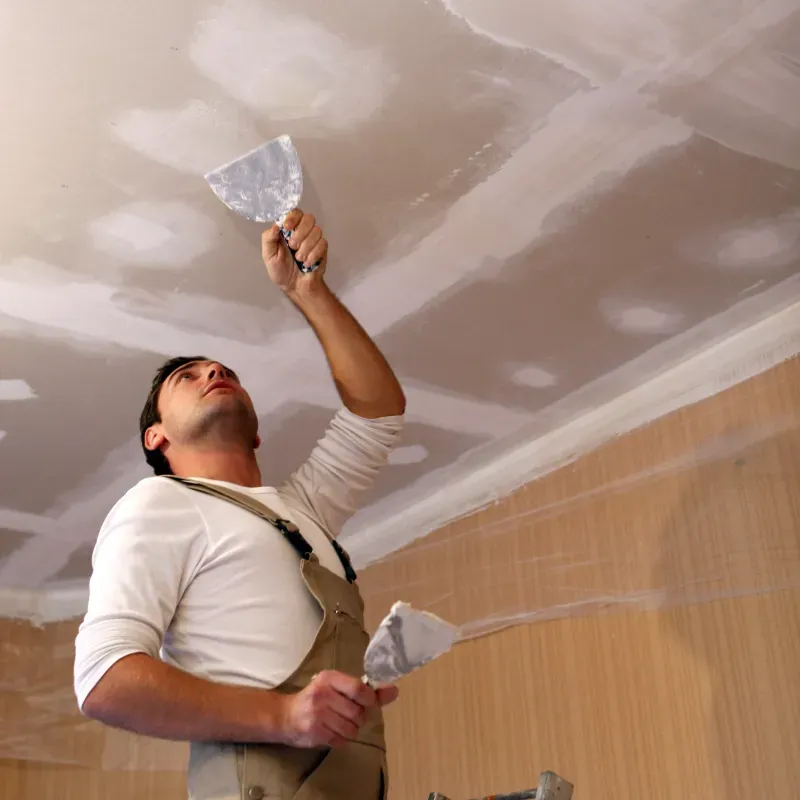
- Load your putty knife by scooping a small amount of compound onto the blade. Keep the amount manageable to avoid drops and spills.
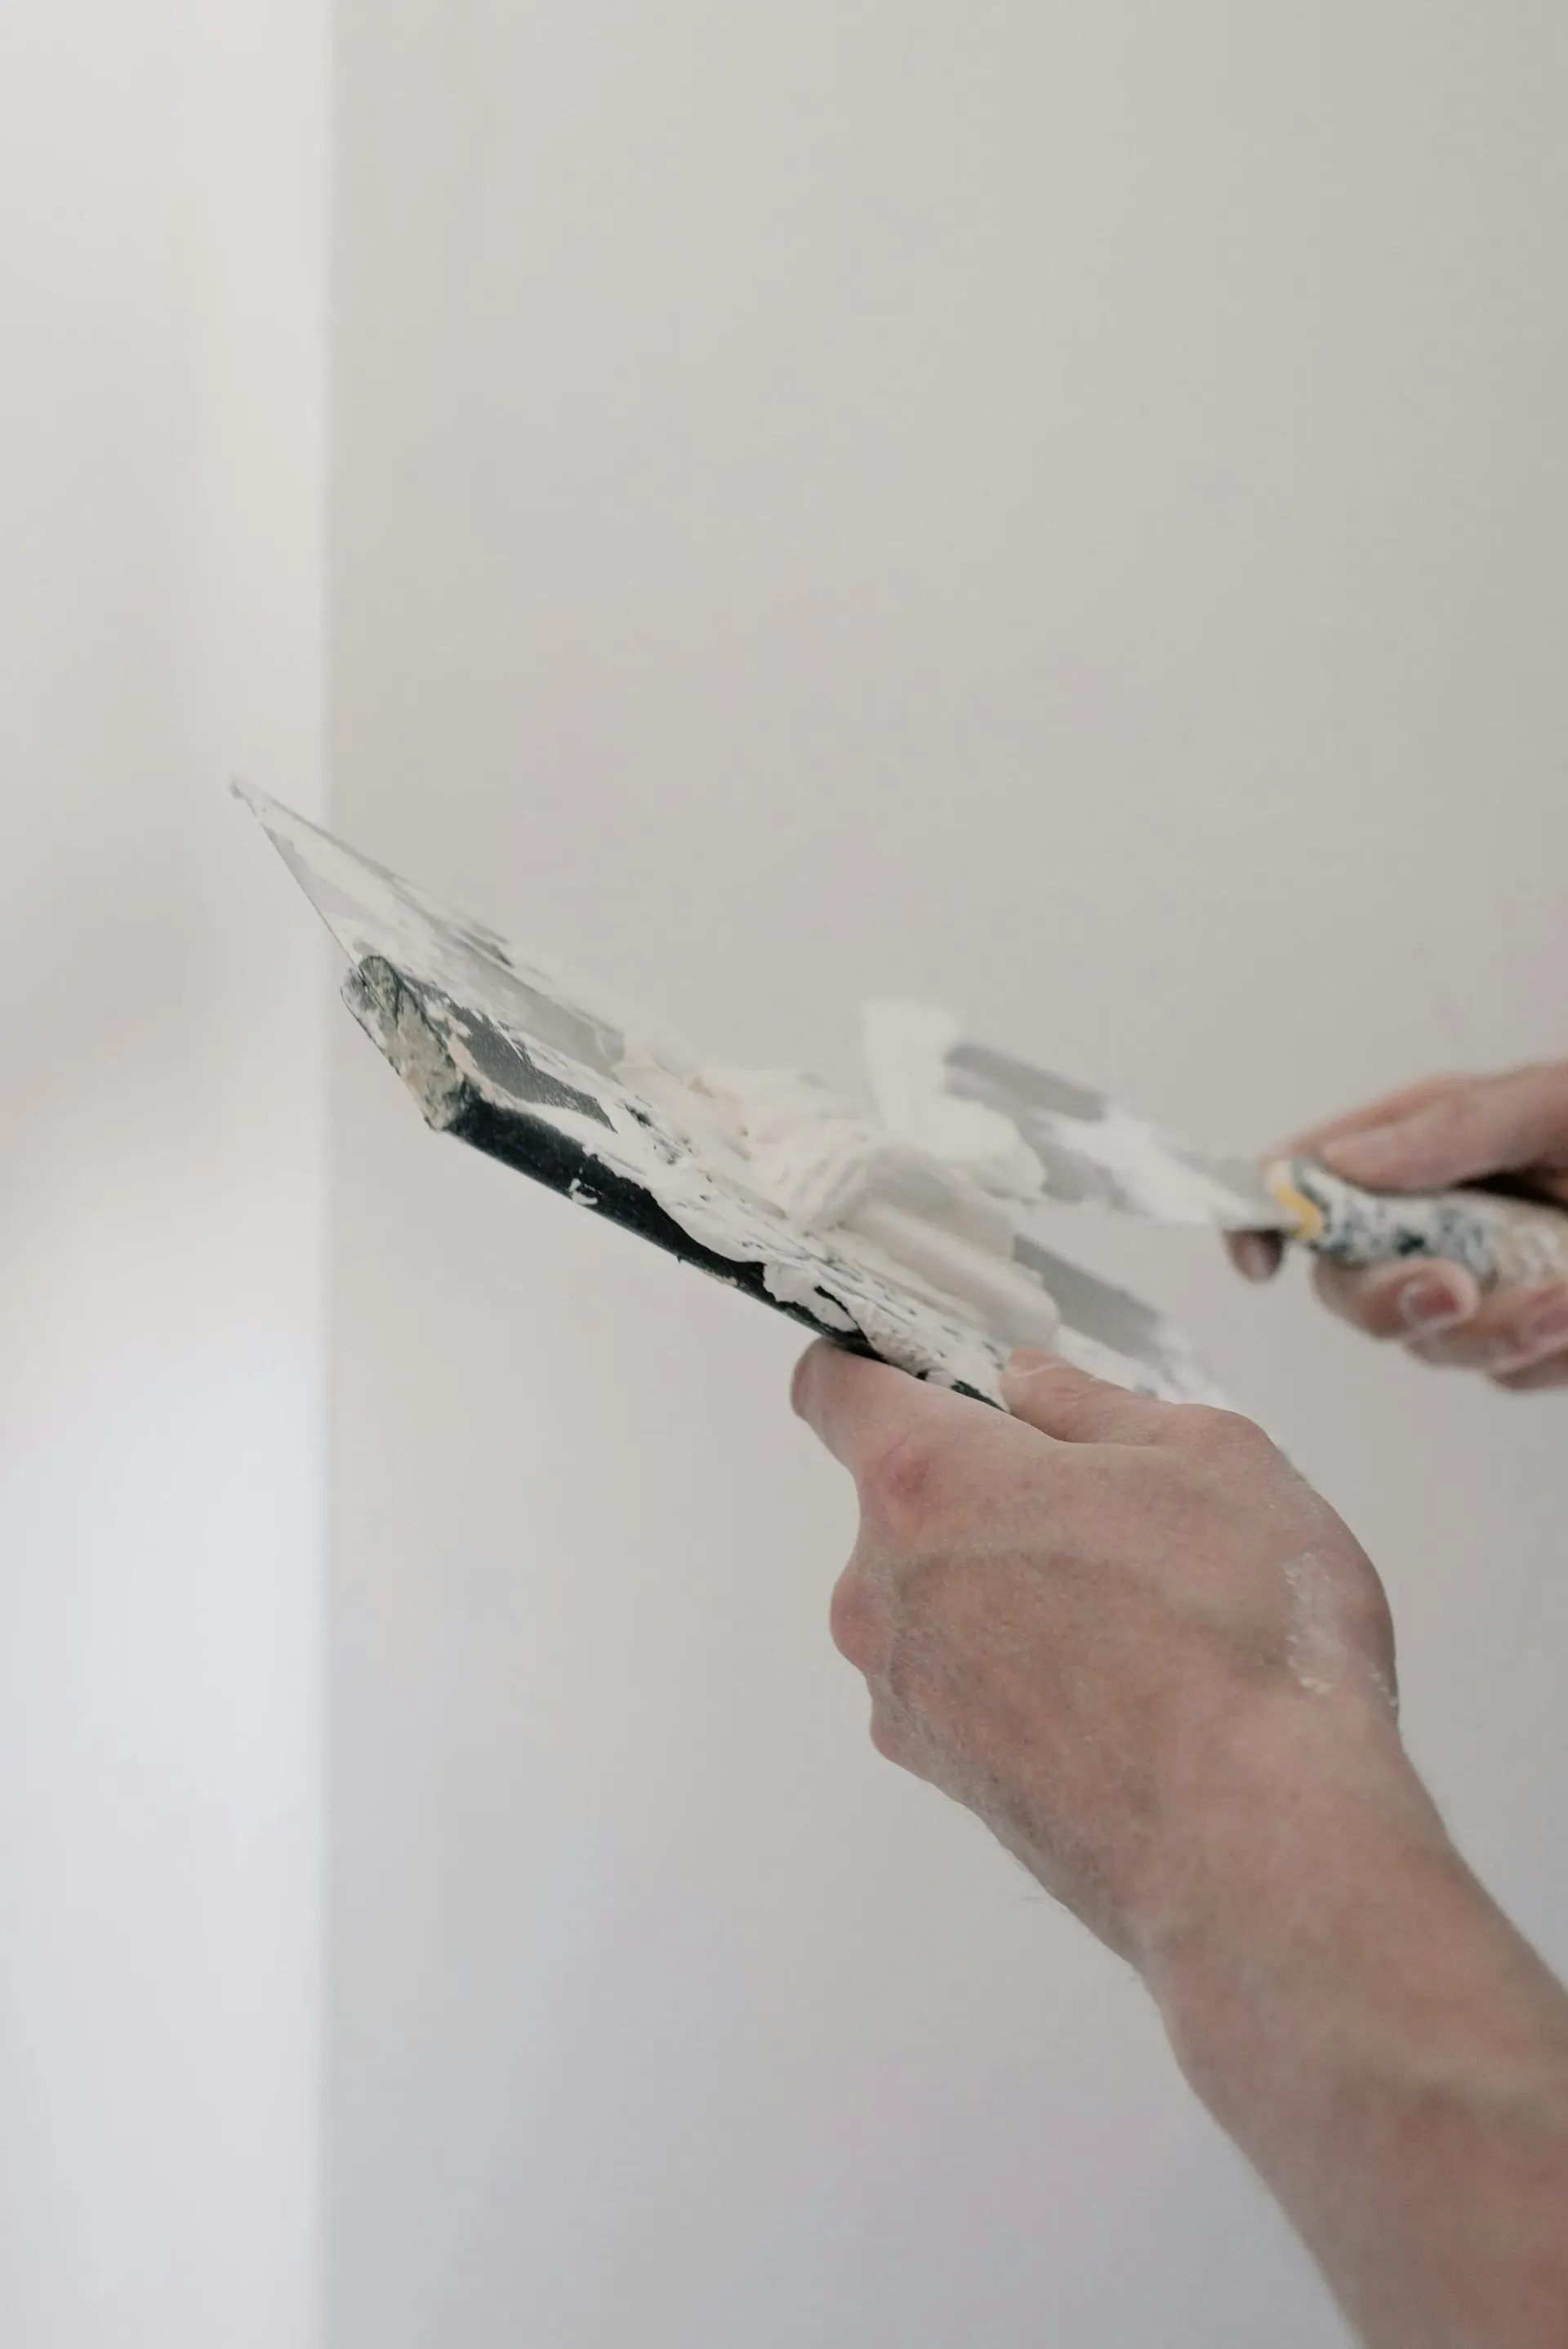
- Apply the compound to the wall. Start from the bottom and work your way up, pressing the compound into the hole or crack. Use a firm, even pressure to ensure good adhesion.
- Smooth it out. After covering the defect, draw the knife over the area in broad, even strokes to flatten the compound as much as possible. The goal is to make it level with the wall surface.
- Feather the edges. Lightly pass over the outer edges of the applied compound to blend it into the surrounding wall. This helps prevent visible lines after sanding and painting.
Allow the first coat to dry completely, according to the manufacturer’s instructions, before adding subsequent layers or sanding.
Sanding and Second Coat Application
Achieving a smooth finish with joint compound involves careful sanding and applying additional coats. Here’s how to perfect this process:
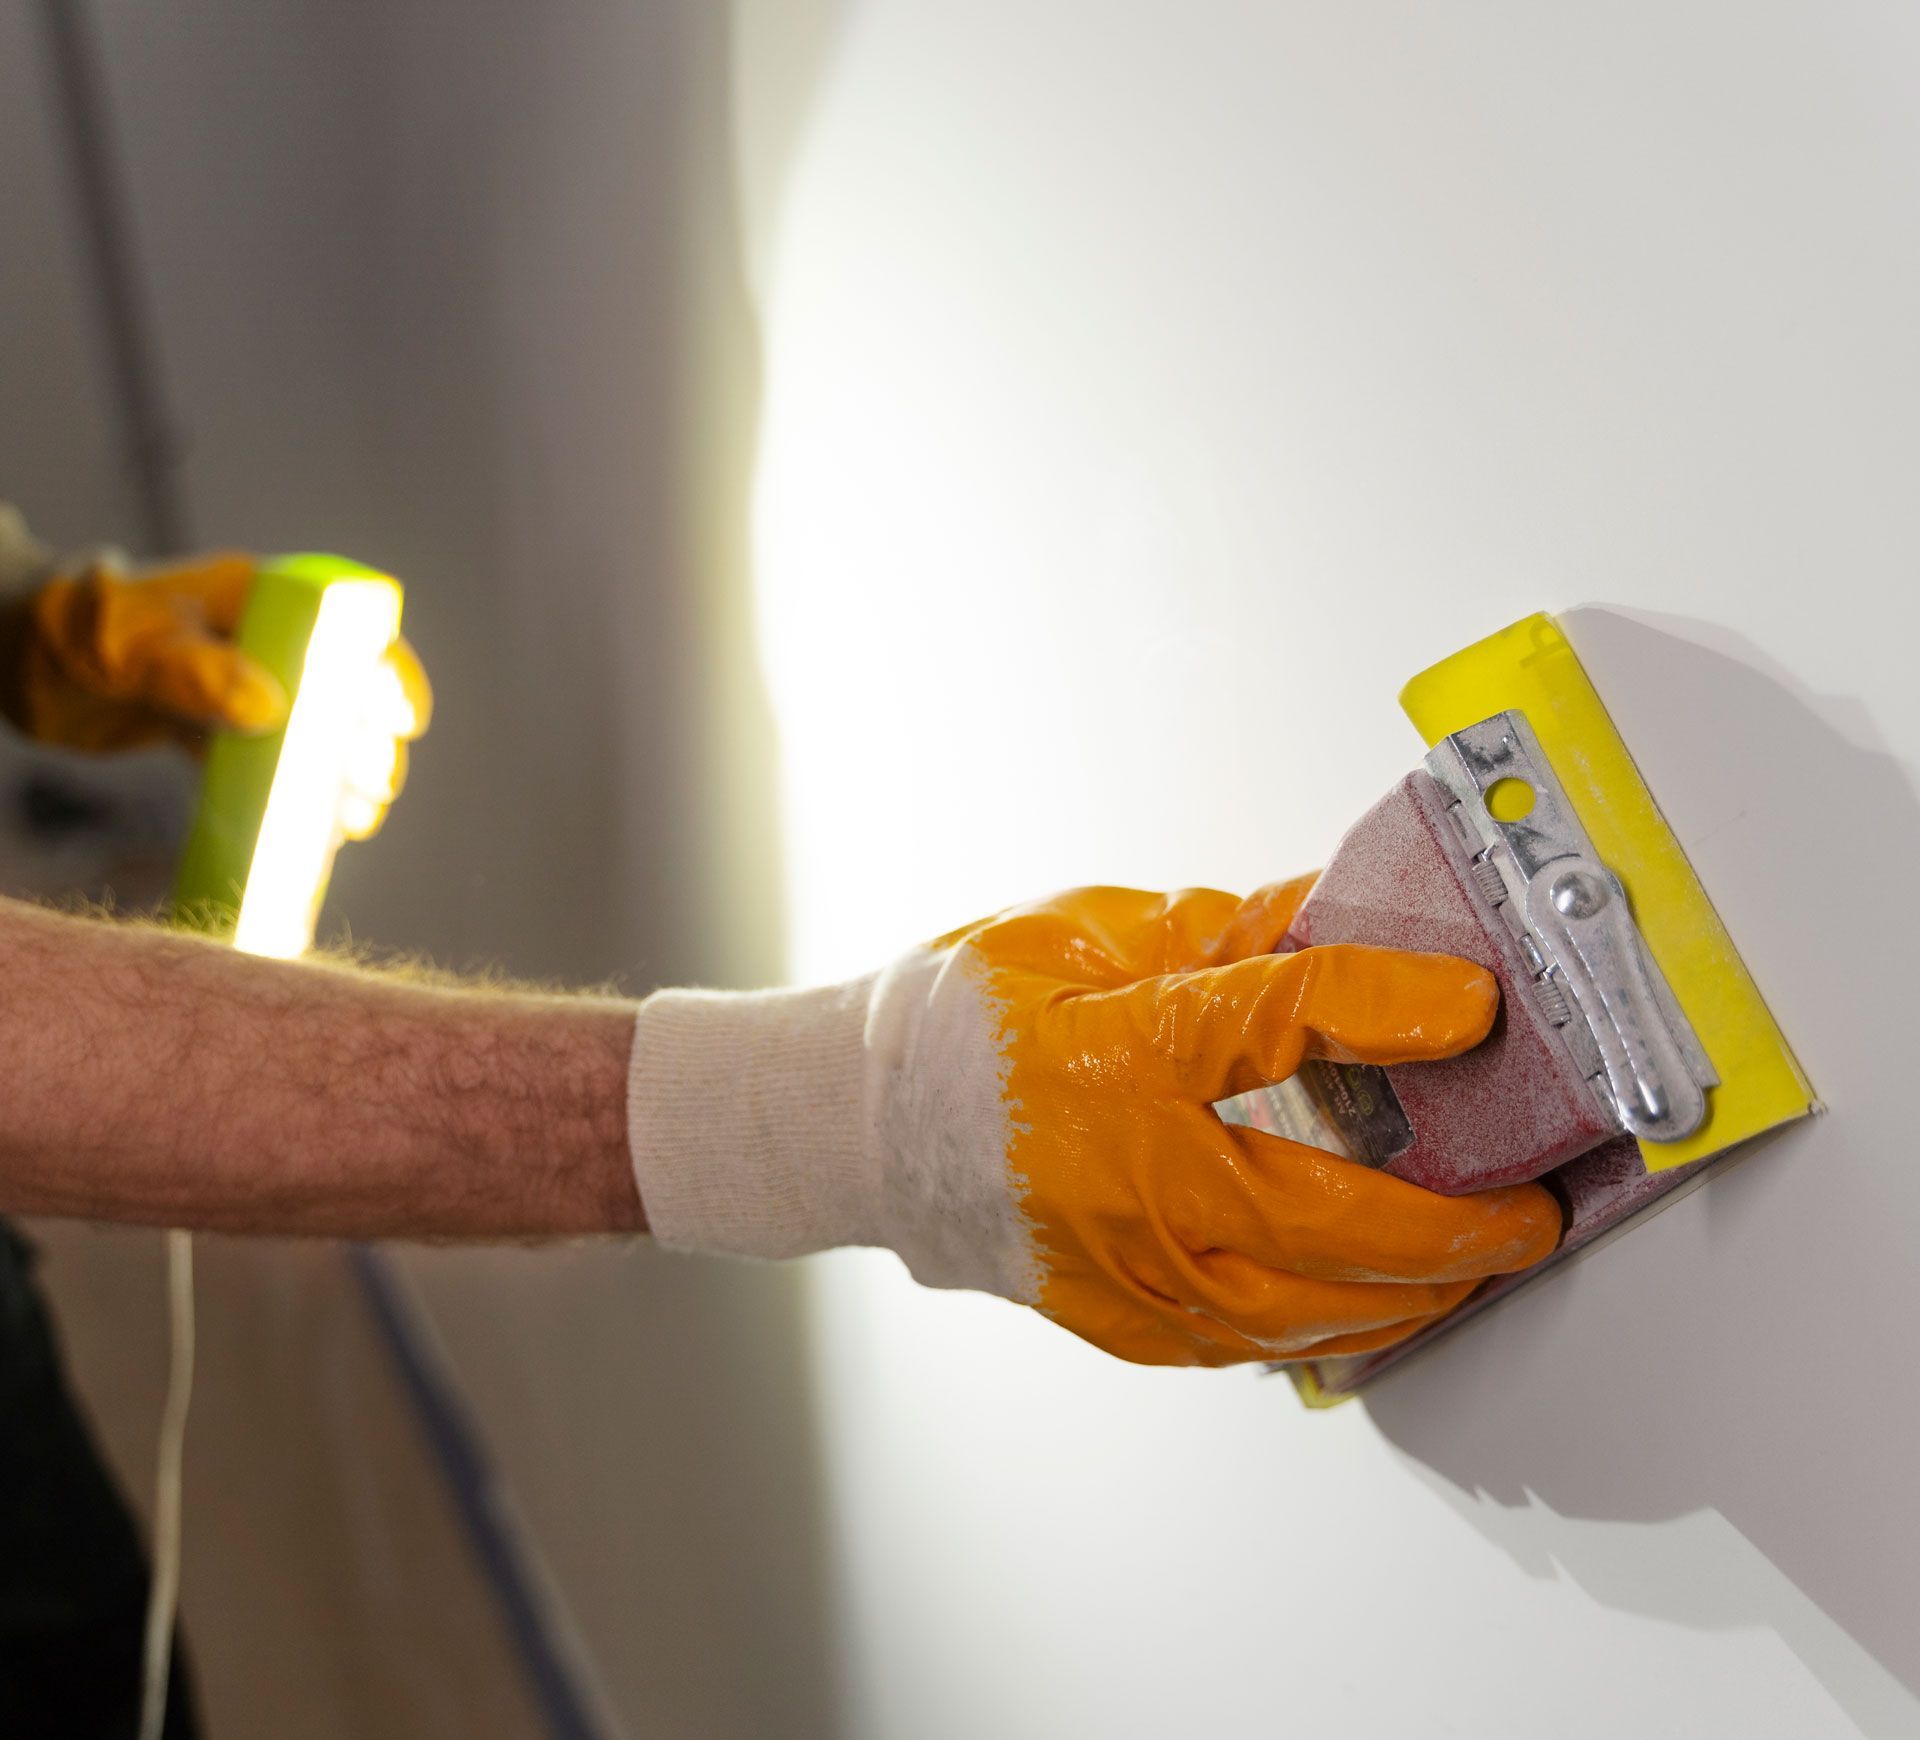
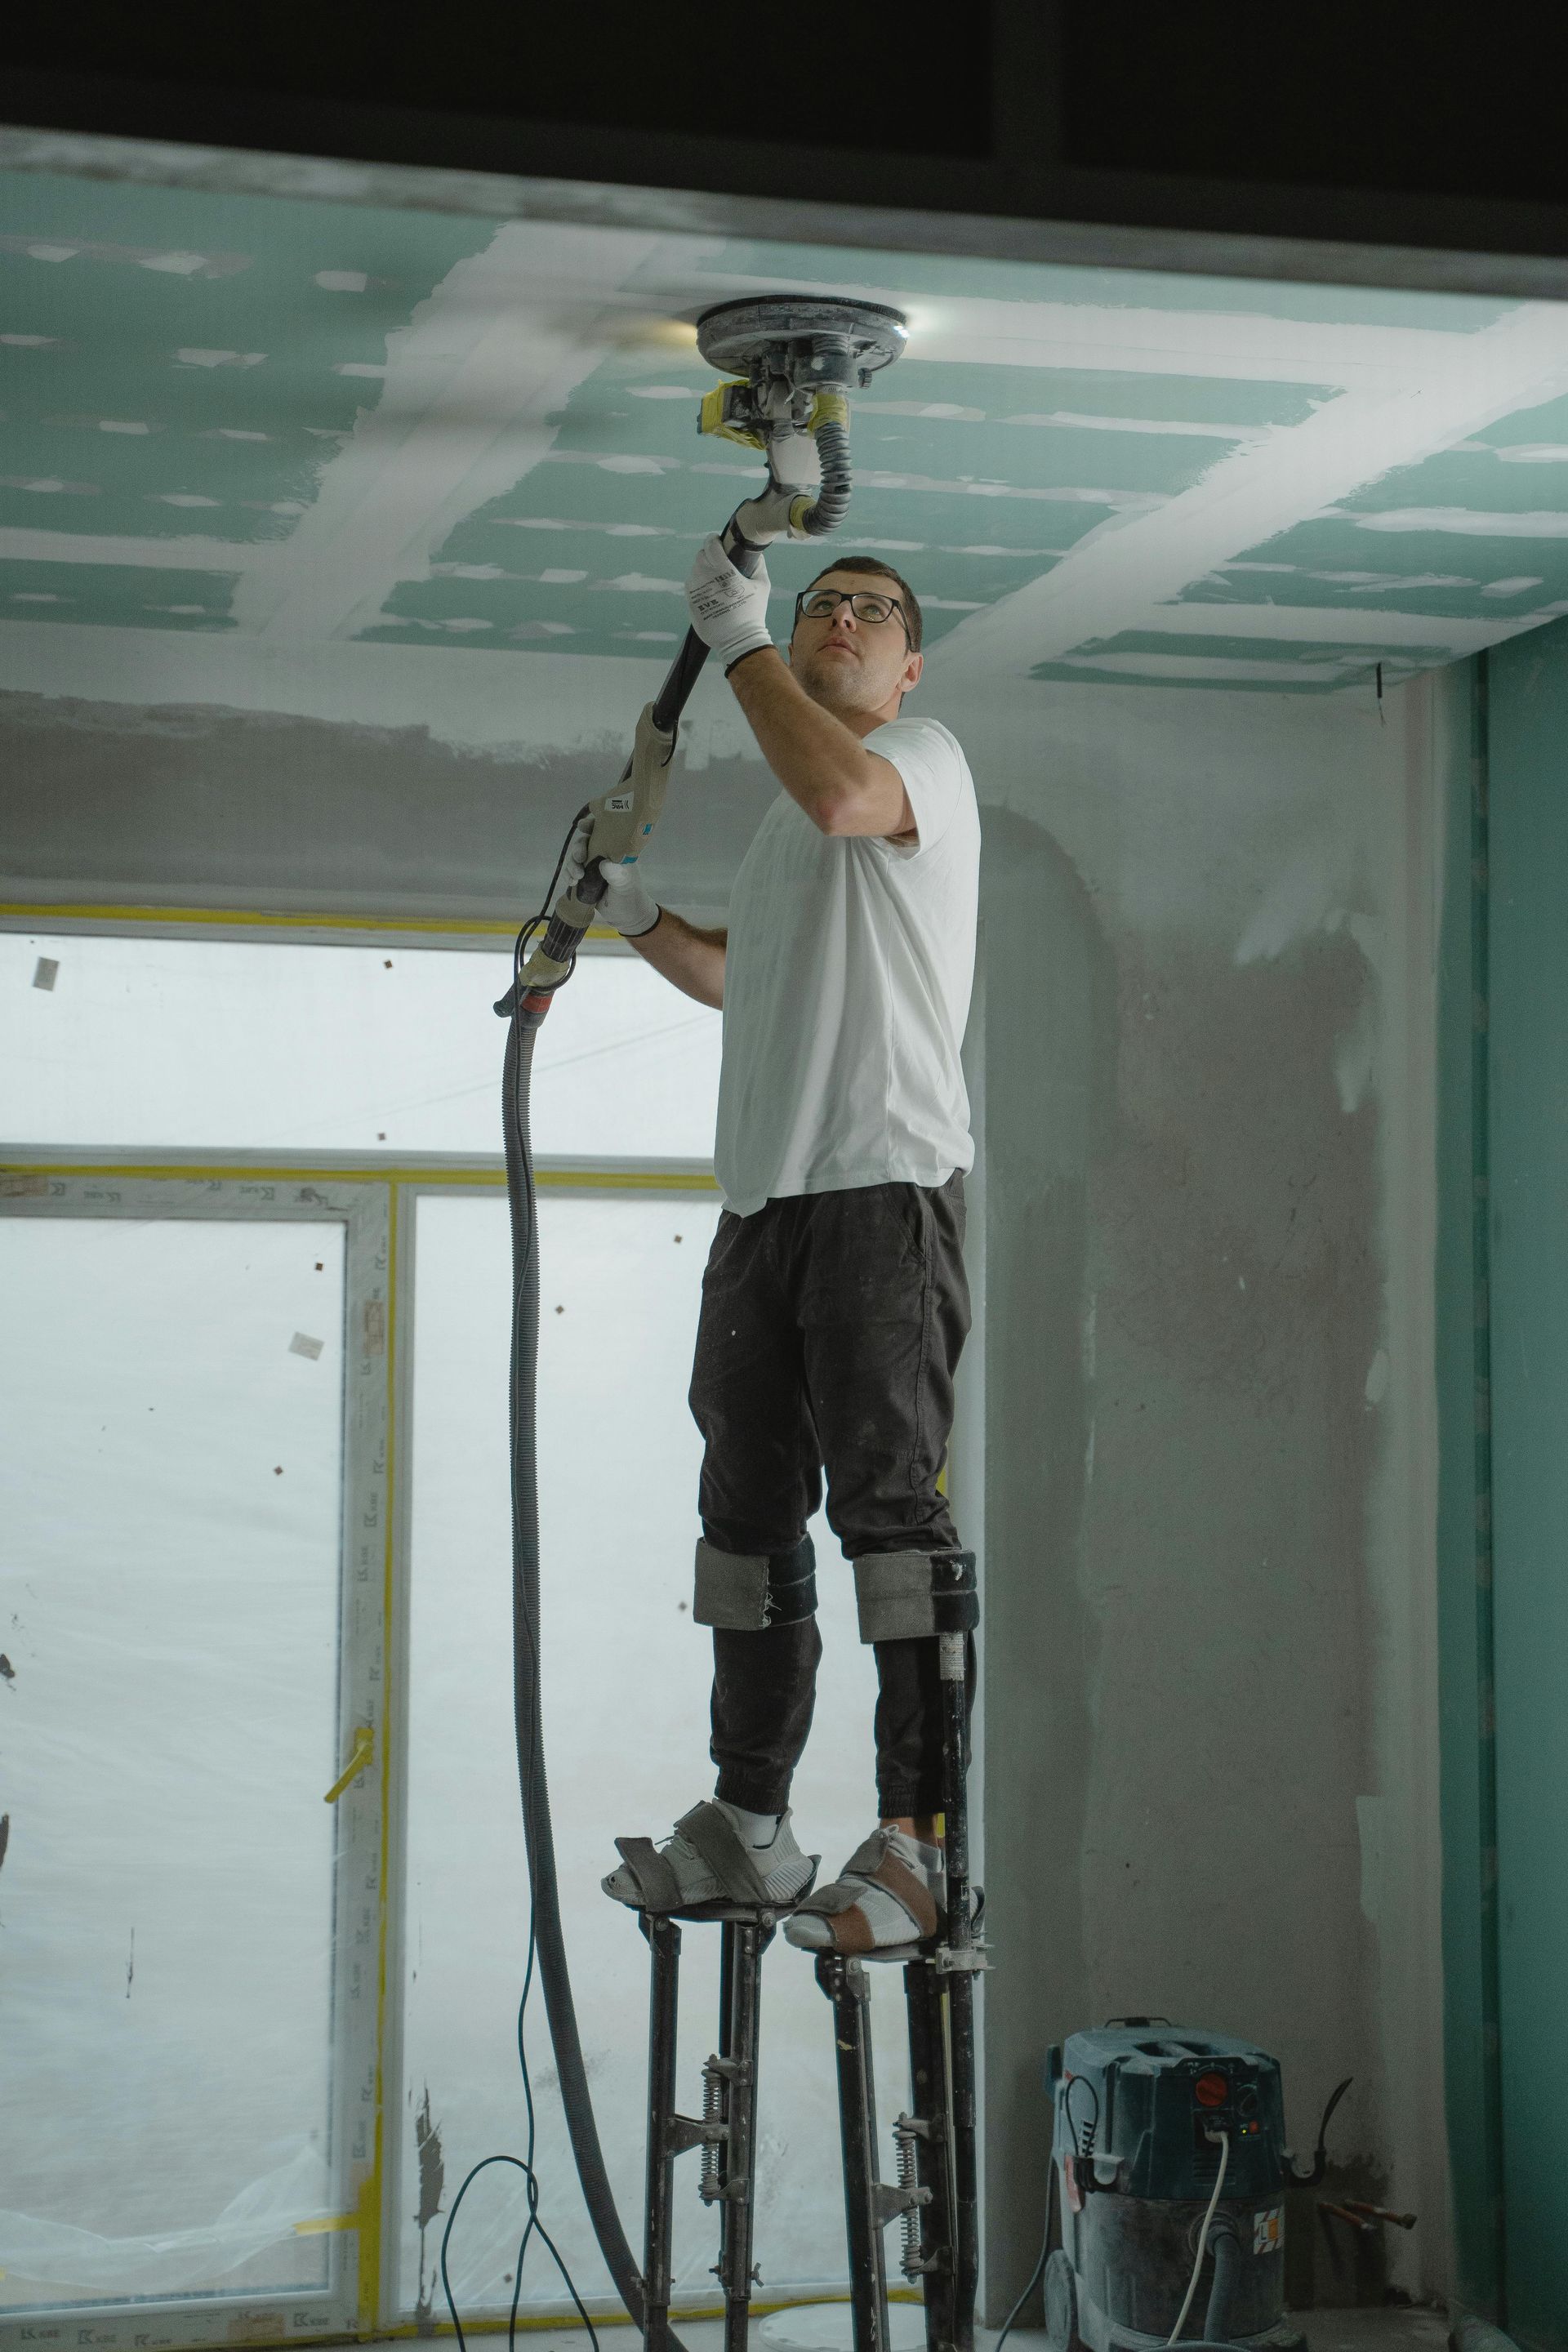
- Sanding the first coat: Once the first layer is completely dry, use a fine-grit sanding block to gently smooth out any bumps or ridges. Sand in a light, circular motion to avoid gouging the wall. Always wear a dust mask to protect your lungs from fine particles.
- Wipe down the wall: After sanding, use a slightly damp cloth to remove all dust from the wall. This step ensures the next layer of compound adheres properly.
- Applying the second coat: Apply a thinner layer of joint compound over the first, extending slightly beyond the original application area. This layer helps blend the patch into the surrounding wall.
- Smooth and feather again: Use your putty knife to smooth out the compound, feathering the edges to create a seamless transition with the existing wall.
If necessary, a third coat can be applied following the same steps once the second layer has dried.
Final Touches and Painting Over Joint Compound
Once your patch is smooth and well integrated into the surrounding wall, it's time for the final touches and painting:
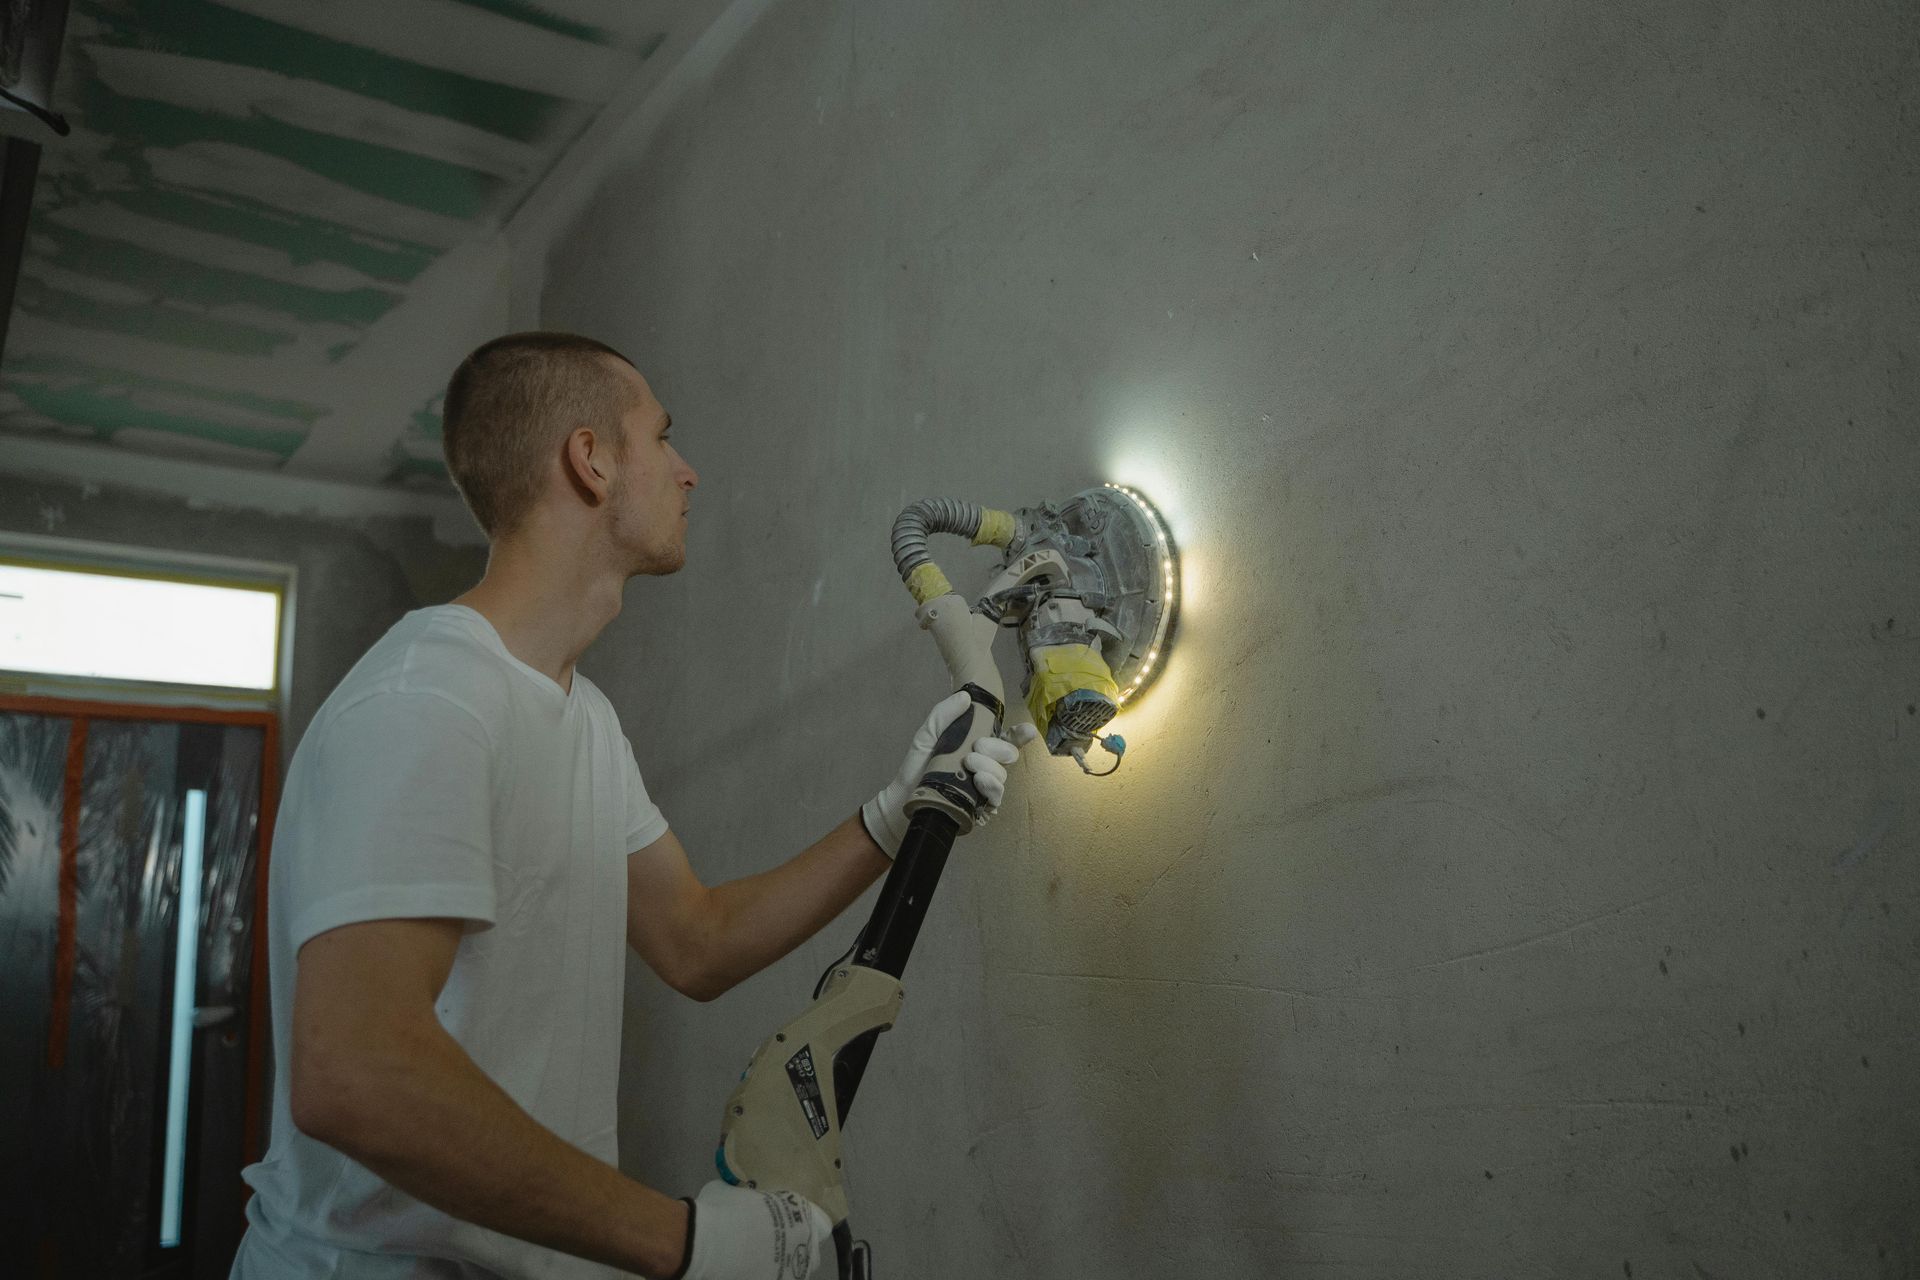
- Final sanding: Using a fine-grit sandpaper, lightly sand the dried joint compound to achieve an ultra-smooth surface. Focus on any minor imperfections or slight texture differences.
- Inspect the area: Look over the patched area in different lighting conditions. This helps ensure no flaws are missed. If any imperfections remain, apply a thin final coat of joint compound, and sand it smooth once dry.
- Prime the surface: Before painting, apply a high-quality primer over the dried and sanded joint compound. Priming is essential as it seals the porous material of the compound, ensuring an even paint application and color consistency.
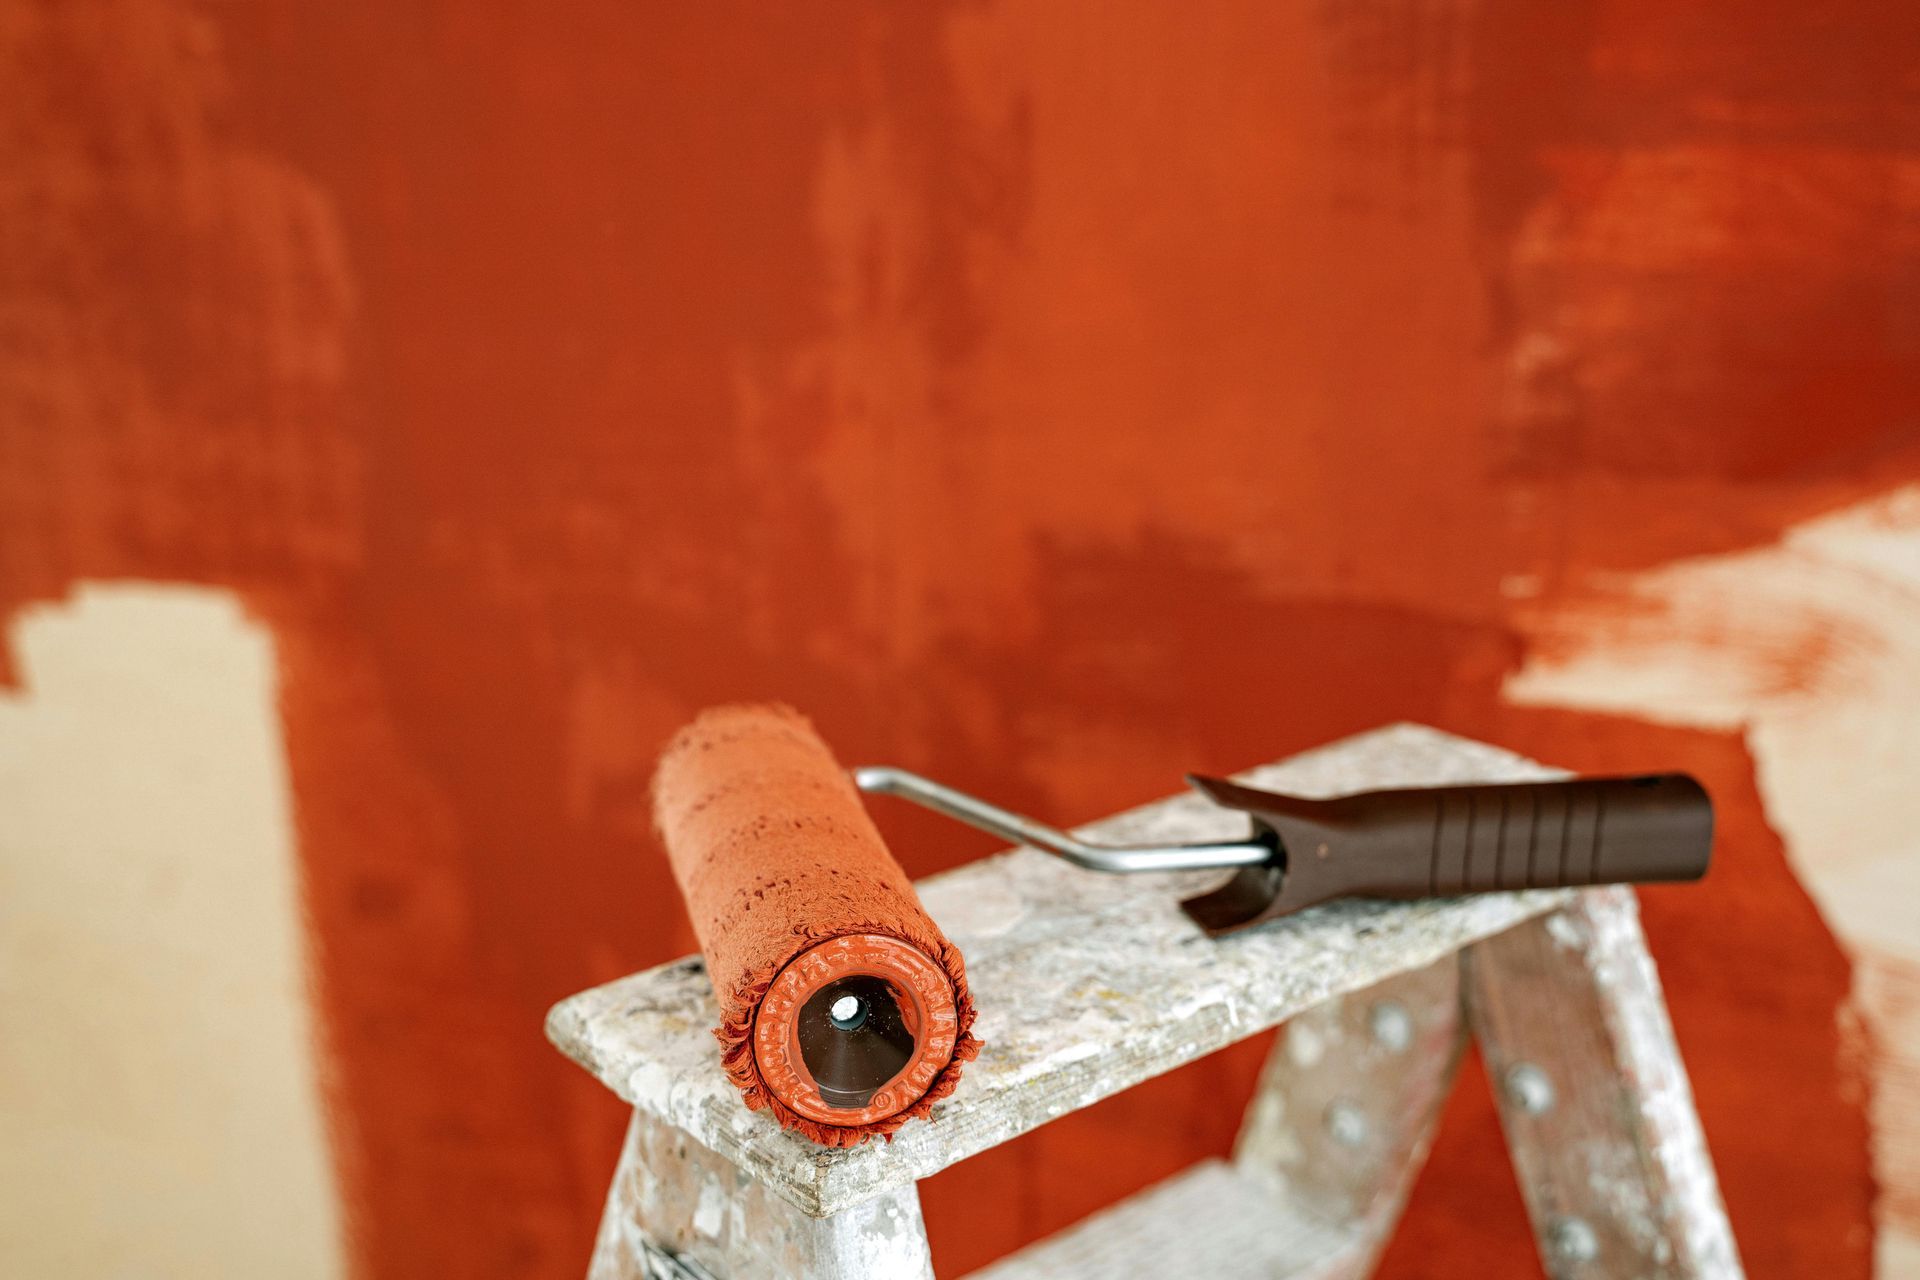
- Painting: Once the primer is dry, paint the area to match the rest of your wall. Use a roller for an even coat and blend into the surrounding areas to avoid noticeable patches.
Troubleshooting Common Problems
Even with careful application, issues can arise when using joint compound. Here’s how to tackle some common problems effectively:
- Cracking: If cracks appear as the compound dries, it's often due to the layer being too thick. To fix this, remove the loose material, apply a thinner layer, and allow it to dry slowly.
- Bubbling: Bubbles can form if air is trapped under the surface during application. To prevent this, ensure the wall is clean and dry before application and press the compound firmly against the wall. If bubbling occurs, scrape off the affected area and reapply.
- Uneven finishes: An uneven surface often results from insufficient sanding or improper application. Sand the area smoothly and apply another thin layer of compound if necessary.
- Adhesion problems: If the compound is not sticking, the surface might be too smooth or dirty. Roughen the surface slightly with sandpaper, clean it thoroughly, and then reapply the compound.
When to Call a Professional
While DIY repairs can be rewarding, there are times when calling in a professional might be the best choice. Here's how to decide:
- Large or complex repairs: If the damage to your wall is extensive or involves significant structural changes, a professional can ensure the repair is done safely and correctly.
- High-quality finishes: For areas that require a flawless finish, such as front rooms or highly visible areas, hiring a professional can provide the expertise needed to achieve the best results.
- Persistent problems: If you've attempted repairs but continue to see problems like cracks or uneven surfaces, it may be time to consult a professional. They can identify underlying issues that aren't immediately apparent.
Before hiring a professional, check their references and review past work to ensure they have the necessary skills and experience. Additionally, get a written estimate to understand the scope and cost of the work involved.
Conclusion
Mastering the application of joint compound is a valuable skill that can save you time and money on home repairs. By following the tips and techniques outlined in this guide, you're well on your way to achieving professional-quality results. Remember, the key to a flawless finish lies in choosing the right materials, preparing your compound carefully, and applying it with precision. Whether you're patching a small hole or refinishing an entire wall, patience and attention to detail will lead to success.
We encourage you to try these methods on your next DIY project. With practice, you'll find that applying joint compound becomes easier and your results more consistent. If you encounter challenges, remember that help from a professional is just a phone call away.
Frequently Asked Questions
Q1: How long does joint compound take to dry?
Drying times can vary based on the type of compound used and the environmental conditions. Generally, drying can take anywhere from 24 to 48 hours for all-purpose compounds under normal conditions. Setting-type compounds can dry in as little as 20 minutes to a few hours.
Q2: Can joint compound be used to texture walls?
Yes, joint compound is excellent for adding texture to walls. It can be applied using various tools and techniques to create patterns like knockdown, orange peel, or skip trowel.
Q3: Is there a difference between joint compound and spackle?
Yes, there is a difference. Spackle is primarily used for smaller repairs and dries quicker. It's ideal for filling nail holes and minor dings. Joint compound is better suited for larger areas and can be used for taping and finishing seams.
Q4: How do I store leftover joint compound?
To store leftover joint compound, ensure the lid of the container is tightly sealed. Place a piece of plastic wrap directly over the compound before closing the lid to keep it from drying out. Stored properly, it can last several months.

