The Ultimate Guide to Skim Coating: Everything You Need to Know
Skim coating is a key process in drywall services.
It's essential for achieving smooth, flawless walls and ceilings.
Whether you're dealing with minor imperfections or preparing a surface for painting, understanding skim coating can make a big difference.
This guide will walk you through everything you need to know about skim coating, from its definition to DIY tips and when to hire a professional.
What is Skim Coating?
Skim Coat Definition
Skim coating is the application of a thin layer of drywall joint compound.
This compound is spread over walls or ceilings to smooth out imperfections and create a uniform surface. It's often used after drywall repairs or to hide minor flaws before painting.
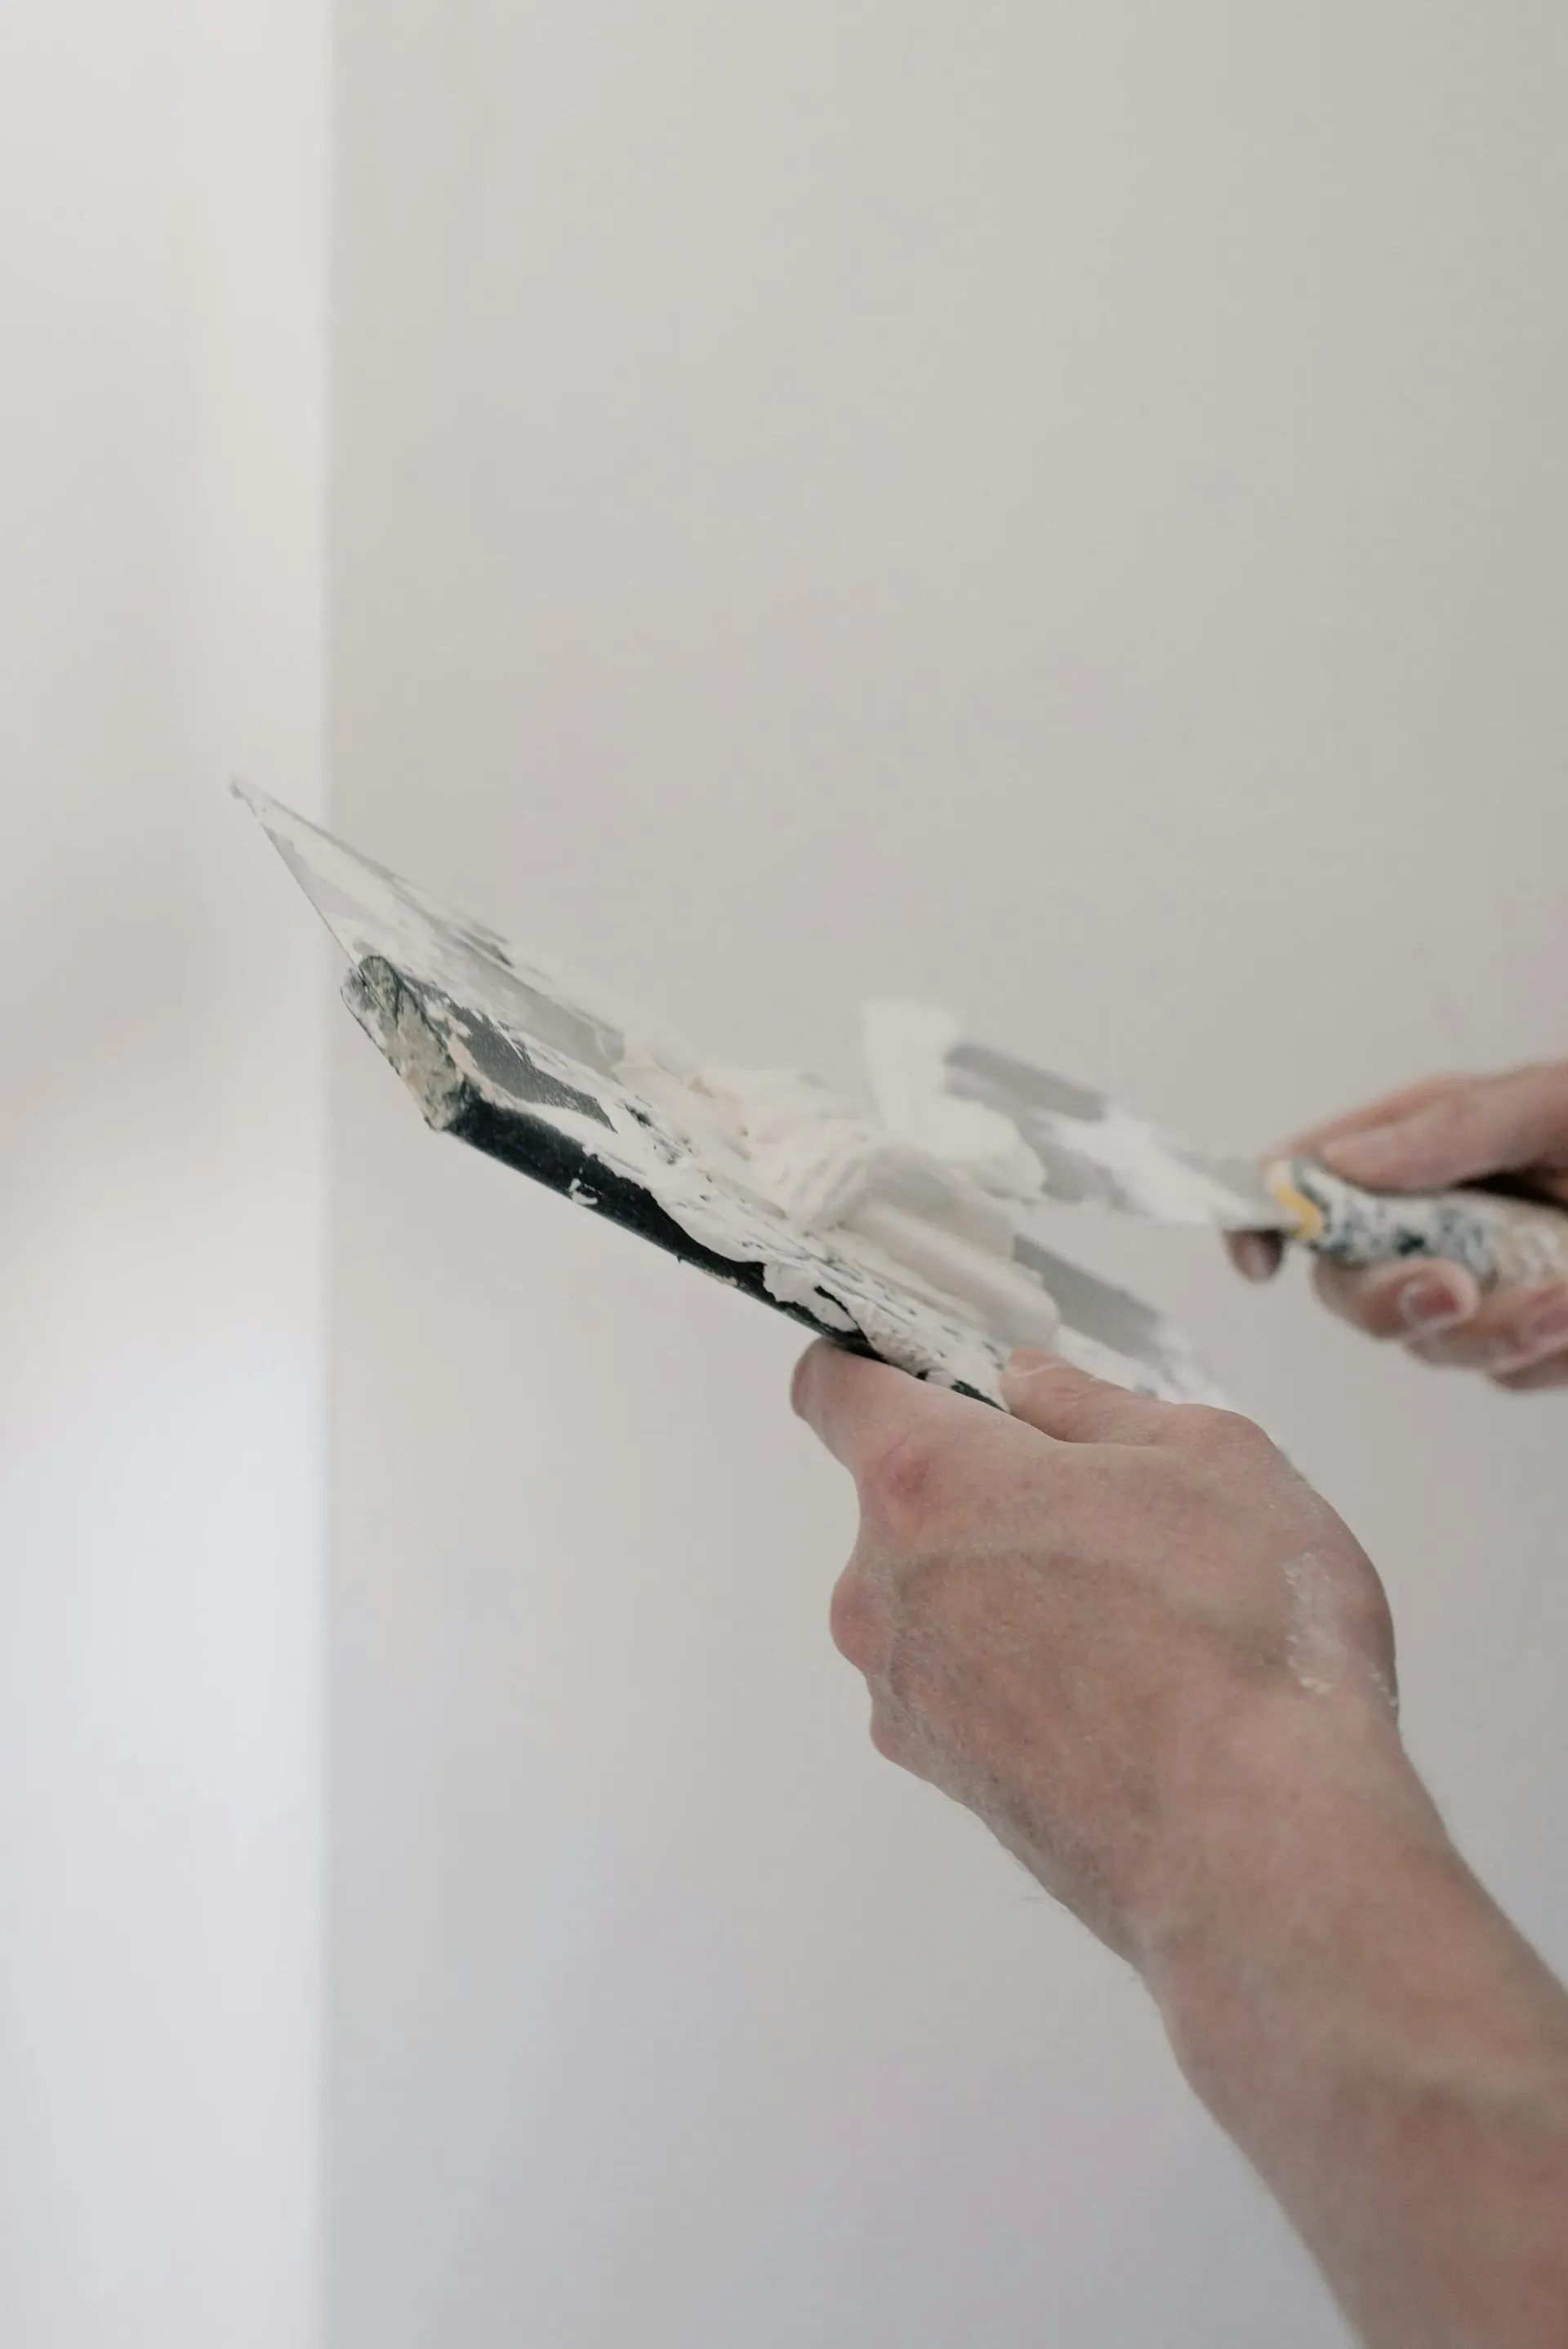
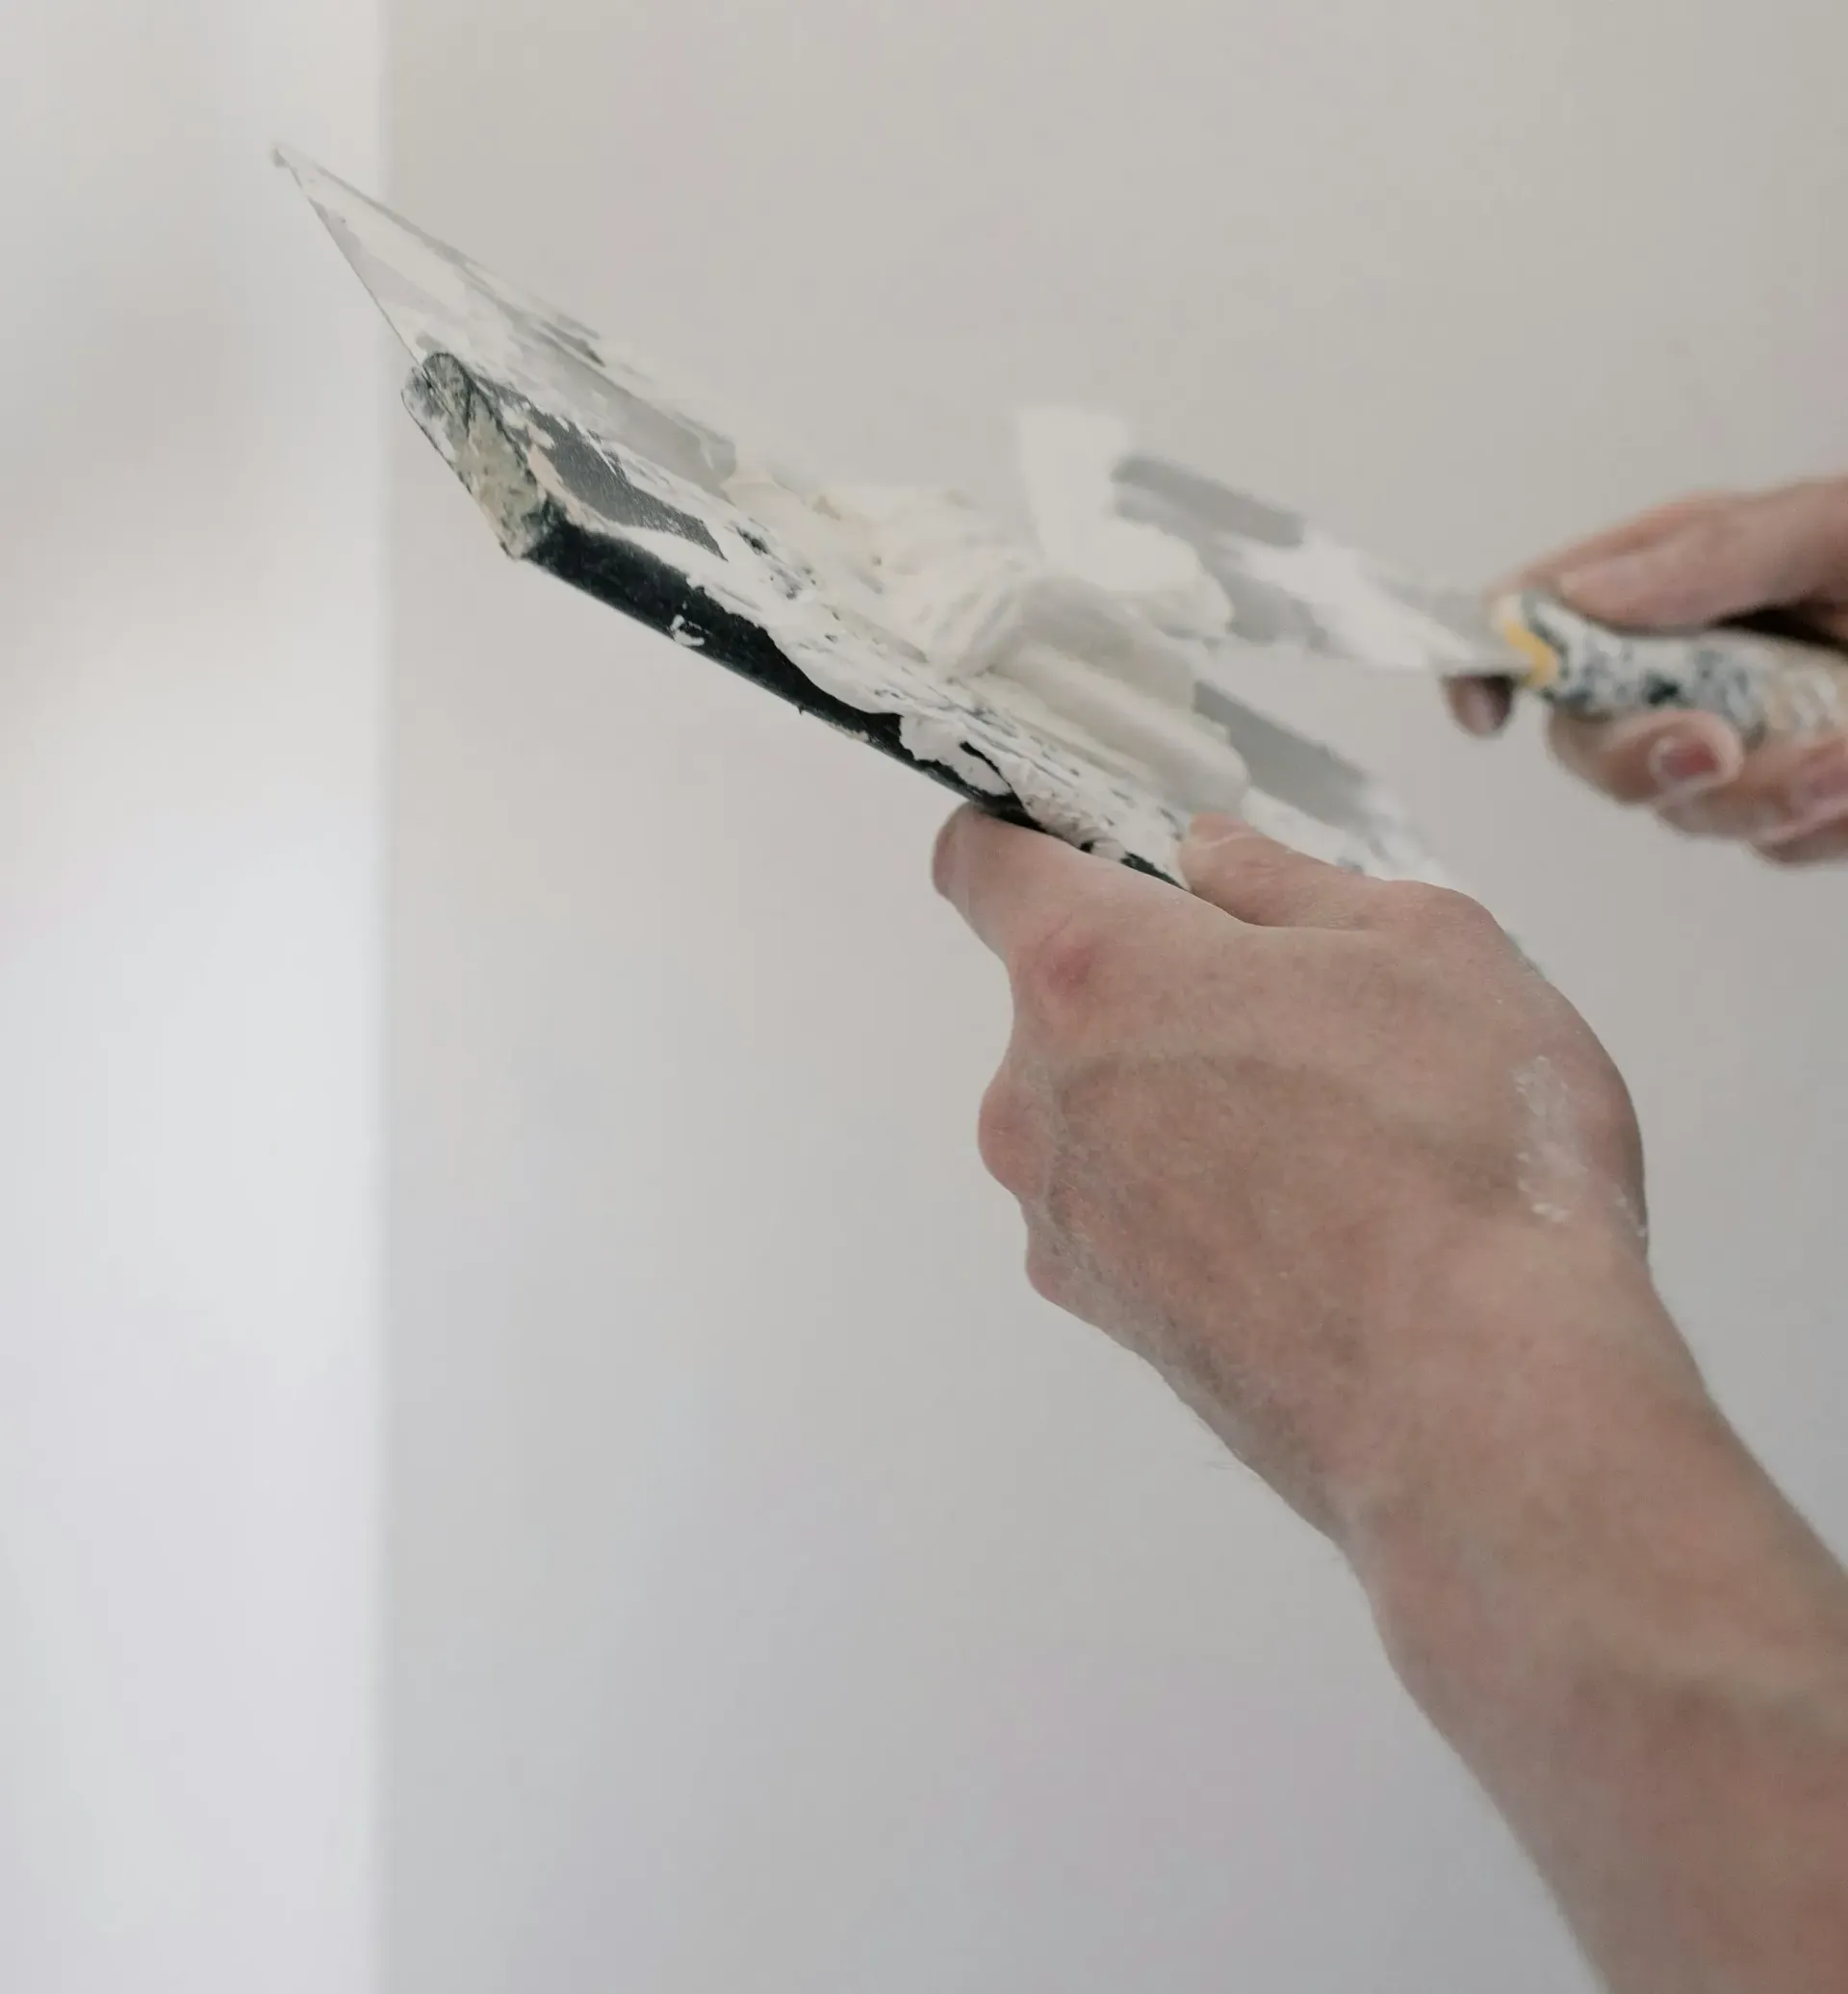
The process involves spreading the compound with a wide drywall knife. This creates a smooth, even layer that can be sanded down once dry.
Skim coating can be applied to various surfaces, including drywall and plaster walls.
Commonly, people ask, "What is skim coating?" In simple terms, it's a technique used to make surfaces smooth and ready for a fresh coat of paint. It's a staple in drywall services, ensuring that your walls and ceilings look their best.
When is Skim Coating Necessary?
When to use a skim coat?
It becomes necessary in several situations. If you've recently repaired drywall, this method helps to conceal those repairs seamlessly. It’s also useful for covering minor flaws like small dents, cracks, or rough spots.
Before painting, this technique is crucial. It ensures that the paint goes on evenly, enhancing the overall appearance. Without a properly prepared surface, paint can highlight flaws instead of hiding them.
This approach is also effective when dealing with textured surfaces. For example, if you want to get rid of a popcorn ceiling or level textured walls, this technique is the way to go. It creates a flat, even surface that’s easier to paint and maintain.
Can you skim coat a ceiling?
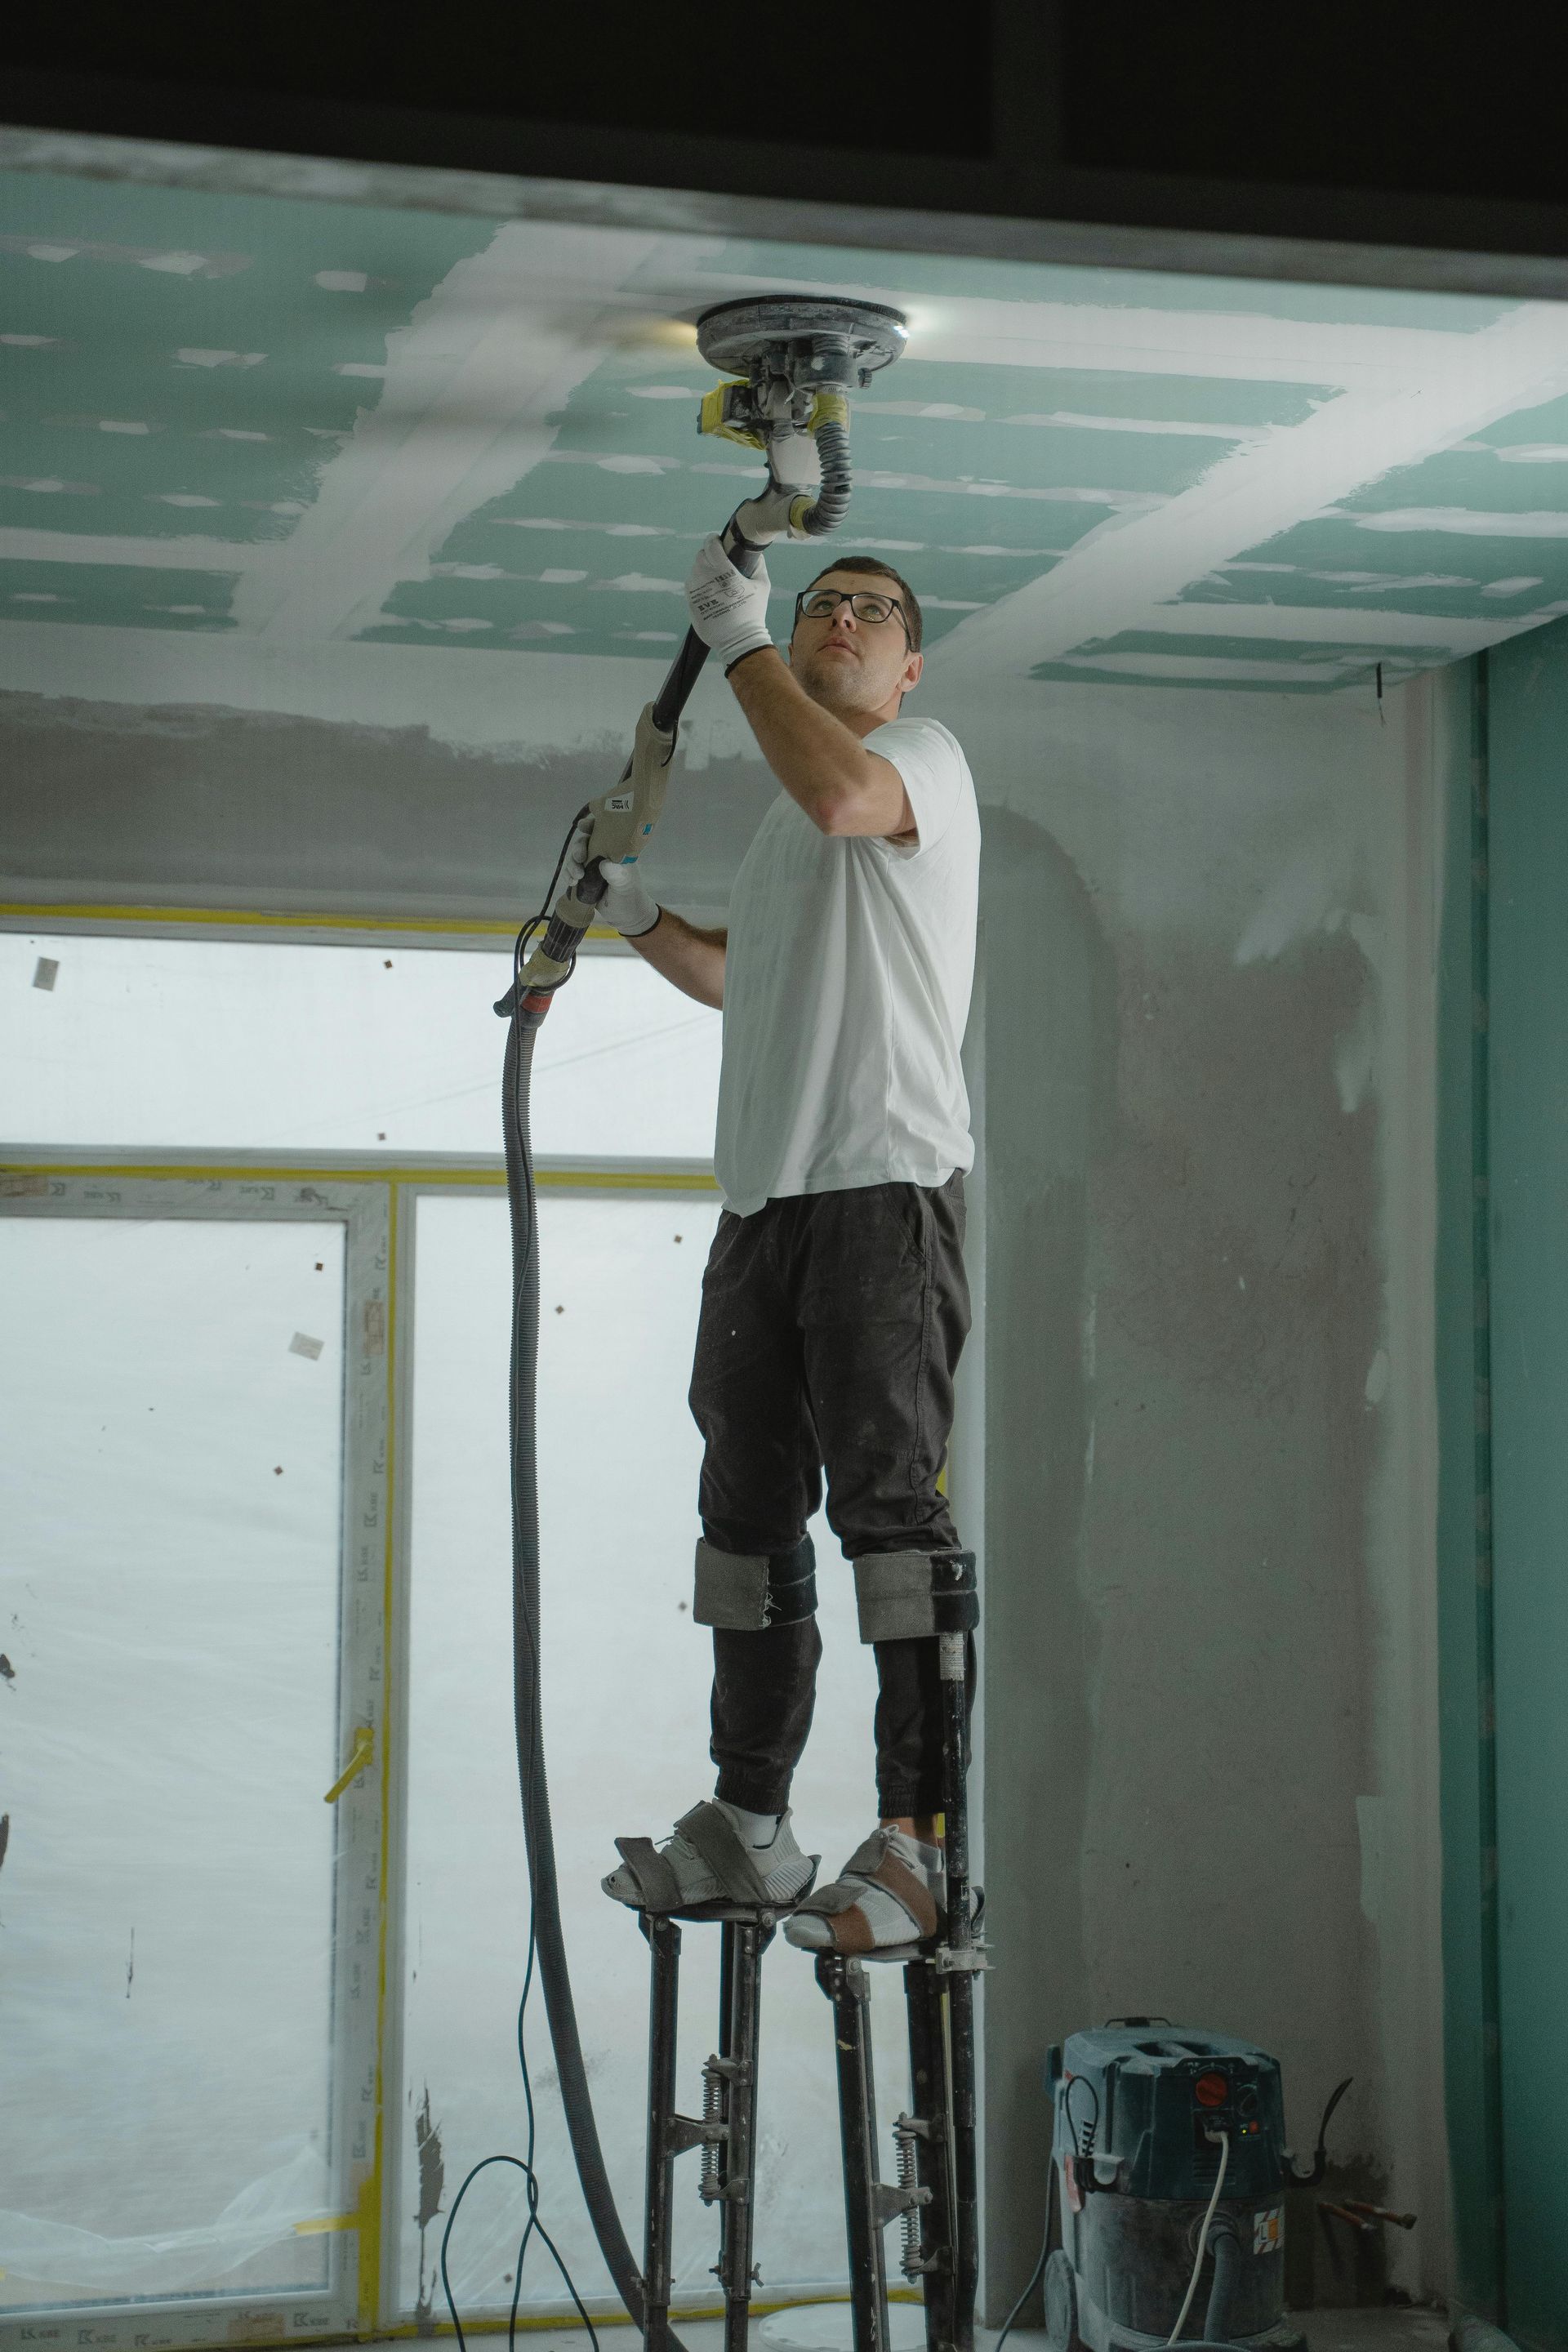
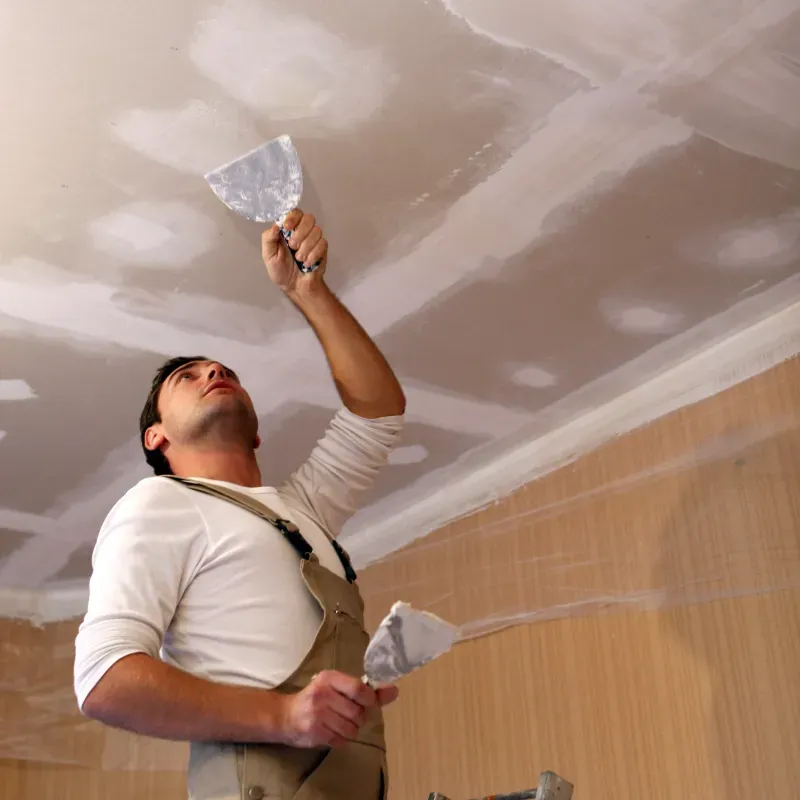
Yes, you can skim coat a ceiling to smooth imperfections or cover textures like popcorn ceilings. Applying a skim coat follows the same steps as for walls but requires more care due to gravity.
Start by removing any peeling paint or texture. Use a wide drywall knife or trowel to spread drywall compound evenly, avoiding thick layers that could damage the drywall behind.
After the coat dries, remember to prime the ceiling to ensure proper paint adhesion. Protect any electrical circuits or fixtures during the process.
How long does skim coat take to dry?
A skim coat typically takes 24 to 48 hours to dry, depending on thickness and humidity. Ensure the first coat is fully dry before sanding and applying a second coat.
Rushing the process can lead to cracks or damaged drywall. Using fans or ventilation can help speed up drying, but patience is key for a smooth finish.
Benefits of Skim Coating Walls
This process offers several benefits that make it worthwhile for improving your walls or ceilings. Here are some key advantages:
- Prepares surfaces for painting: One of the primary benefits is that it provides a perfect base for painting, ensuring the paint adheres well and looks flawless.
- Enhances appearance: It significantly improves the look of your walls and ceilings by eliminating minor flaws, creating a clean and polished look that can transform a room's vibe.
- Conceals minor flaws: Whether you have small dents, cracks, or old repairs, this technique effectively hides these issues, making your walls look brand new.
- Prepares textured surfaces: If you’re dealing with textured walls or ceilings like popcorn ceilings, this method can level these surfaces, making them ready for a new look.
DIY Skim Coating vs. Hiring a Professional
When it comes to applying a thin layer of compound, you have two options: do it yourself or hire a professional. Each approach has its pros and cons, and the best choice depends on your skill level, the size of the project, and the desired finish.
DIY Skim Coating
- Cost Savings: Doing it yourself can save money, as you only need to purchase materials like joint compound and tools.
- Learning Opportunity: It’s a great way to learn new skills and gain hands-on experience with drywall services.
- Control Over the Project: You have complete control over the process, which can be satisfying for many homeowners.
However, DIY skim coating requires time, patience, and a steady hand. If you’re not experienced, it can be challenging to achieve a smooth, professional-looking finish.
Hiring a Professional
- Expertise and Experience: Professionals bring years of experience and expertise. They know the best techniques and can handle any challenges that arise.
- Quality Finish: Hiring a professional ensures a high-quality finish. They have the tools and skills to achieve a flawless surface, whether it’s for skim coating drywall or a popcorn ceiling.
- Time Efficiency: Professionals can complete the job more quickly and efficiently, saving you time and hassle.
If you’re tackling a large project or want the best possible results, hiring a professional is often the best choice. They provide reliable drywall services and guarantee a smooth, beautiful finish.
How to Skim Coat Walls: A Step-by-Step Guide
This process walls might seem daunting, but with the right tools and a bit of patience, you can achieve great results. Here’s a step-by-step guide to help you through the process:
Tools and Materials Needed
- Drywall joint compound
- Wide drywall knife (10-12 inches)
- Hawk or mud pan
- Sanding sponge or sandpaper (120-150 grit)
- Drop cloths and plastic sheeting
- Painter’s tape
- Mixing paddle and drill
Preparation Steps
- Protect Your Space: Cover floors and furniture with drop cloths and plastic sheeting. Use painter’s tape to protect trim and edges.
- Clean the Surface: Ensure the wall is clean, dry, and free of dust or debris. This helps the joint compound adhere better.
- Mix the Compound: Use a mixing paddle attached to a drill to mix the joint compound until it’s smooth and creamy. Adding a bit of water can help achieve the right consistency.
Application Process
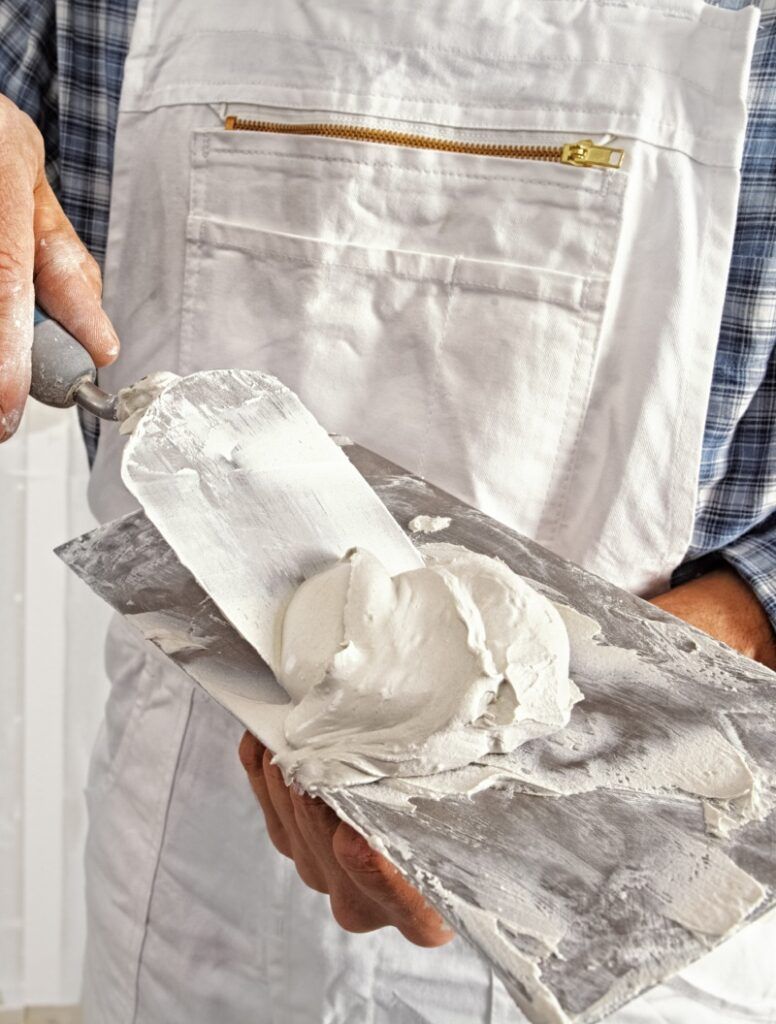
- Load the Knife: Scoop a small amount of joint compound onto the hawk or mud pan. Load the drywall knife with compound from the hawk.
- Apply the First Coat: Starting at the top of the wall, spread the compound in a thin, even layer using wide, sweeping motions. Hold the knife at a slight angle to control the thickness.
- Smooth It Out: Work your way down the wall, overlapping each pass slightly to ensure full coverage. The goal is to create a consistent, thin layer.
- Let It Dry: Allow the first layer to dry completely, usually about 24 hours.
Drying and Finishing
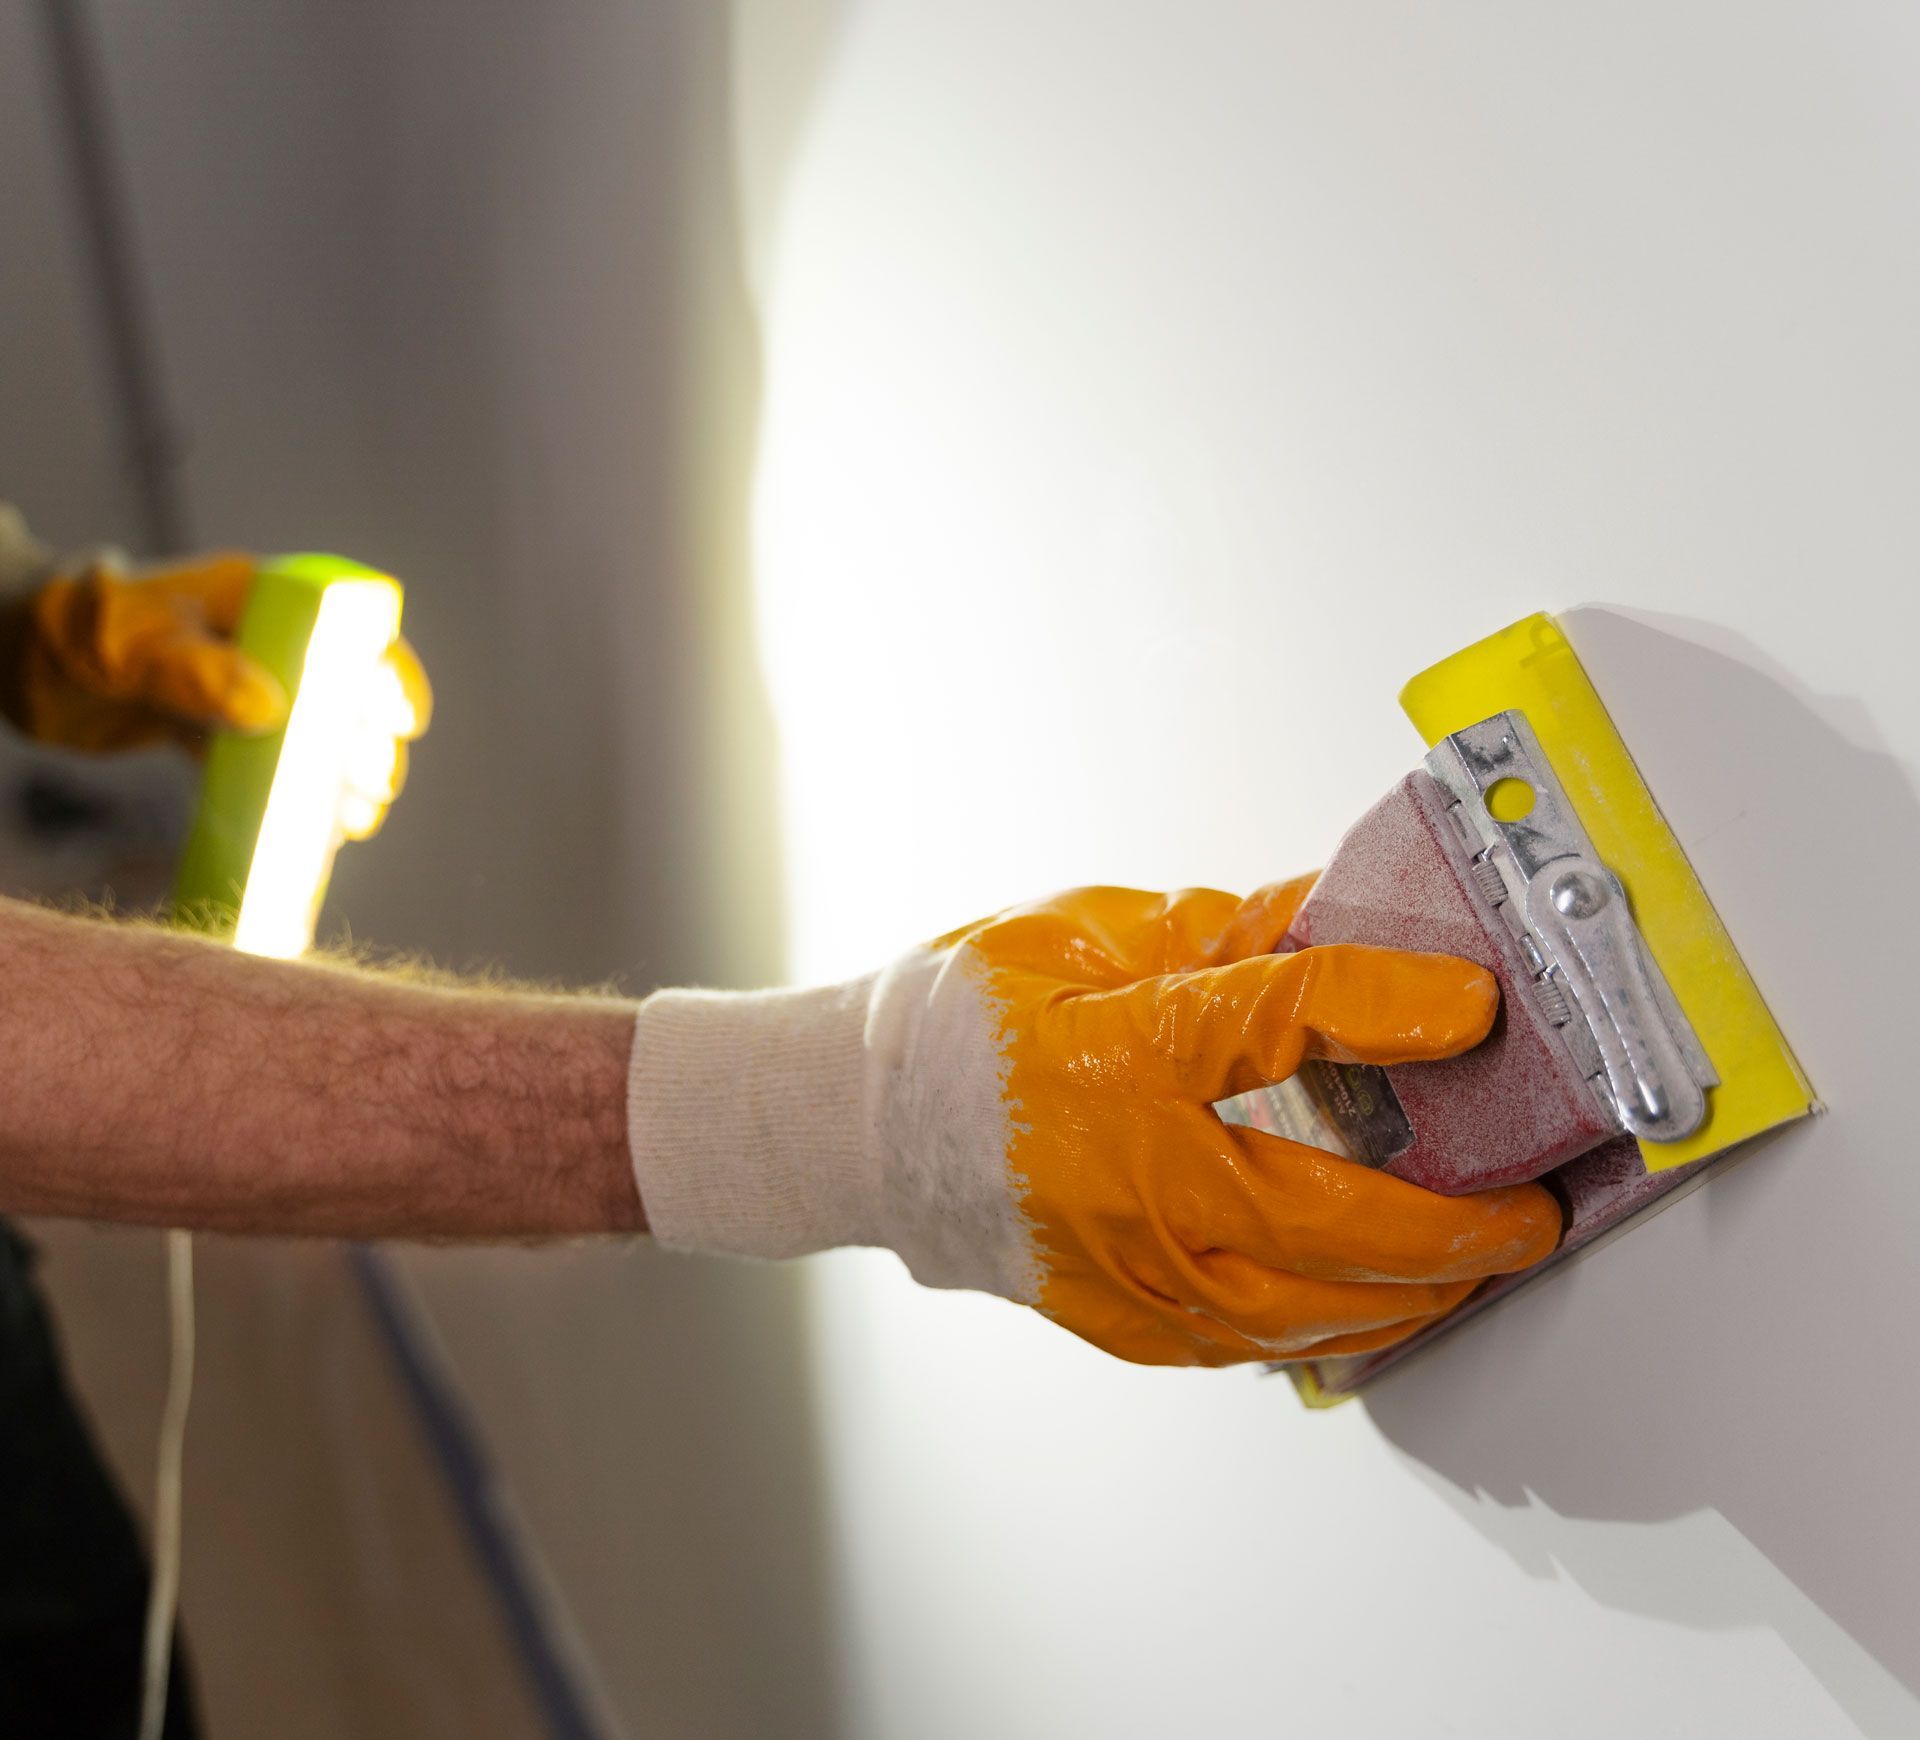
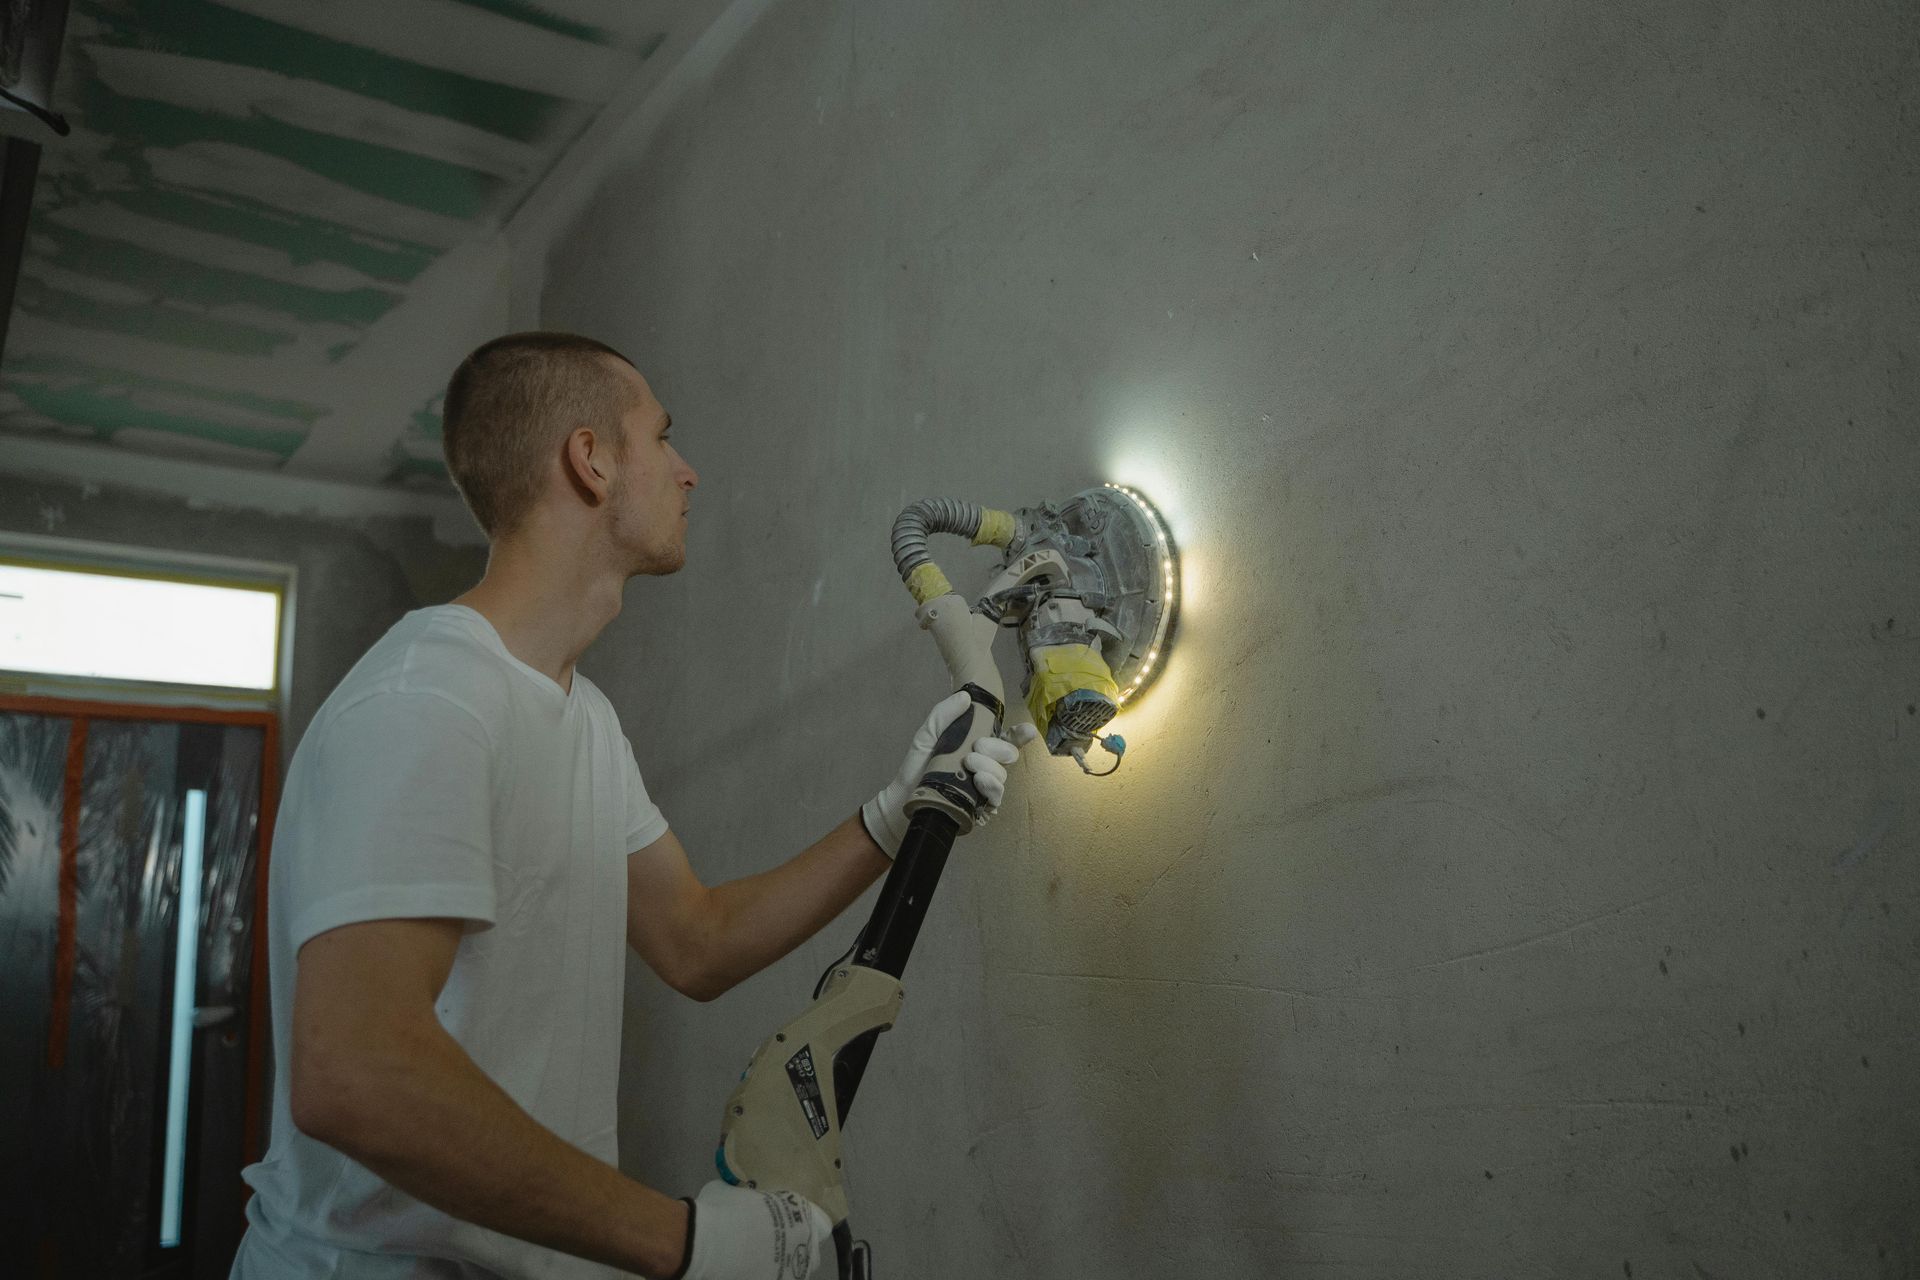
- Sand the Surface: Once the compound is dry, lightly sand the surface to smooth out any ridges or bumps. Use a sanding sponge or sandpaper.
- Apply Additional Coats: For the best results, apply 2-3 thin coats, sanding lightly between each one. This helps build a perfectly smooth finish.
- Final Sanding: After the final coat is dry, do a final sanding to ensure the surface is completely smooth and ready for painting.
Skim coating walls takes practice, but with these steps, you can achieve a professional-looking finish.
Common Skim Coating Problems and Solutions
Even with careful preparation and application, you might encounter some common issues while skim coating. Here are a few problems and how to solve them:
Bubbles in the Compound
- Cause: Air trapped in the joint compound.
- Solution: Ensure you mix the compound thoroughly to avoid air pockets. Apply firm pressure with your drywall knife to push out any trapped air. If bubbles appear, lightly sand the area and apply another thin coat.
Cracks in the Skim Coat
- Cause: Compound applied too thickly or uneven drying.
- Solution: Apply thin, even layers of compound and allow each coat to dry completely before adding another. If cracks occur, sand the area and reapply a thin coat.
Uneven Surface
- Cause: Inconsistent application or improper sanding.
- Solution: Use consistent pressure and smooth, overlapping strokes when applying the compound. Sand evenly between coats. For uneven spots, sand them down and reapply a thin layer of compound.
Dry Compound Drying Too Quickly
- Cause: High temperatures or low humidity.
- Solution: Work in smaller sections and consider using a setting compound that has a longer working time. You can also mist the area lightly with water to slow down the drying process.
Difficulty in Sanding
- Cause: Compound applied too thickly or not enough drying time.
- Solution: Apply thinner layers and ensure each coat is fully dry before sanding. Use a sanding sponge or fine-grit sandpaper for better control.
Addressing these issues promptly ensures a smooth, professional finish. Remember, patience and attention to detail are key in skim coating.
Skim Coating on Different Surfaces
Skim coating isn’t limited to just drywall. It can be applied to various surfaces, each with its own set of considerations. Here’s how to handle skim coating on different types of surfaces:
Skim Coating Drywall
- Preparation: Ensure the drywall is clean and free of dust. Tape and mud any joints or seams before starting the skim coat.
- Application: Apply a thin, even layer of joint compound. Use a wide drywall knife for smooth coverage.
Skim Coating Plaster Walls
- Preparation: Check for any loose or damaged plaster and repair it before starting. Clean the surface to remove dust and debris.
- Application: Apply the joint compound in thin layers, allowing each layer to dry completely before applying the next.
Skim Coating a Popcorn Ceiling
- Preparation: Scrape off the popcorn texture as much as possible. Clean the surface thoroughly.
- Application: Apply a thin layer of joint compound using a wide drywall knife. Smooth out the compound to cover any remaining texture.
Skim Coating Textured Walls
- Preparation: Clean the walls and remove any loose texture. Depending on the texture, you may need to sand it down slightly.
- Application: Apply a thin, even coat of joint compound, using smooth, overlapping strokes to cover the texture.
Each type of surface requires specific preparation and application techniques. By following these guidelines, you can achieve a smooth, professional finish regardless of the surface you’re working with.
Conclusion
Skim coating is an essential technique for achieving smooth, flawless walls and ceilings. Whether you’re dealing with minor imperfections, preparing surfaces for painting, or tackling textured walls, skim coating can make a significant difference in the final look of your space. Understanding when to skim coat, the benefits it offers, and whether to DIY or hire a professional are crucial steps in ensuring your project’s success.
For those in South Central PA, seeking professional drywall services, skim coating, ceiling repair, patching, installation, and framing, we highly recommend Patch Boys of South Central PA. Their expertise ensures top-quality results and a hassle-free experience. They serve areas including Harrisburg, Hershey, Gettysburg, Lancaster, York, Reading, and Chambersburg.
Don't settle for imperfect walls and ceilings. Contact Patch Boys of South Central PA today for all your drywall needs.
Frequently Asked Questions
What are the costs associated with skim coating?
The cost of skim coating can vary depending on the size of the project and whether you choose to do it yourself or hire a professional. DIY costs include materials like joint compound and tools, while professional services will factor in labor and expertise.
How long does skim coating take to dry?
Drying time for skim coating typically ranges from 24 to 48 hours per coat, depending on the thickness of the application and environmental conditions like temperature and humidity.
Can I paint immediately after skim coating?
No, it’s important to wait until the skim coat is fully dry and sanded smooth before painting. This ensures the best adhesion and finish for your paint.
How often should I skim coat my walls?
Skim coating is usually done as needed. If your walls develop imperfections over time or you’re preparing for a new paint job, skim coating can help create a smooth surface.
Is skim coating suitable for all types of walls?
Yes, skim coating can be applied to various wall types, including drywall and plaster walls. It’s also effective for smoothing out textured surfaces like popcorn ceilings and other textured walls.
Drop Us a Line
Contact Us
OUR SERVICES
TIPS & ARTICLE
CONTACT INFORMATION
Phone: (717) 512-9825
Email: southcentralpa@thepatchboys.com
Address: Hershey, PA 17033, United States of America
Business Hours:
- Mon - Fri
- -
- Sat - Sun
- Closed
All Rights Reserved | © Patch Boys of South Central PA 2022

